

Appearance
Vimeo
Vimeo is a popular, ad-free video hosting platform used for portfolios, courses, and professional content. FluentPlayer treats Vimeo as a first-class video source, so you can display any Vimeo video inside your own player, wrapped in your FluentPlayer styling and options — no embed code required.
Playing a Vimeo video is simple: copy the video URL from your Vimeo account, then paste it into the Vimeo URL field in FluentPlayer. This guide walks you through both steps.
Free, with one Pro extra
Playing Vimeo videos is part of the free version of FluentPlayer, alongside WordPress, YouTube, and Audio sources — including Privacy-Enhanced Mode, the quality and speed menus, Vimeo's own captions, and chapter import.
Only importing captions from Vimeo into your own subtitle tracks needs FluentPlayer Pro.
Step 1: Copy the Video URL from Vimeo
First, grab the link to the video you want to play.
- Log in to your Vimeo account.
- In the left sidebar, click Library to see your uploaded videos.
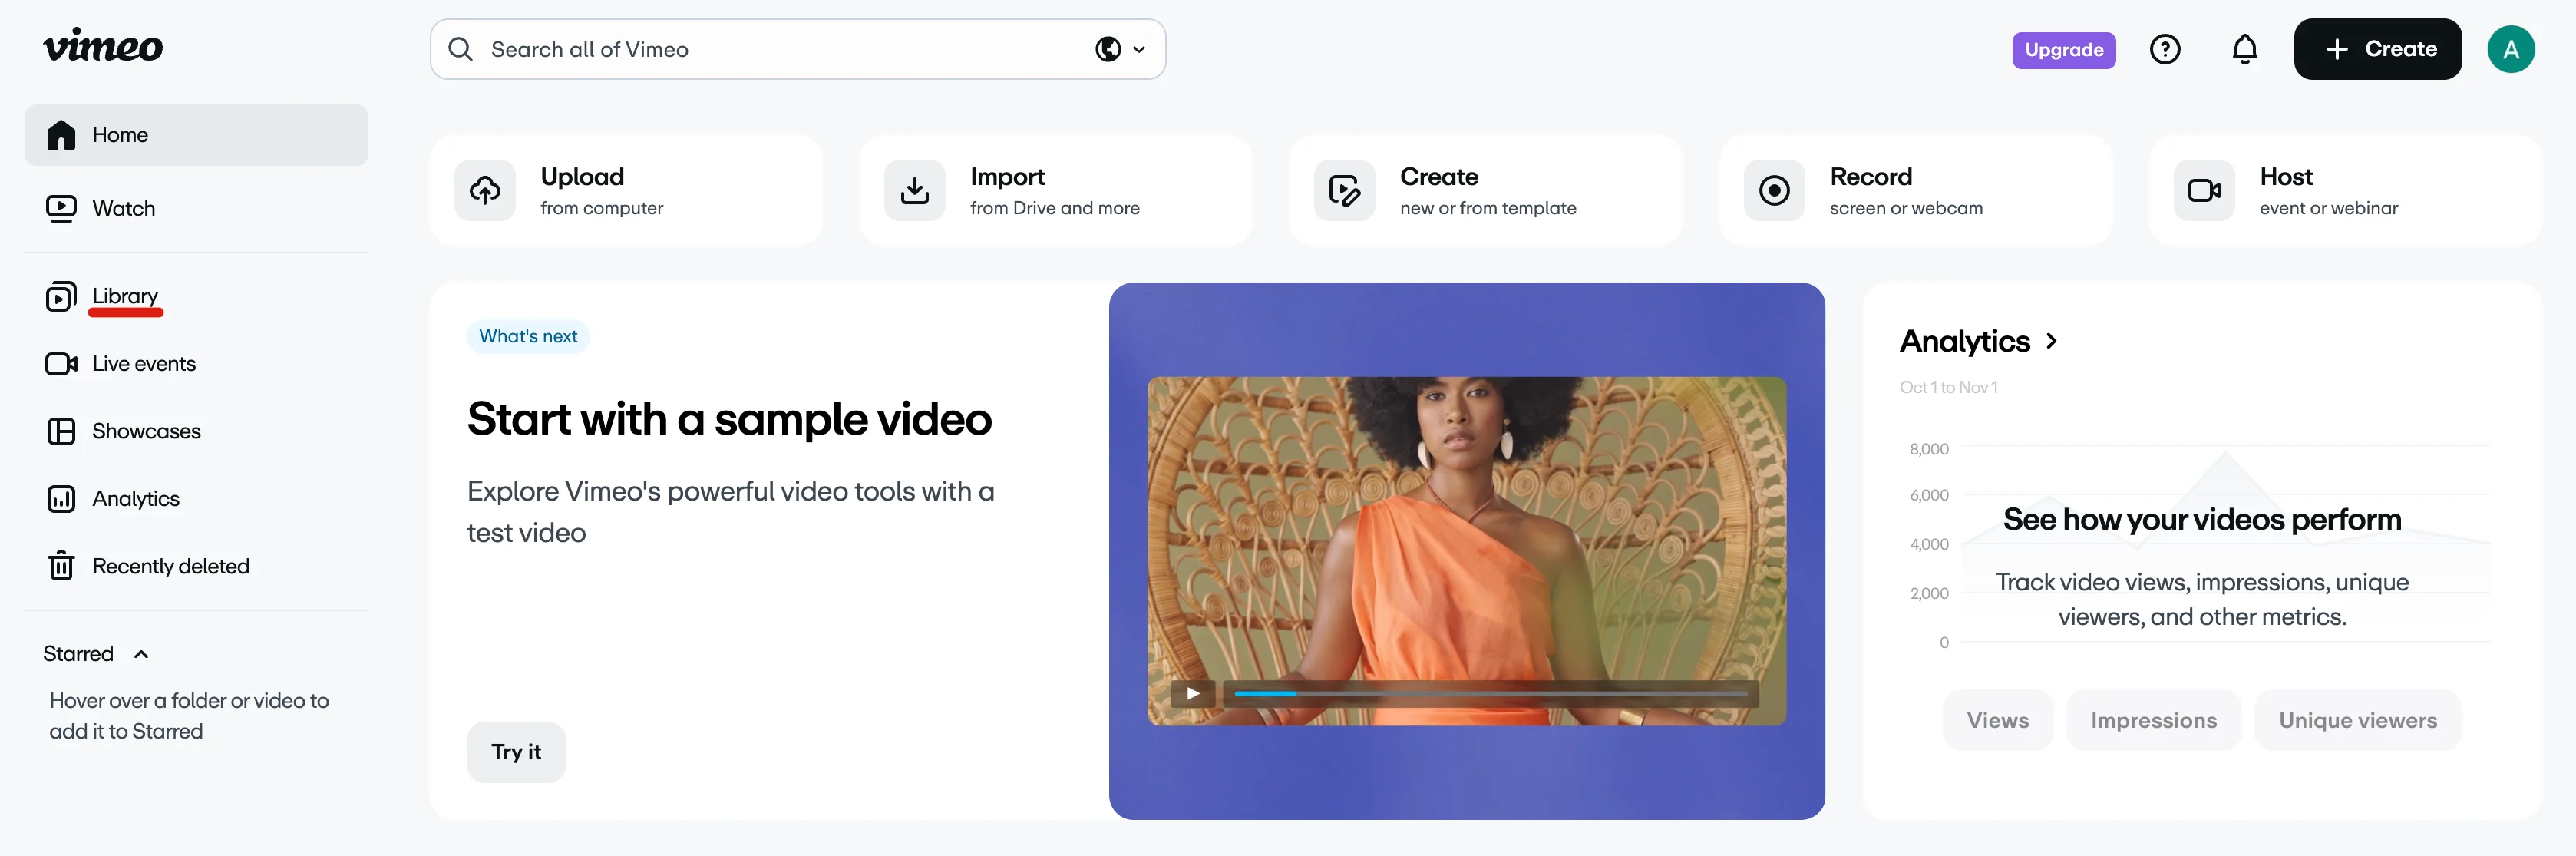
- Open the video you want to use, then click the Share button in the top-right corner.
- In the Share panel, find the Link field and click Copy link.
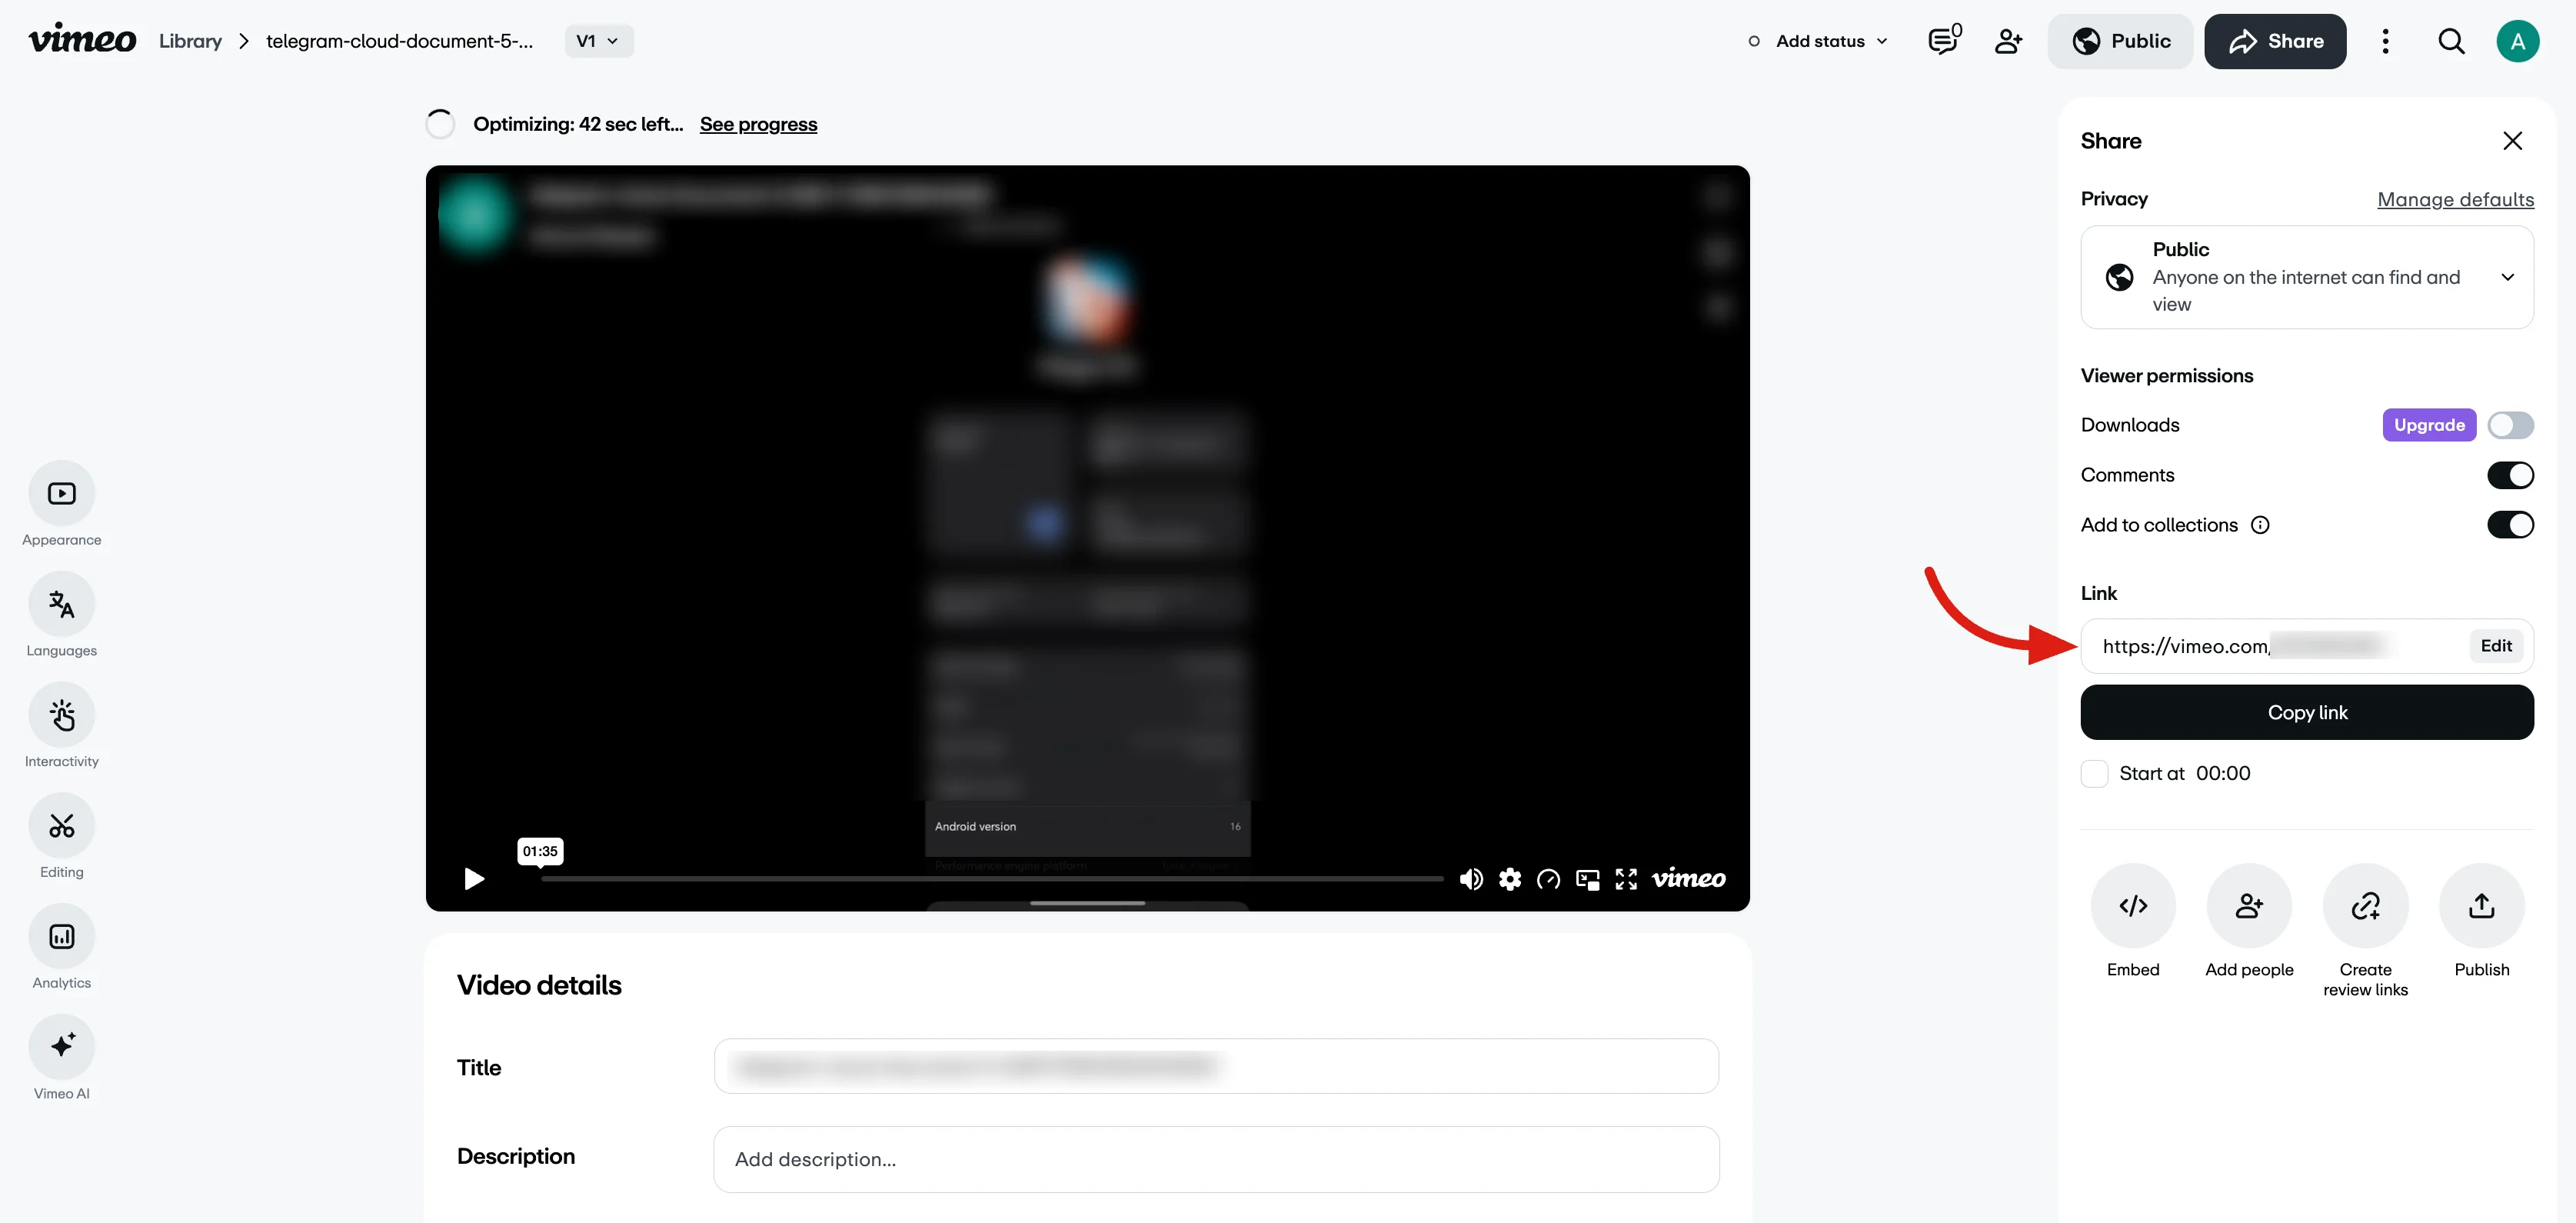
You now have a Vimeo URL that looks like https://vimeo.com/123456789.
Make sure the video is viewable
Check the Privacy setting in the Share panel. If a video is set to Private or restricted, viewers on your site may not be able to play it. Set it to Public (or a setting that allows embedding) so everyone can watch.
Step 2: Add the Video to FluentPlayer
Now paste that link into FluentPlayer.
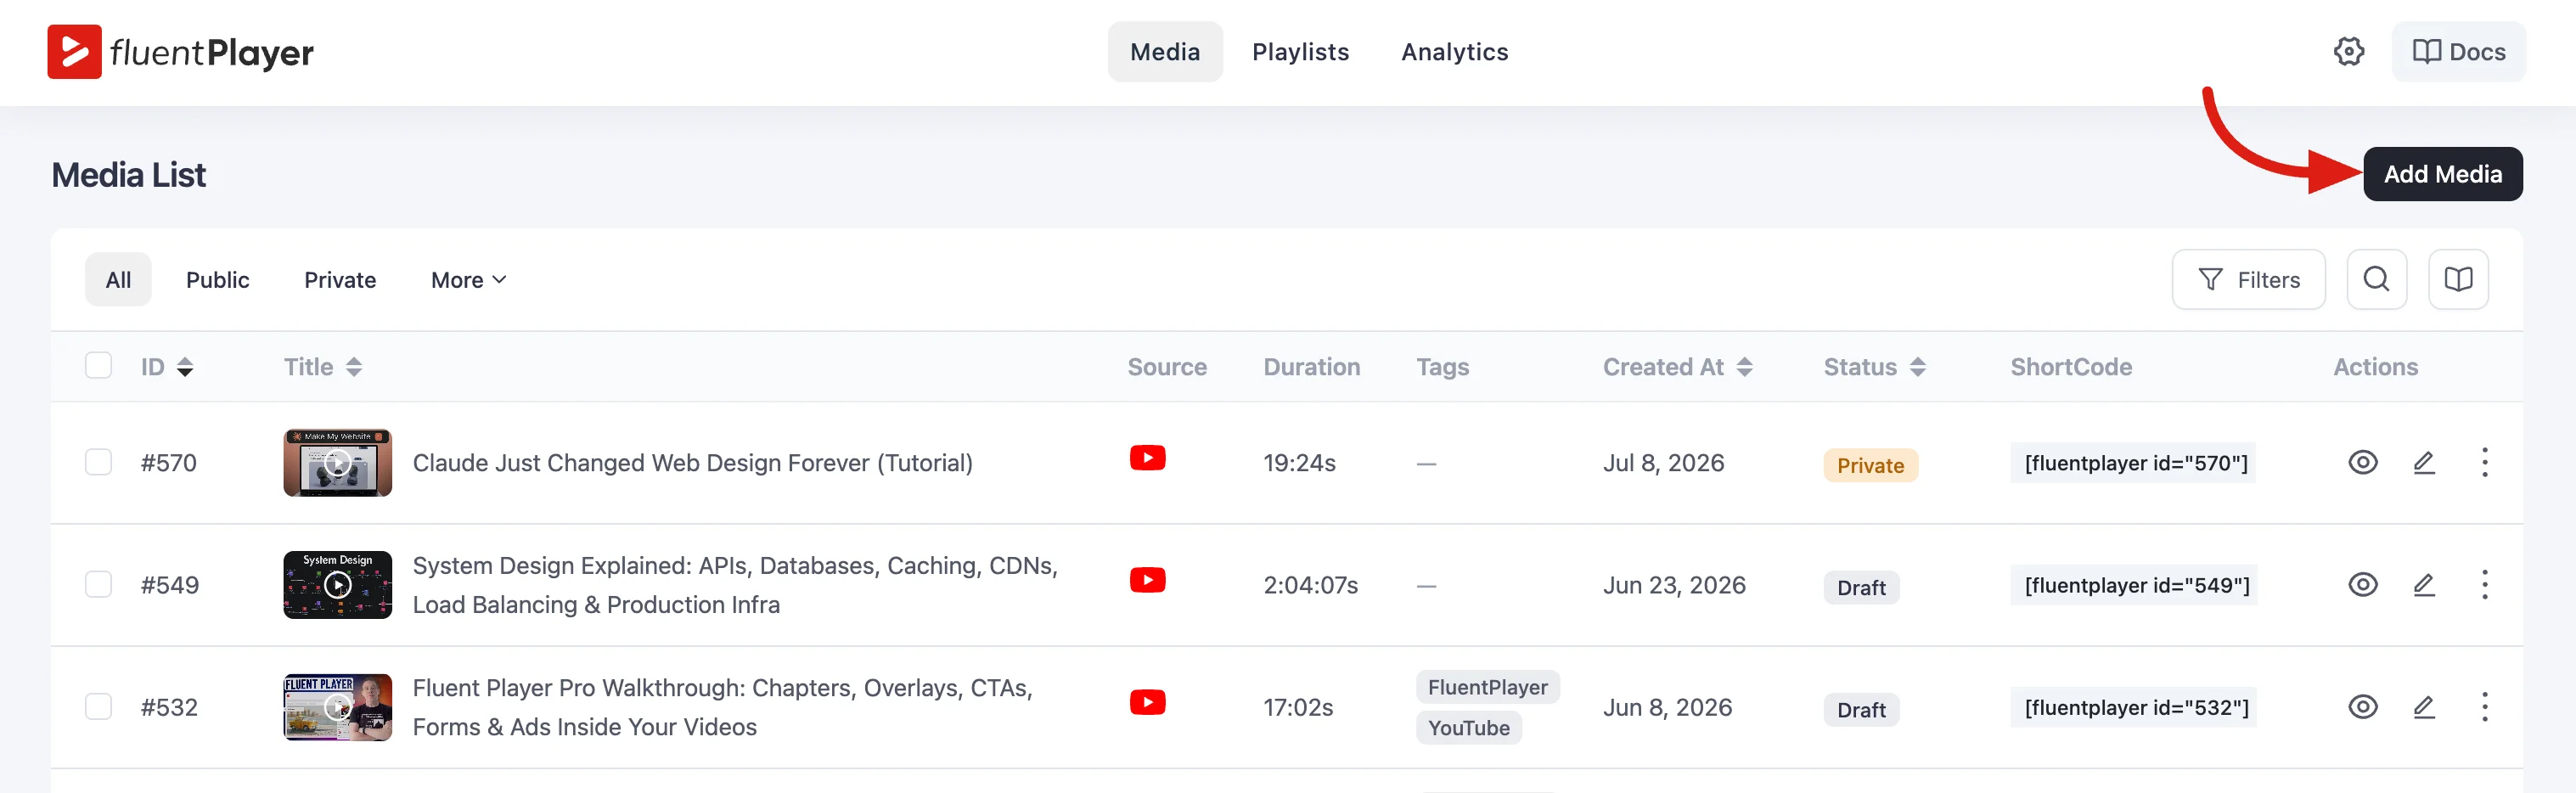
- In your WordPress admin, go to FluentPlayer → Media and click Add Media.
- Under Add a new media from different sources, click Vimeo.
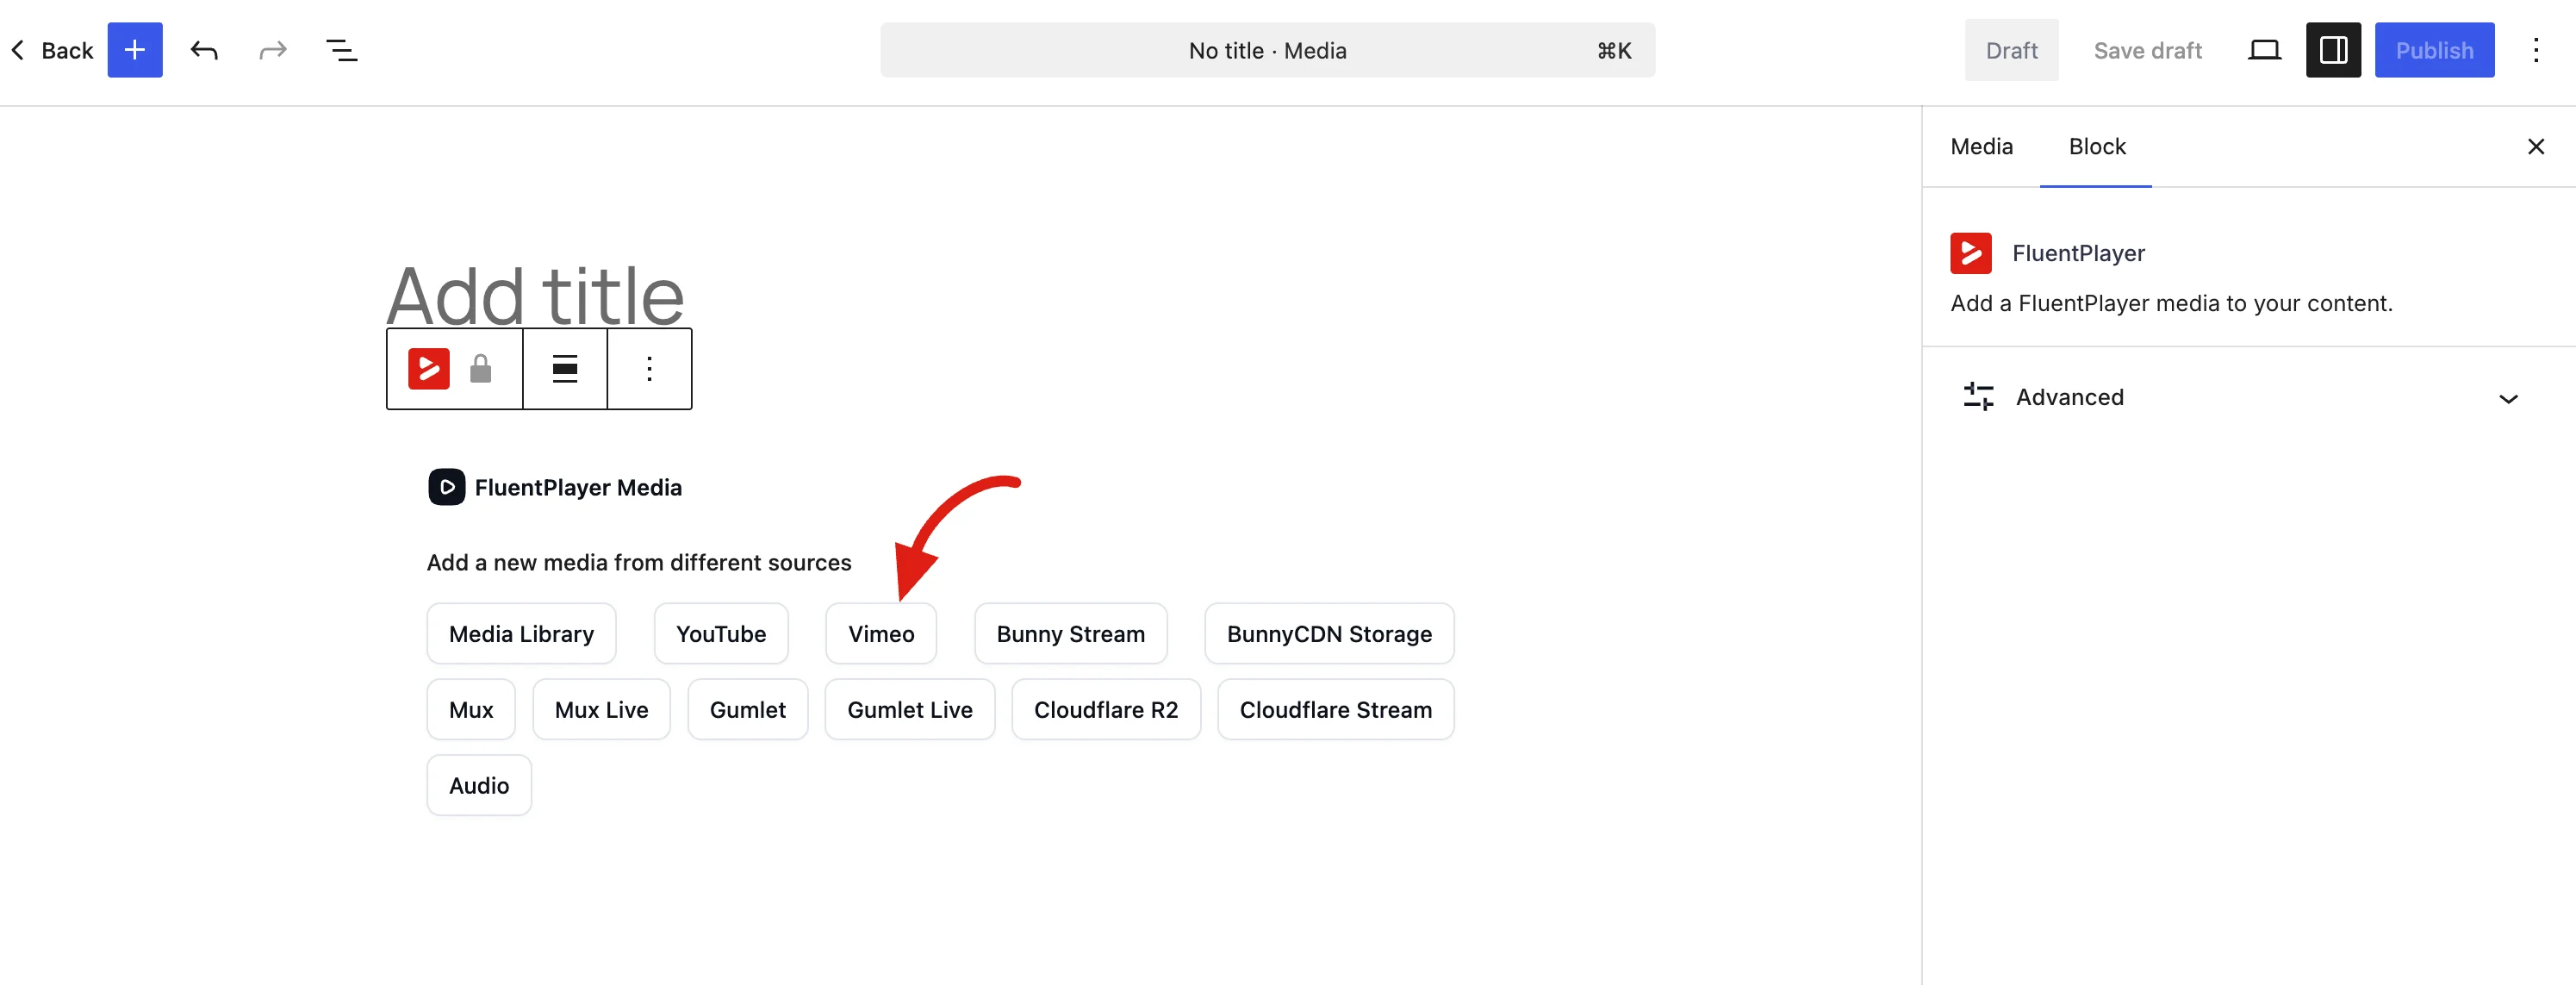
- Paste the Vimeo URL you copied into the Vimeo URL field, then click + Add Vimeo Video.
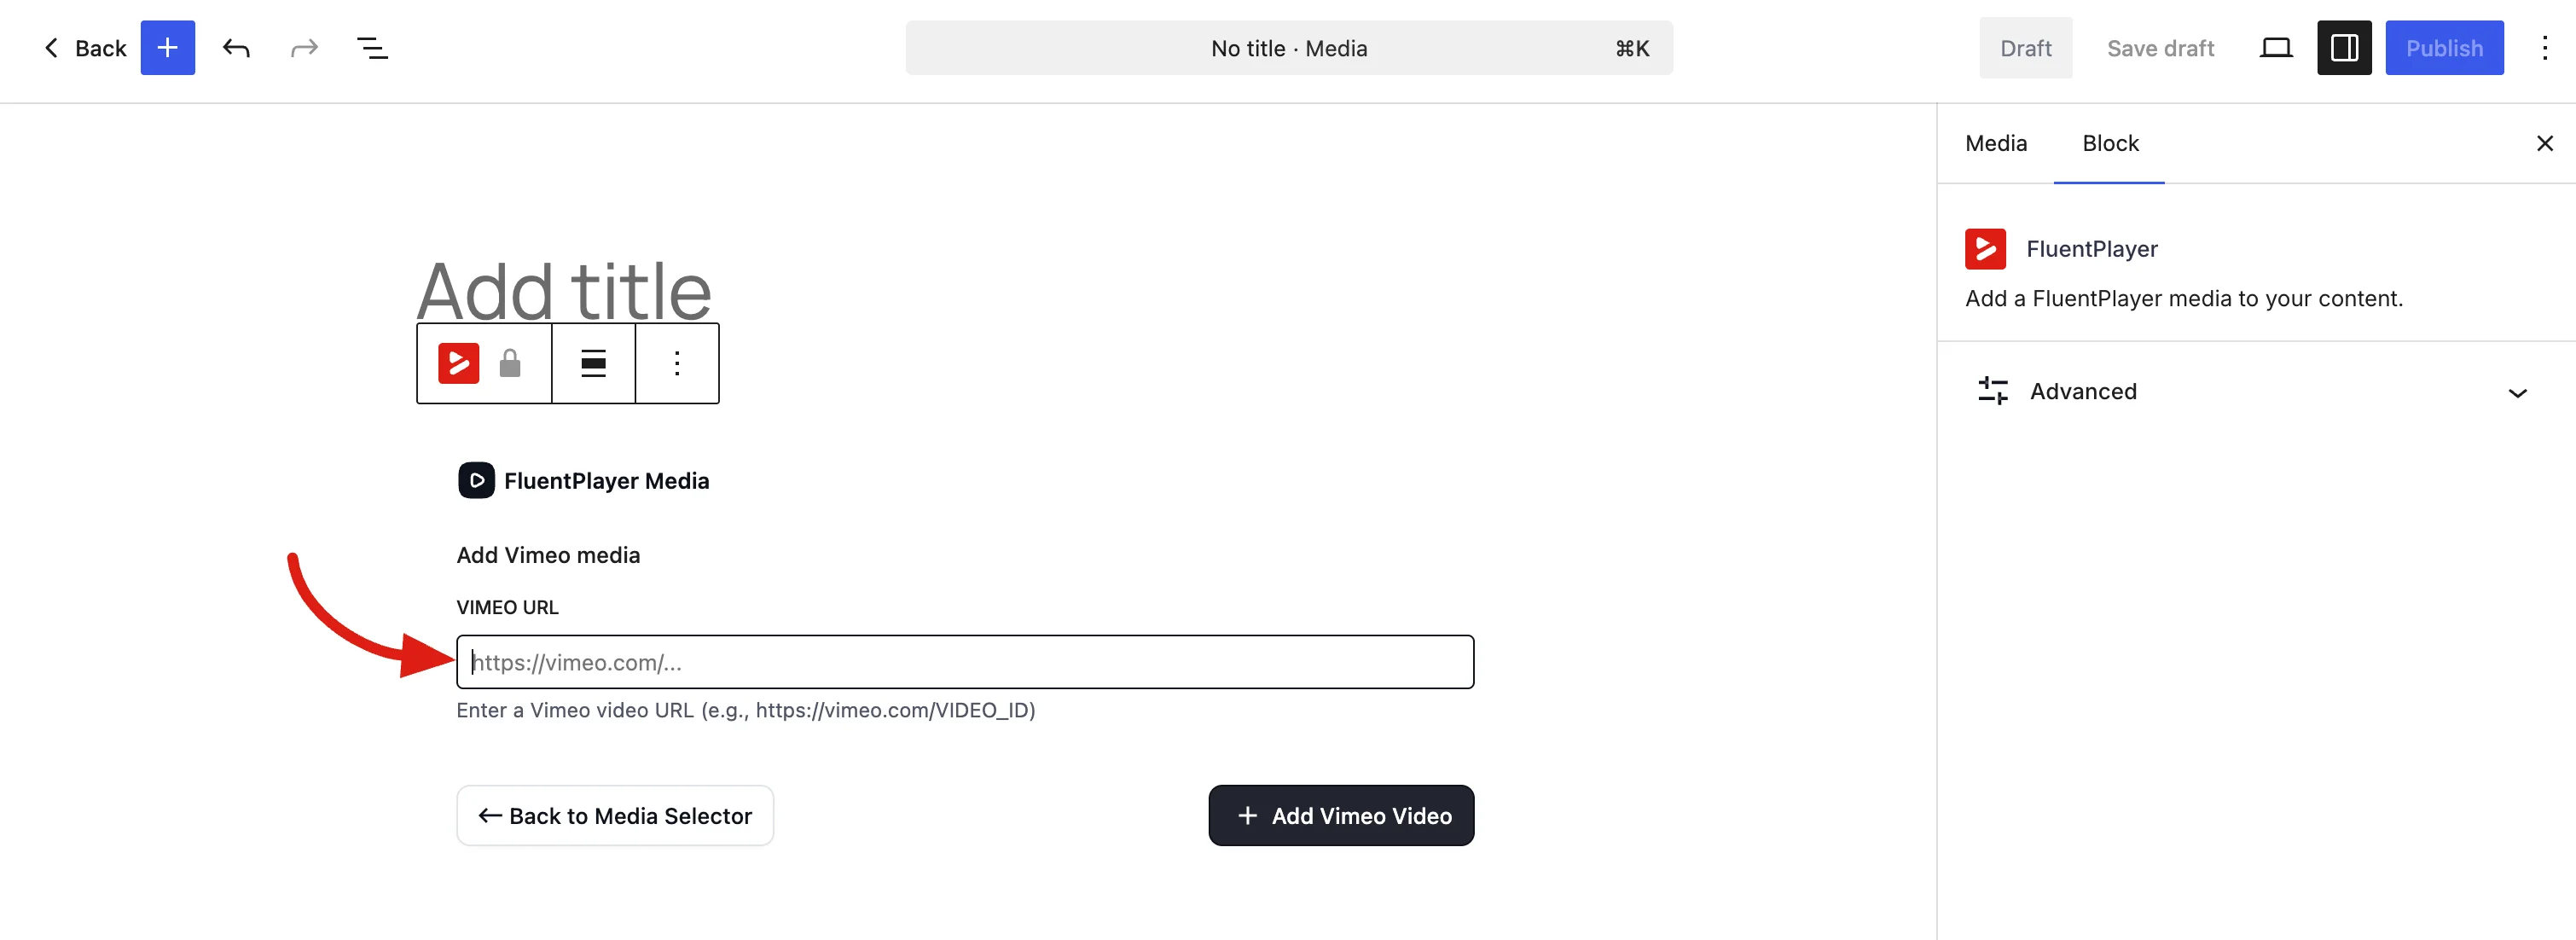
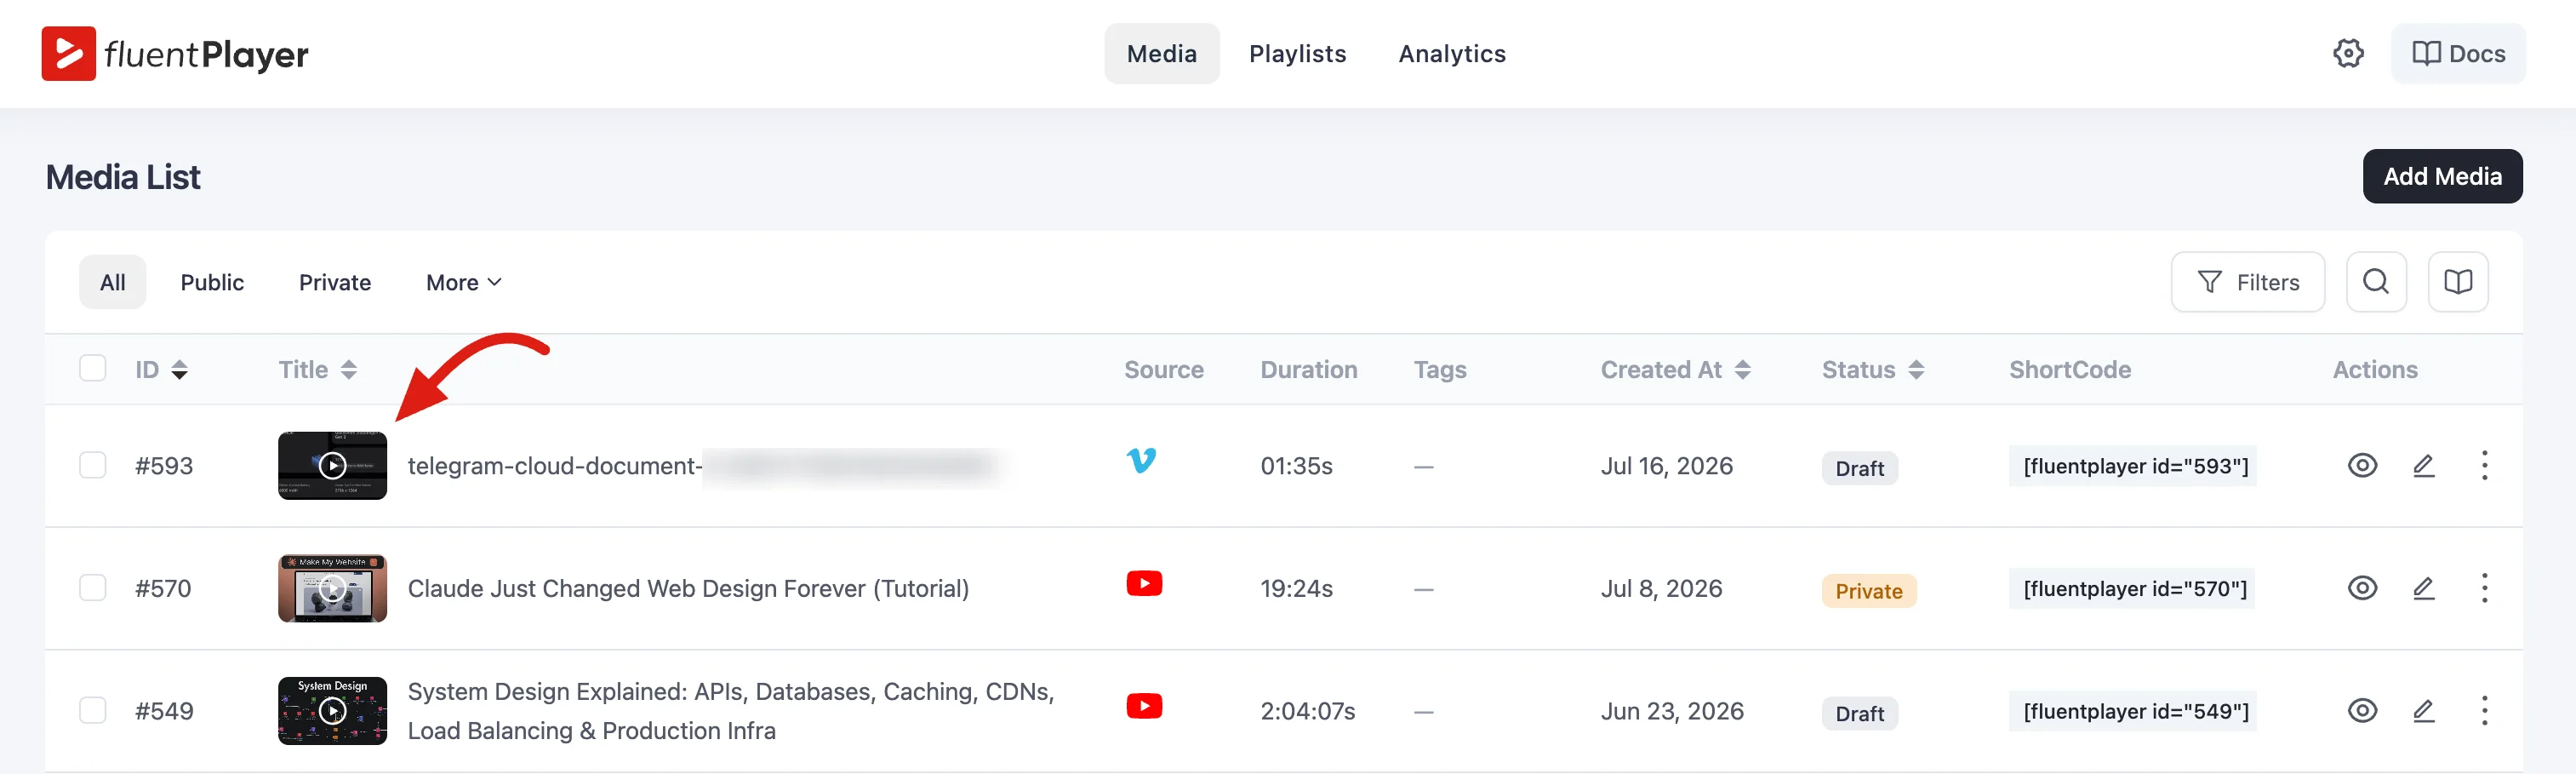
That's it. The Vimeo video is now added to your Media List, ready to embed anywhere on your site.
Privacy-Enhanced Mode
By default, FluentPlayer loads Vimeo in Privacy-Enhanced Mode: Vimeo does not set cookies or track your visitors unless they press play. Someone who loads the page and scrolls past the video is not tracked at all.
This is a global switch that applies to every Vimeo video on your site, not a per-video one. To find it, go to FluentPlayer → Settings → Vimeo.
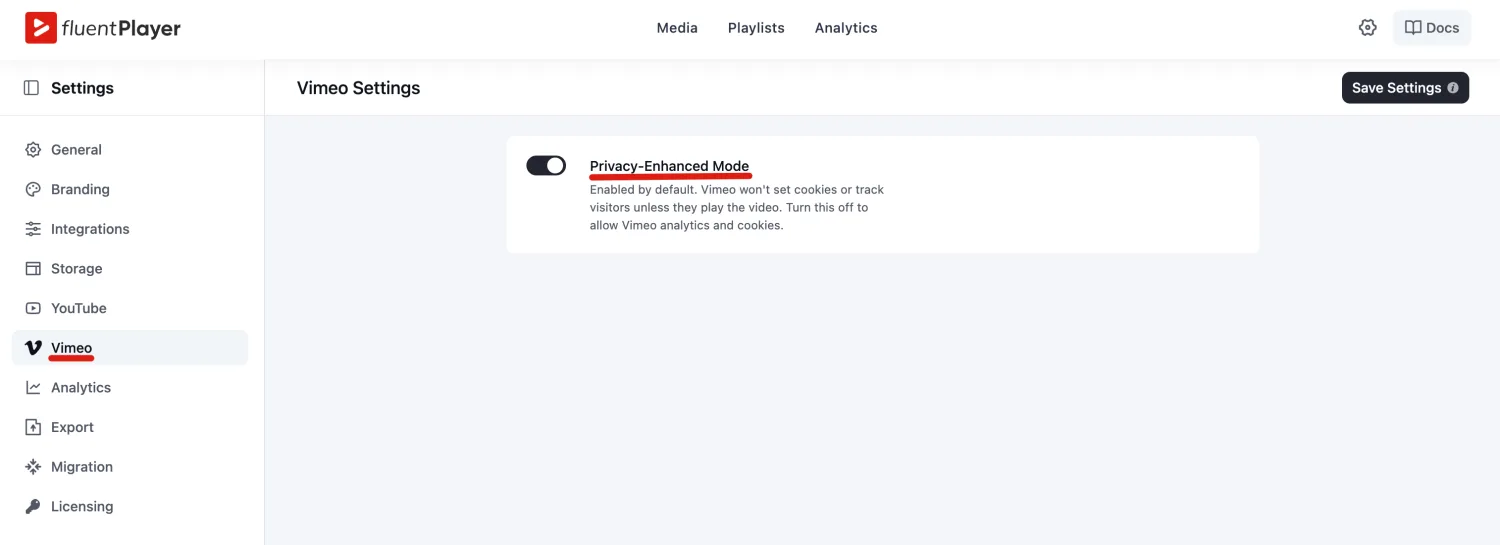
This is enabled by default. Most sites should leave it on.
When to turn it off: only if you rely on Vimeo's own analytics to measure views, or you need Vimeo's cookie-based features. Turning it off allows Vimeo to set cookies and collect analytics as soon as the page loads.
Click Save Settings after changing it.
TIP
Privacy-Enhanced Mode reduces what Vimeo collects from people who merely visit the page, but it does not make Vimeo embeds completely cookie-free. Once a visitor plays the video, Vimeo may still set cookies.
Different default from YouTube
Vimeo's Privacy-Enhanced Mode is on out of the box, while YouTube's is off. If you use both sources, check each settings page separately rather than assuming they match.
If you need Vimeo embeds held back entirely until a visitor accepts cookies, see.
Quality and Playback Speed
Vimeo videos get the same Quality and Playback Speed menus as the rest of your media — no setup required, and nothing to switch on.
Both menus appear only when the video can actually use them:
- The Quality menu is hidden when Vimeo only offers a single resolution for that video.
- The Playback Speed menu is hidden when the video does not allow the speed to be changed.
A missing menu is usually not a bug
If the Quality menu doesn't appear on one particular video, it almost always means Vimeo has only one resolution available for it. FluentPlayer hides the control rather than showing you a menu with nothing useful in it. Check the video in your Vimeo account — a recent upload may still be processing its higher resolutions.
Import Chapters from Vimeo
If you've already added chapters to a video inside Vimeo, you don't need to retype them.
- Open the video in the Player Editor and go to the Chapters panel.
- Click Import from Vimeo.
Your Vimeo chapters are pulled in as regular FluentPlayer chapters, which you can then edit, reorder, or remove like any others. See Chapters for the full authoring guide.
"No chapters found"
If you see "No chapters found on this Vimeo video yet", start the preview player and let it load, then click Import from Vimeo again. The chapter data arrives with the video, so it isn't available until the preview has loaded.
Import Captions from Vimeo (Pro)
Captions you've already uploaded to Vimeo can be imported as FluentPlayer subtitles.
- Open the video in the Player Editor and go to the Subtitles panel.
- Under Vimeo Subtitle Import, click Fetch.
- Tick the caption tracks you want.
- Click Import Selected.
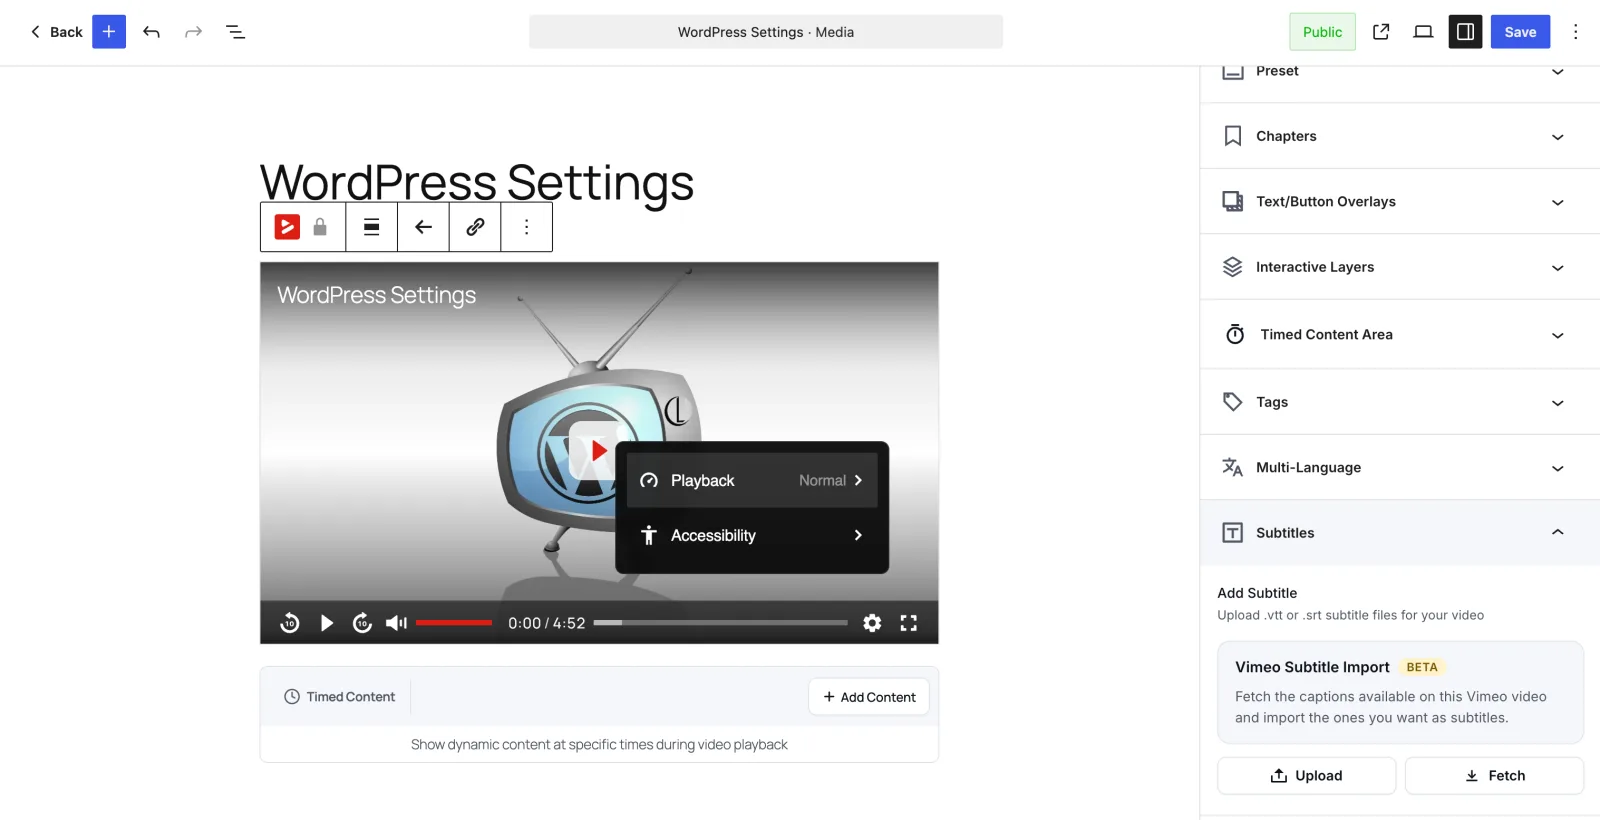
The imported tracks become normal subtitle entries — you can rename, restyle, or delete them, and viewers pick them from the captions menu exactly like a track you uploaded yourself.
Pro feature
Importing Vimeo captions requires FluentPlayer Pro. Playing a Vimeo video, and its built-in captions, works in the free version. See Subtitles & Captions for every way to add subtitles.
Marked BETA
The Vimeo Subtitle Import panel carries a BETA label. It works, but treat it as newer than the rest of the subtitle tools — check the imported tracks play correctly before relying on them for an important video. You can always upload a .vtt or .srt file instead.
There is a limit on how many tracks you can import in one go. If you have more caption tracks than that, import them in two passes.
Rest of the Setup
Everything else works exactly like any other FluentPlayer media. Once the Vimeo video is added, you can:
- Customize the player with a preset and branding options.
- Embed it with a shortcode or the Gutenberg block.
- Add chapters, subtitles, and engagement features like the email capture overlay.