Appearance
Integrations Settings
The Integrations section manages email and lead capture providers. When viewers submit their email through a FluentPlayer email capture overlay, the data is routed to whichever provider you configure here.
Note
Video storage providers (Mux, BunnyCDN) are configured under Settings → Storage, not here. This section is for email / CRM integrations only.
Browsing Integrations
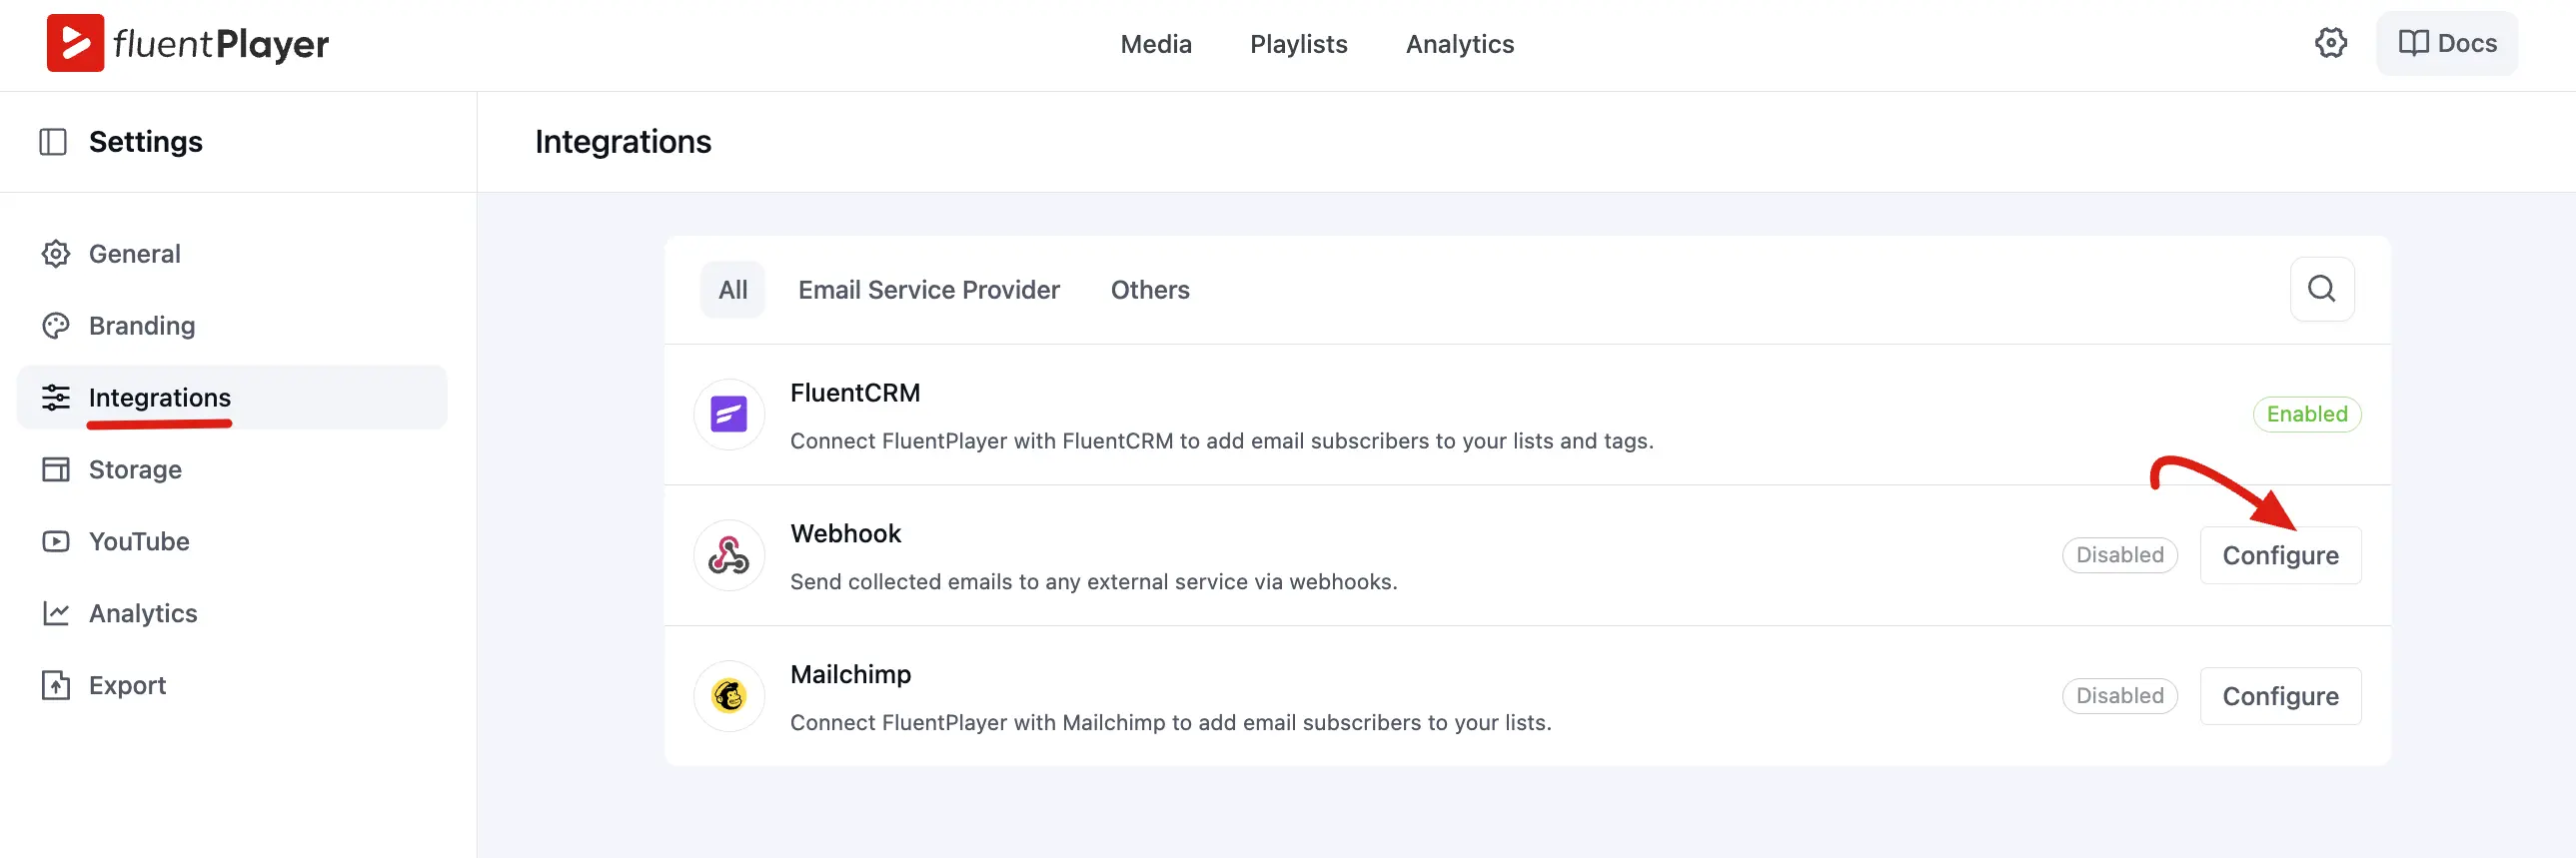
Navigating your available integrations is simple. You can use the search bar on the right or filter the list using the tabs at the top of the screen:
- All: Shows every integration card available.
- Email Service Provider: Filters the view to show dedicated email platforms like FluentCRM and Mailchimp.
- Others: Filters the view to show custom routing options like Webhooks.
Each integration card displays a brief description, a status badge (Enabled or Disabled), and a Configure button to manage your connection settings.
FluentCRM
FluentCRM is a powerful, WordPress native CRM and email marketing plugin. Because it runs directly on your own WordPress site, integrating it with FluentPlayer requires absolutely no external API keys; it connects seamlessly.
What happens when a viewer submits their email:
- A contact is instantly created (or updated) within FluentCRM.
- The contact is added to your specified lists or tags.
- Your pre built email sequences, newsletters, or automations trigger automatically inside FluentCRM.
How to set it up:
- Ensure you have the FluentCRM plugin installed and activated on your WordPress site.
- Navigate to FluentPlayer -> Settings -> Integrations.
- Locate the FluentCRM card and enable the integration (the status badge will turn green and display Enabled).
- Configure which list or tag your new contacts should be assigned to, and click Save.
Mailchimp (Pro)
Mailchimp is a popular email marketing platform. With FluentPlayer Pro, captured emails are sent directly to a Mailchimp audience.
How to set it up:
- Go to FluentPlayer → Settings → Integrations.
- Find Mailchimp and click Configure.
- Enter your Mailchimp API key (found in your Mailchimp account under Account → API Keys).
- Select the audience (list) where new subscribers should be added.
- Save.
Best for: Users who already run Mailchimp campaigns and want email captures from video to feed directly into their existing lists.
Webhook (Pro)
A webhook sends your captured email data as an HTTP POST request to any URL you specify. This is your most flexible, powerful option, allowing you to route lead data to virtually any modern CRM, automation platform, or custom built system.
What happens when a viewer submits their email:
- FluentPlayer instantly sends a POST request to your specified webhook URL.
- Your receiving endpoint accepts the payload (which includes the email, name, and any other collected fields) and processes it according to your external setup.
How to set it up:
- Navigate to FluentPlayer -> Settings -> Integrations.
- Locate the Webhook card and click Configure.
- Enter your Webhook URL, which is the exact endpoint address that should receive the data.
- Click Save to activate the integration.
🔍 Example: Webhooks are perfect for connecting your video lead generation to automation tools like Zapier, Make (Integromat), n8n, HubSpot, or ActiveCampaign.
Which Provider Should I Use?
| Provider | Plugin version | Best for |
|---|---|---|
| FluentCRM | Free | WordPress native email marketing |
| Mailchimp | Pro | Existing Mailchimp users |
| Webhook | Pro | Any CRM or automation tool with webhook support |
You can have multiple providers configured (each with Enabled/Disabled toggles), and each email capture overlay can route to one or more selected providers — every submission is sent to each provider you attach.
Connecting a Provider to Email Capture
After setting up a provider here, make sure to select it in the Email Capture Overlay settings (on the preset or per media). The capture overlay and the provider are configured separately.