
Appearance
Creating a Playlist
A playlist lets you group multiple videos together so viewers can watch them in sequence like a course, a series, or a collection. Viewers can switch between videos seamlessly without ever leaving the page.
Pro feature
Creating and embedding playlists requires FluentPlayer Pro. The free version displays the Playlists menu, but you must upgrade to Pro to build playlists.
Who can create playlists?
Users with the Editor role (or higher) can create and manage playlists. This is adjustable using the fluent_player/authoring_capability filter — see Authoring Capabilities.
Before You Start
Make sure you have already created the individual media items (videos) that you want to include. Each video should be fully set up under FluentPlayer → Media before you proceed. See Adding and Editing Videos if you have not done this yet.
Step 1: Create a New Playlist
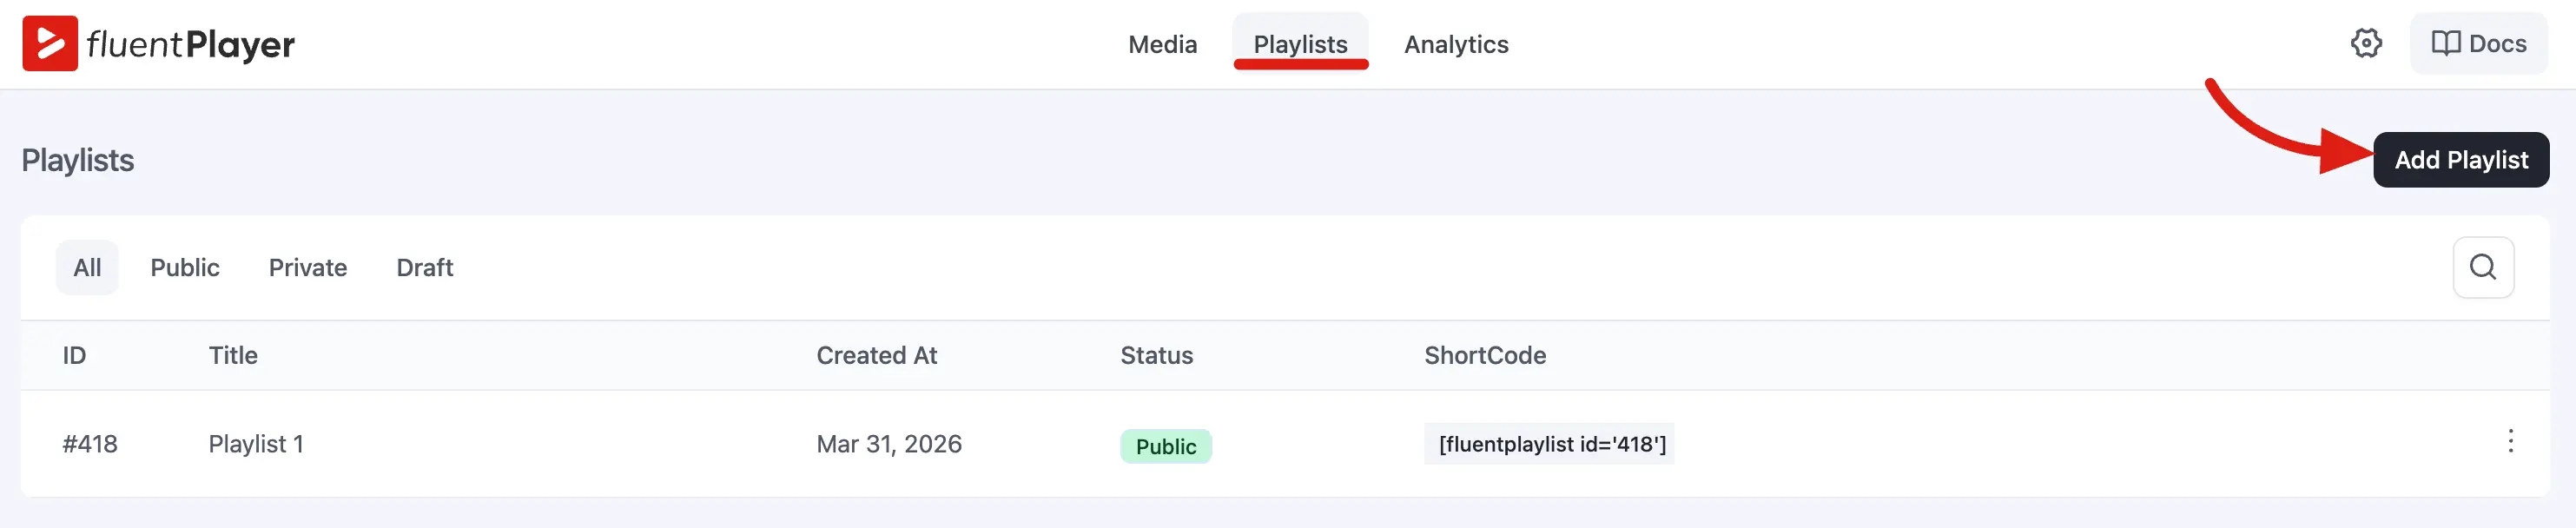
In your WordPress admin dashboard, navigate to FluentPlayer → Playlists and click the button to add a new playlist. Enter a descriptive title (for example, "WordPress Basics Course" or "Product Demo Series") to identify it easily in your admin area.
Step 2: Add Media Items
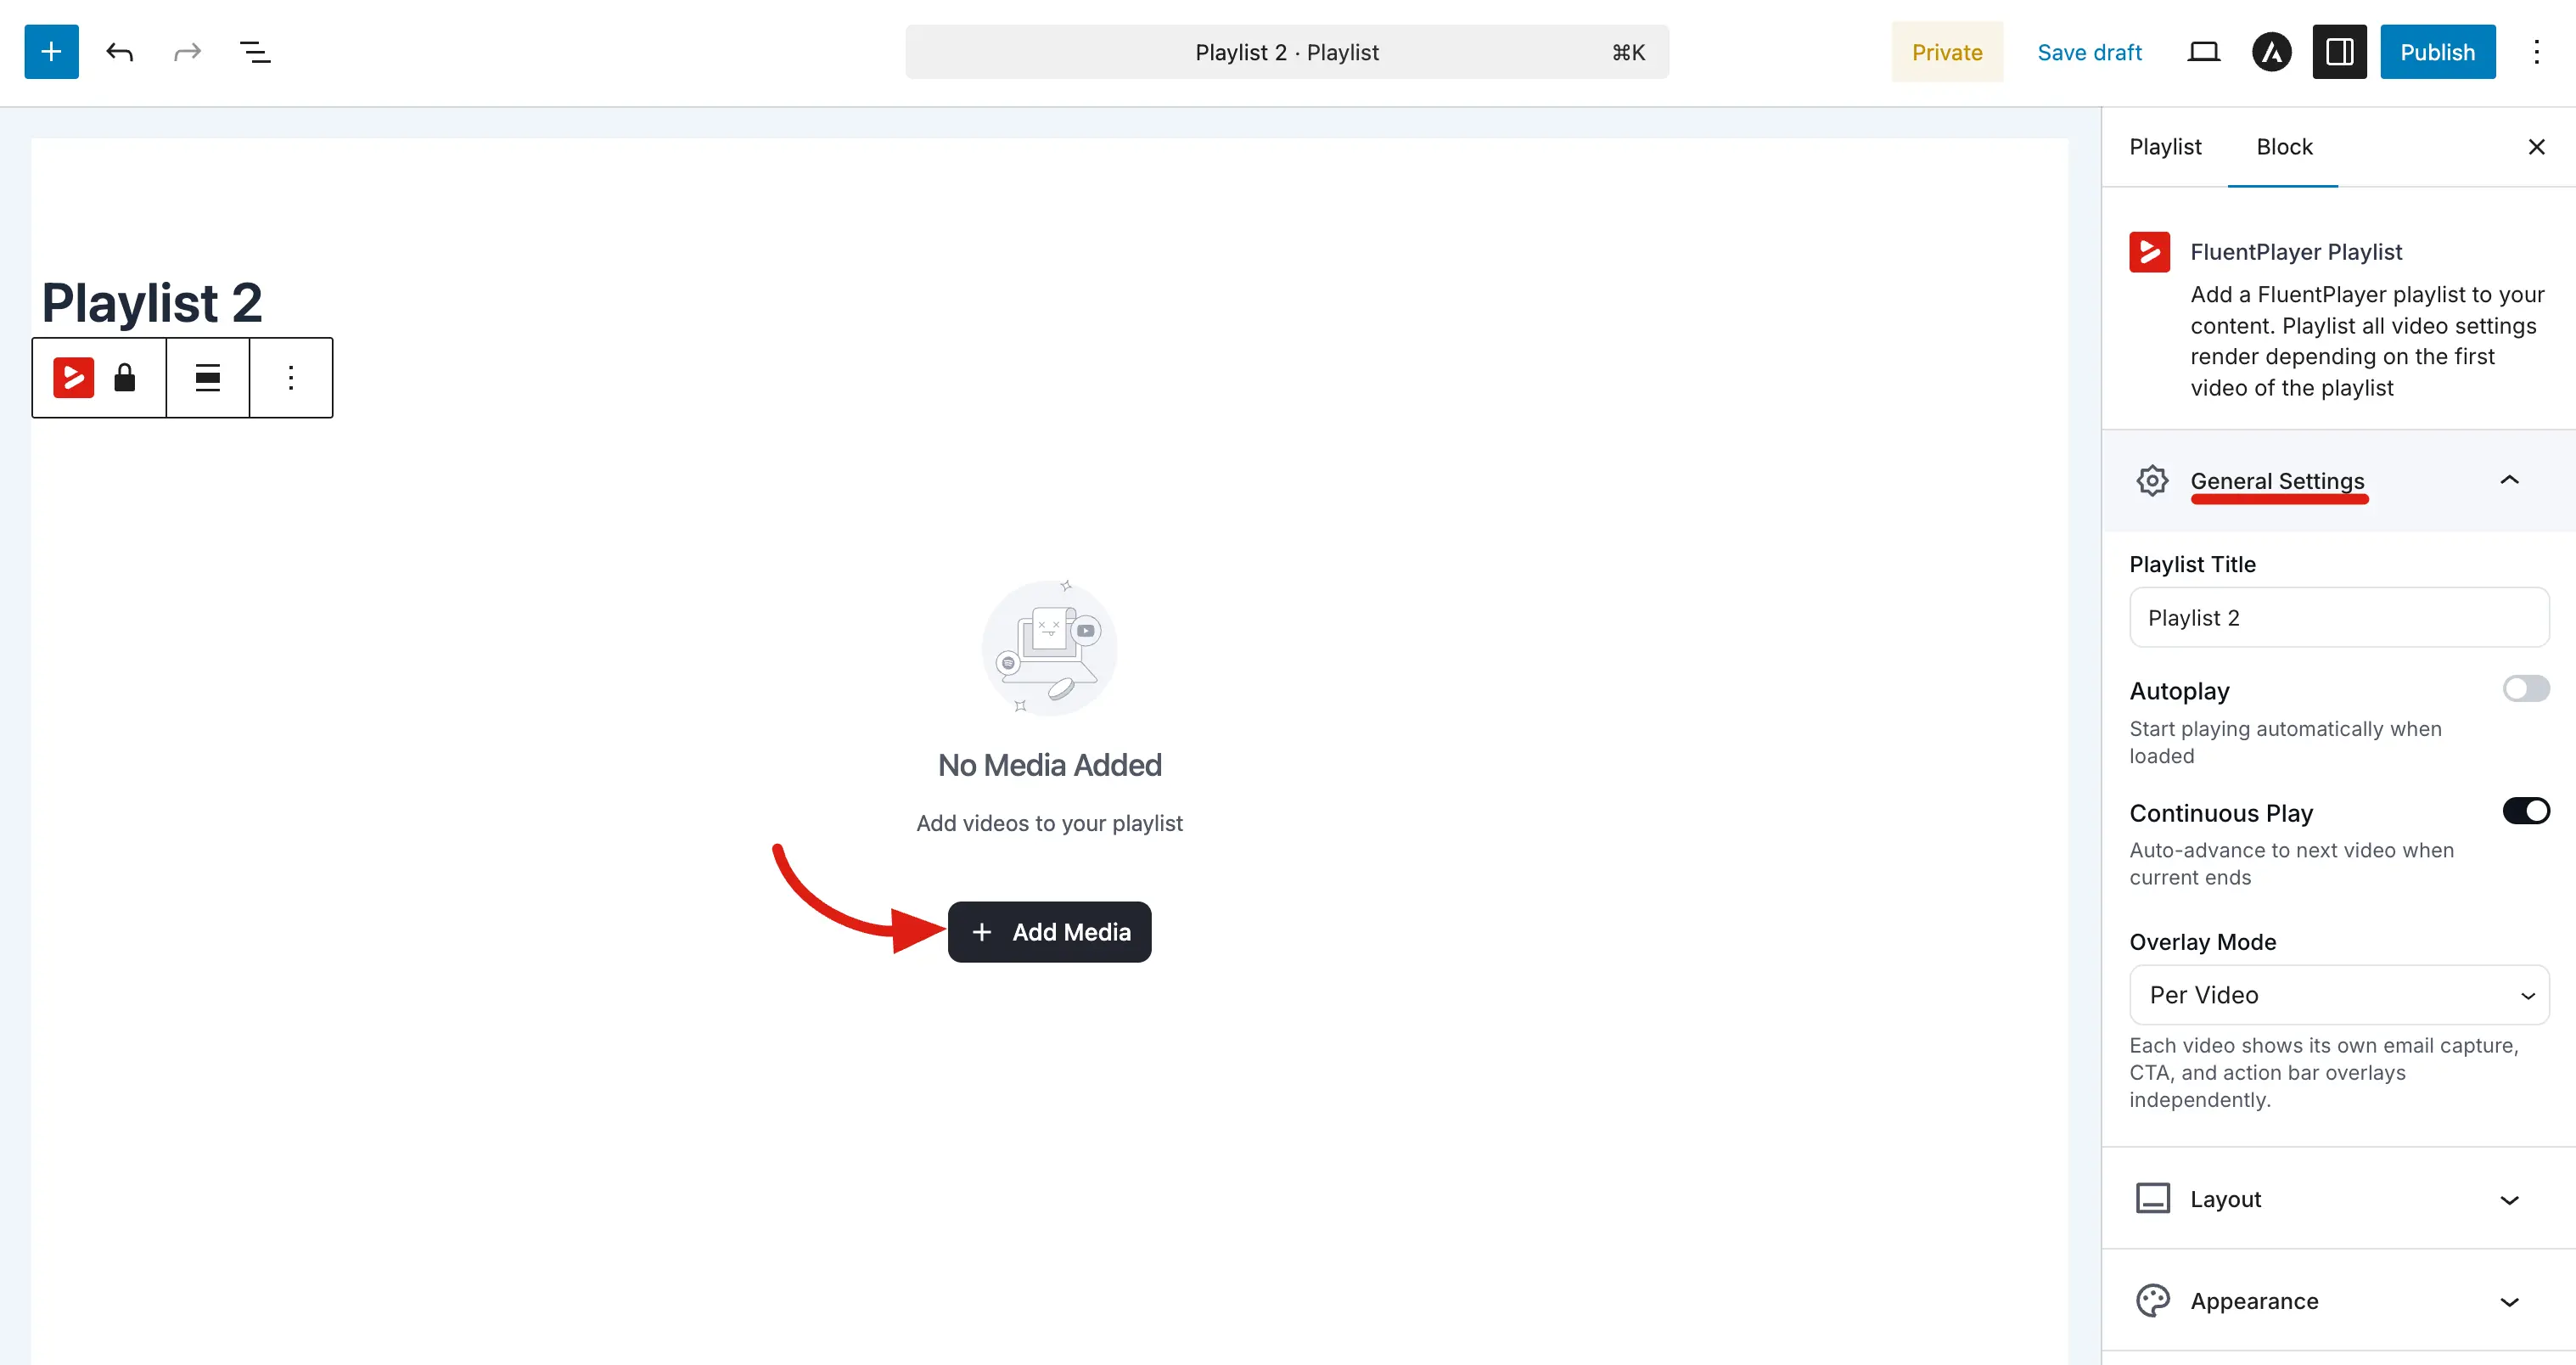
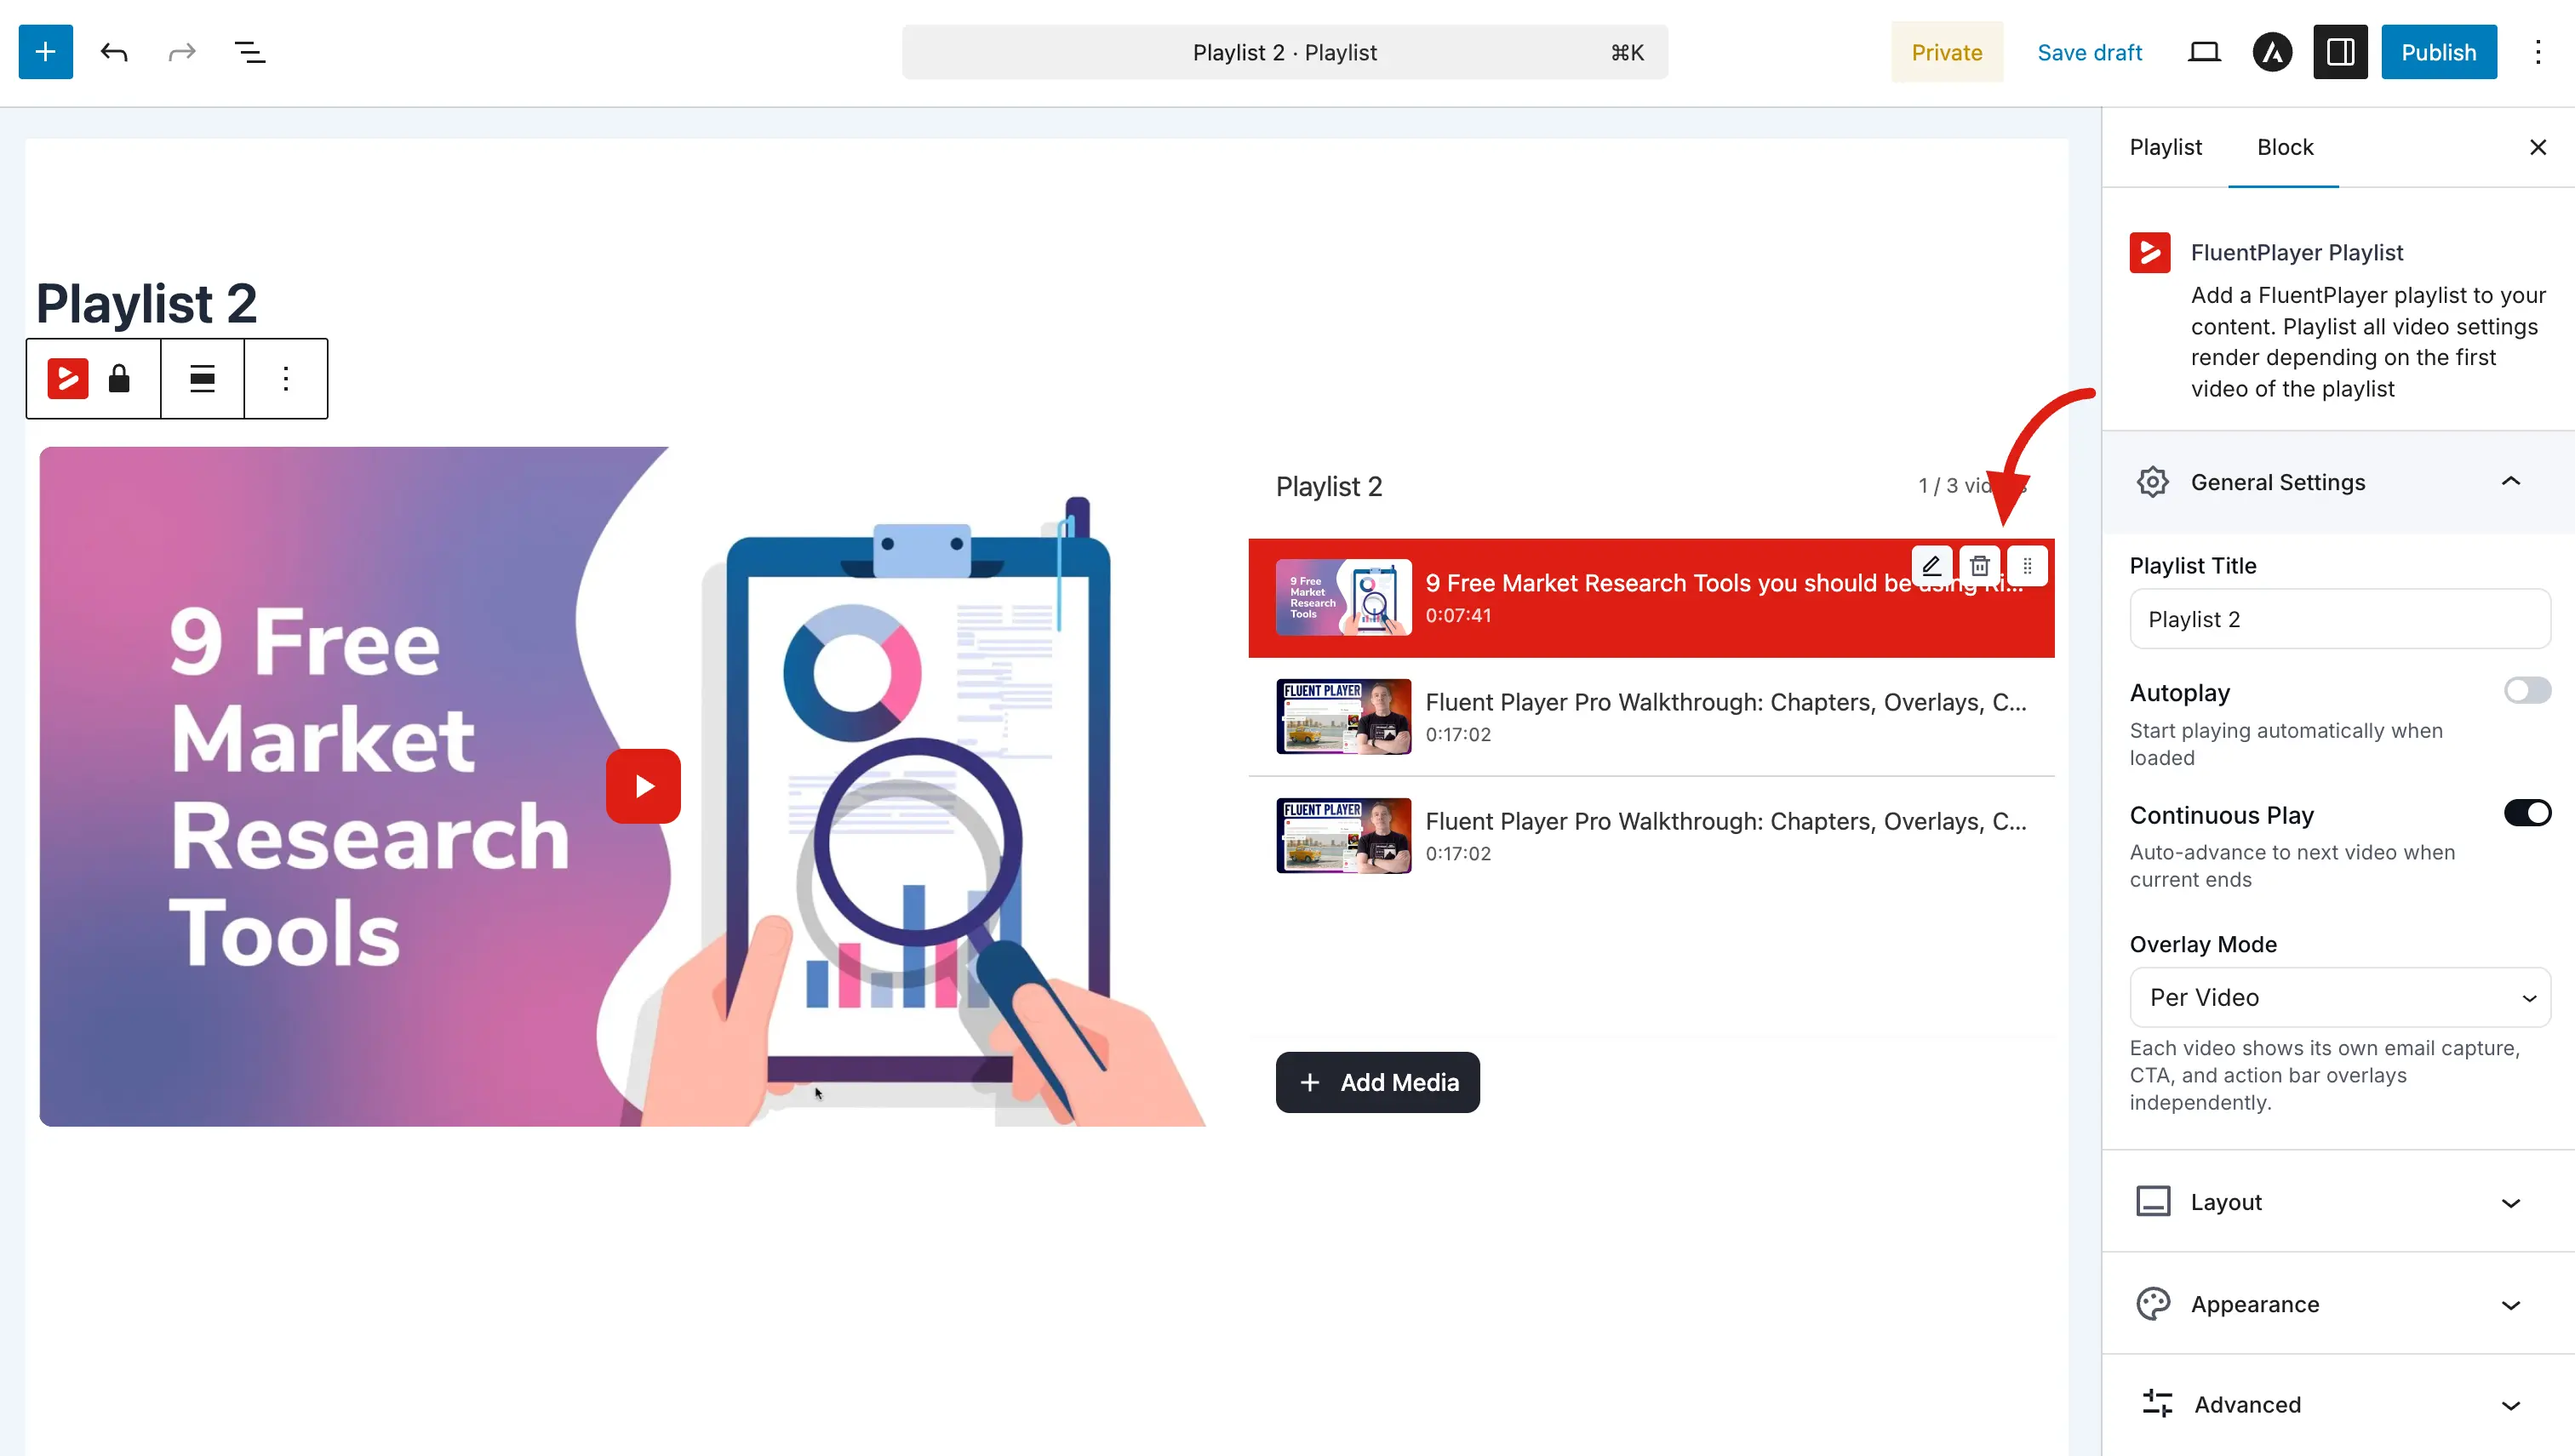
In the playlist editor, click the Add Media button.
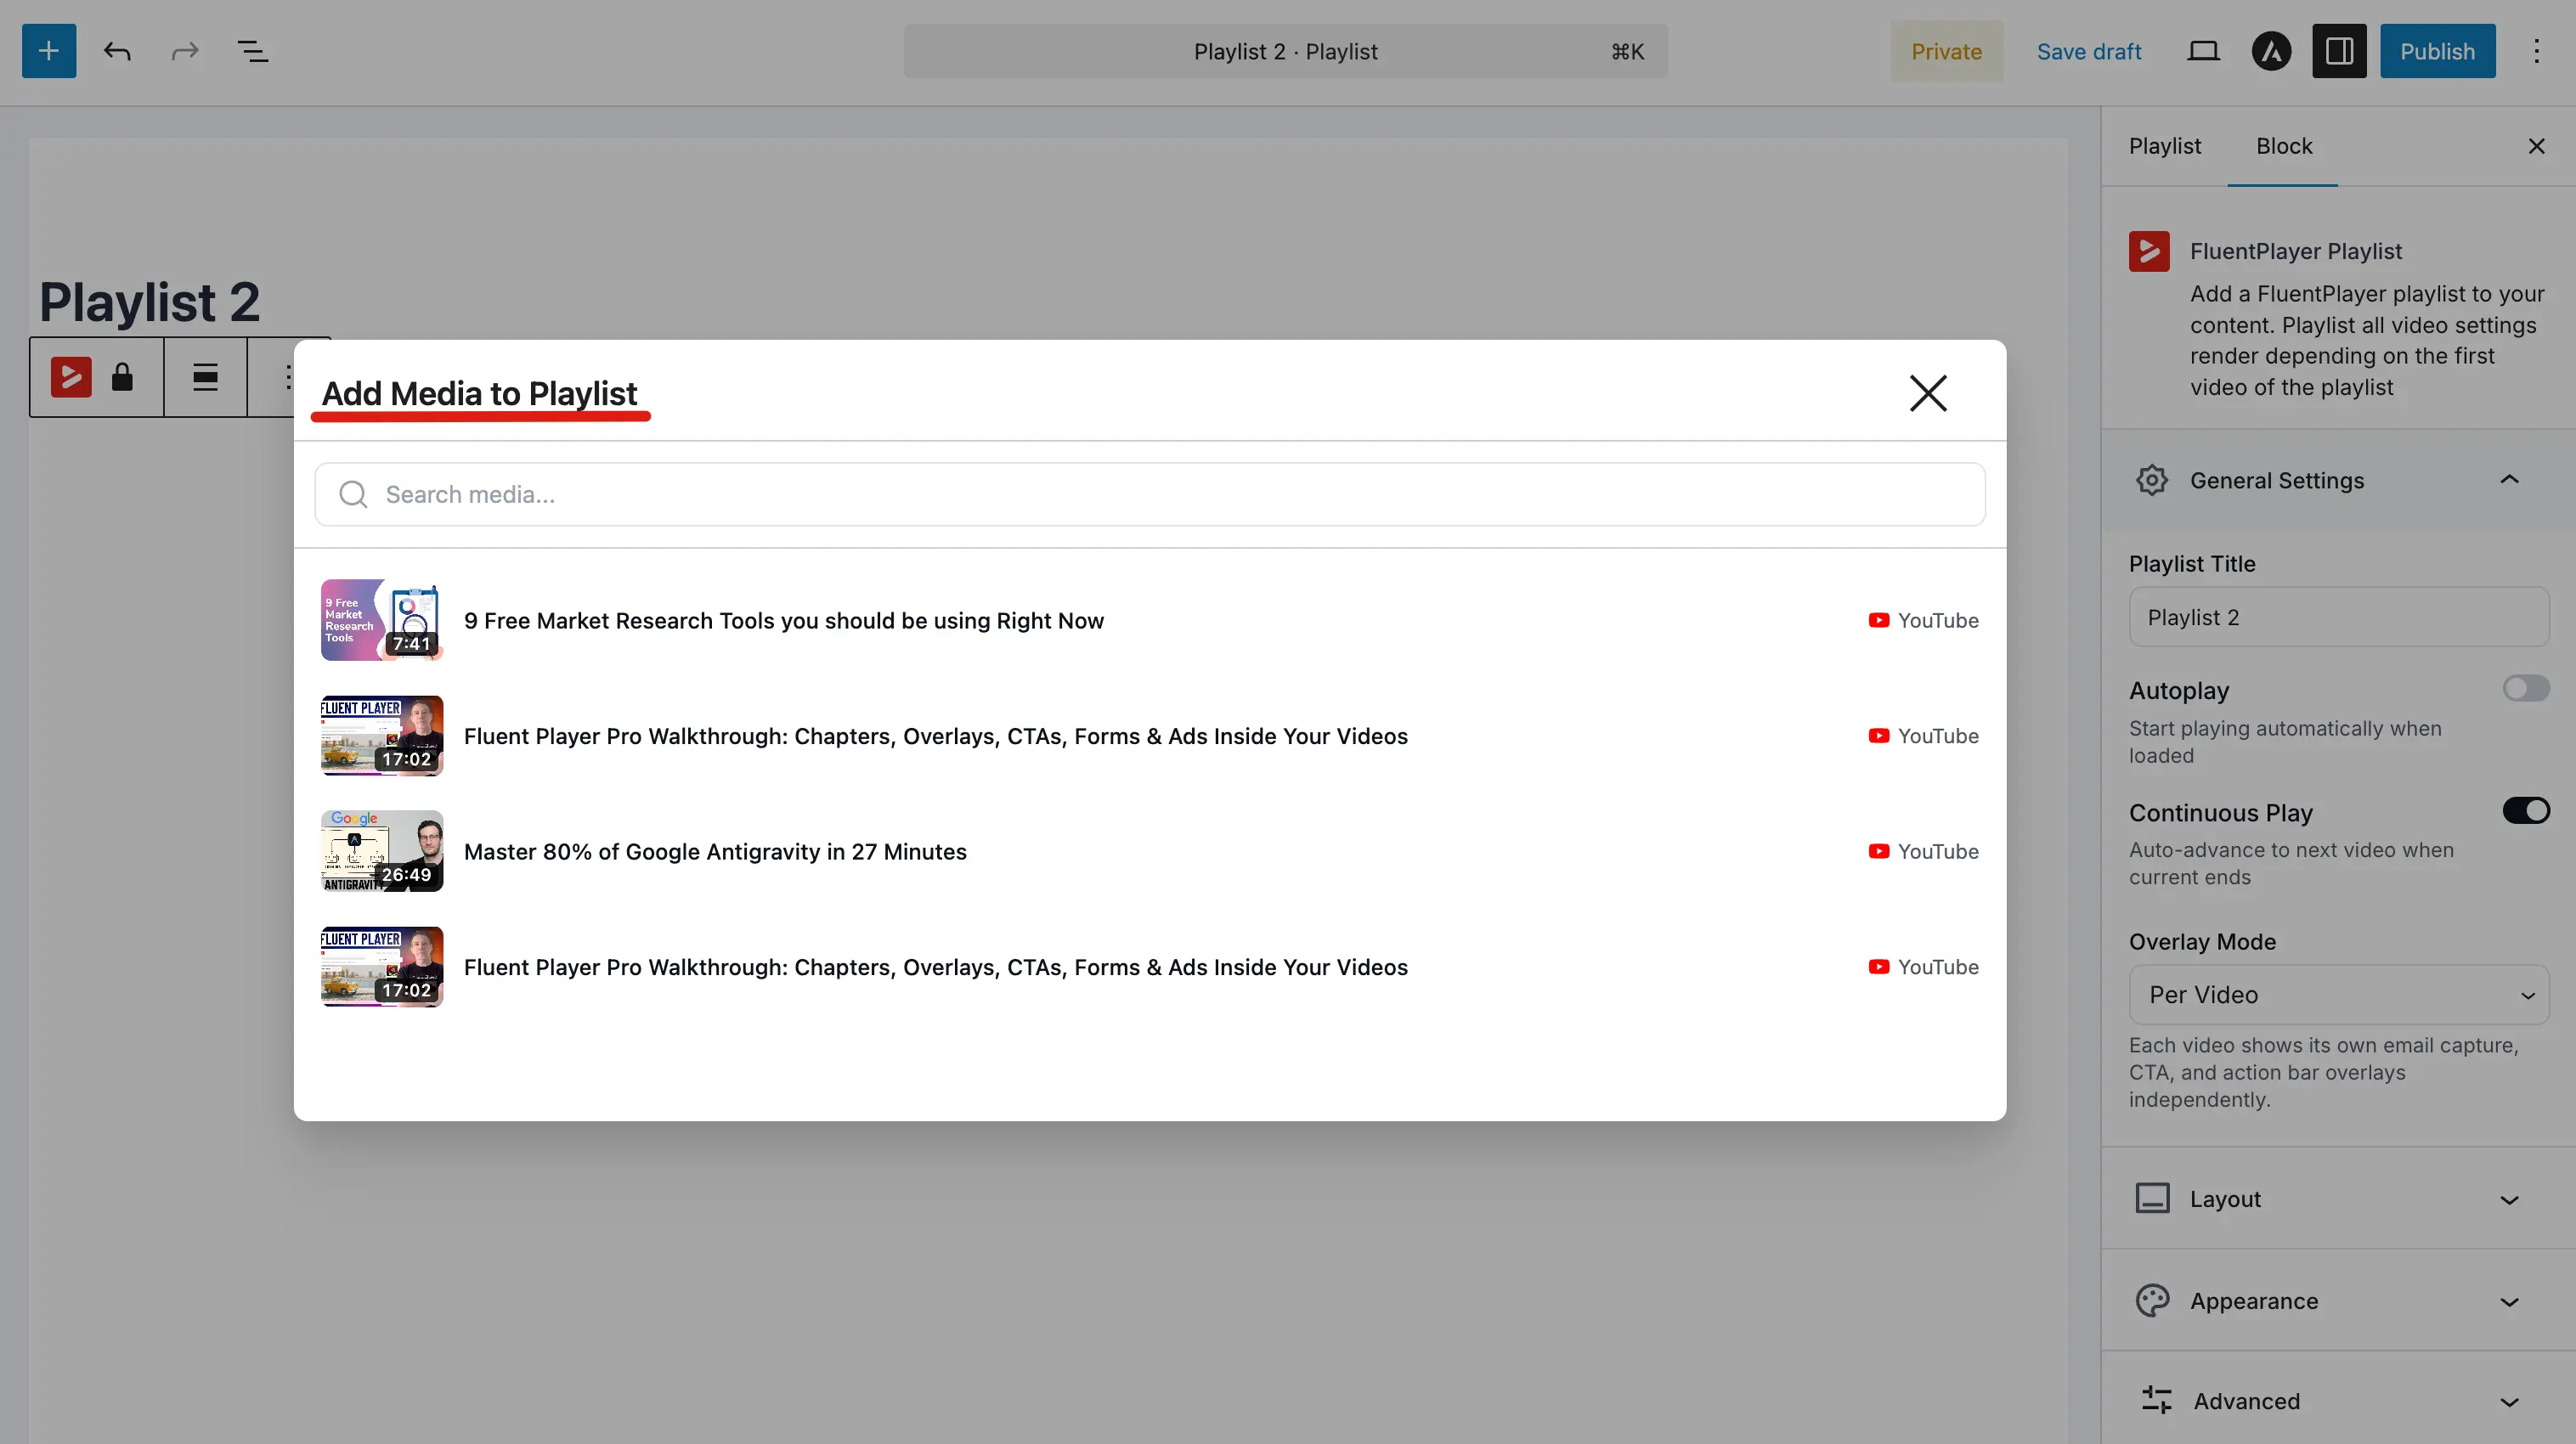
Select the existing media items from your FluentPlayer library by clicking on their titles. Add as many videos as your collection requires.
Step 3: Order Your Videos
Arrange your videos in the order viewers will watch them. Use drag-and-drop (or the up/down controls) to rearrange items so introductory content appears first and advanced content plays later. You can also edit or remove individual items from this view.
Step 4: Choose a Layout Style
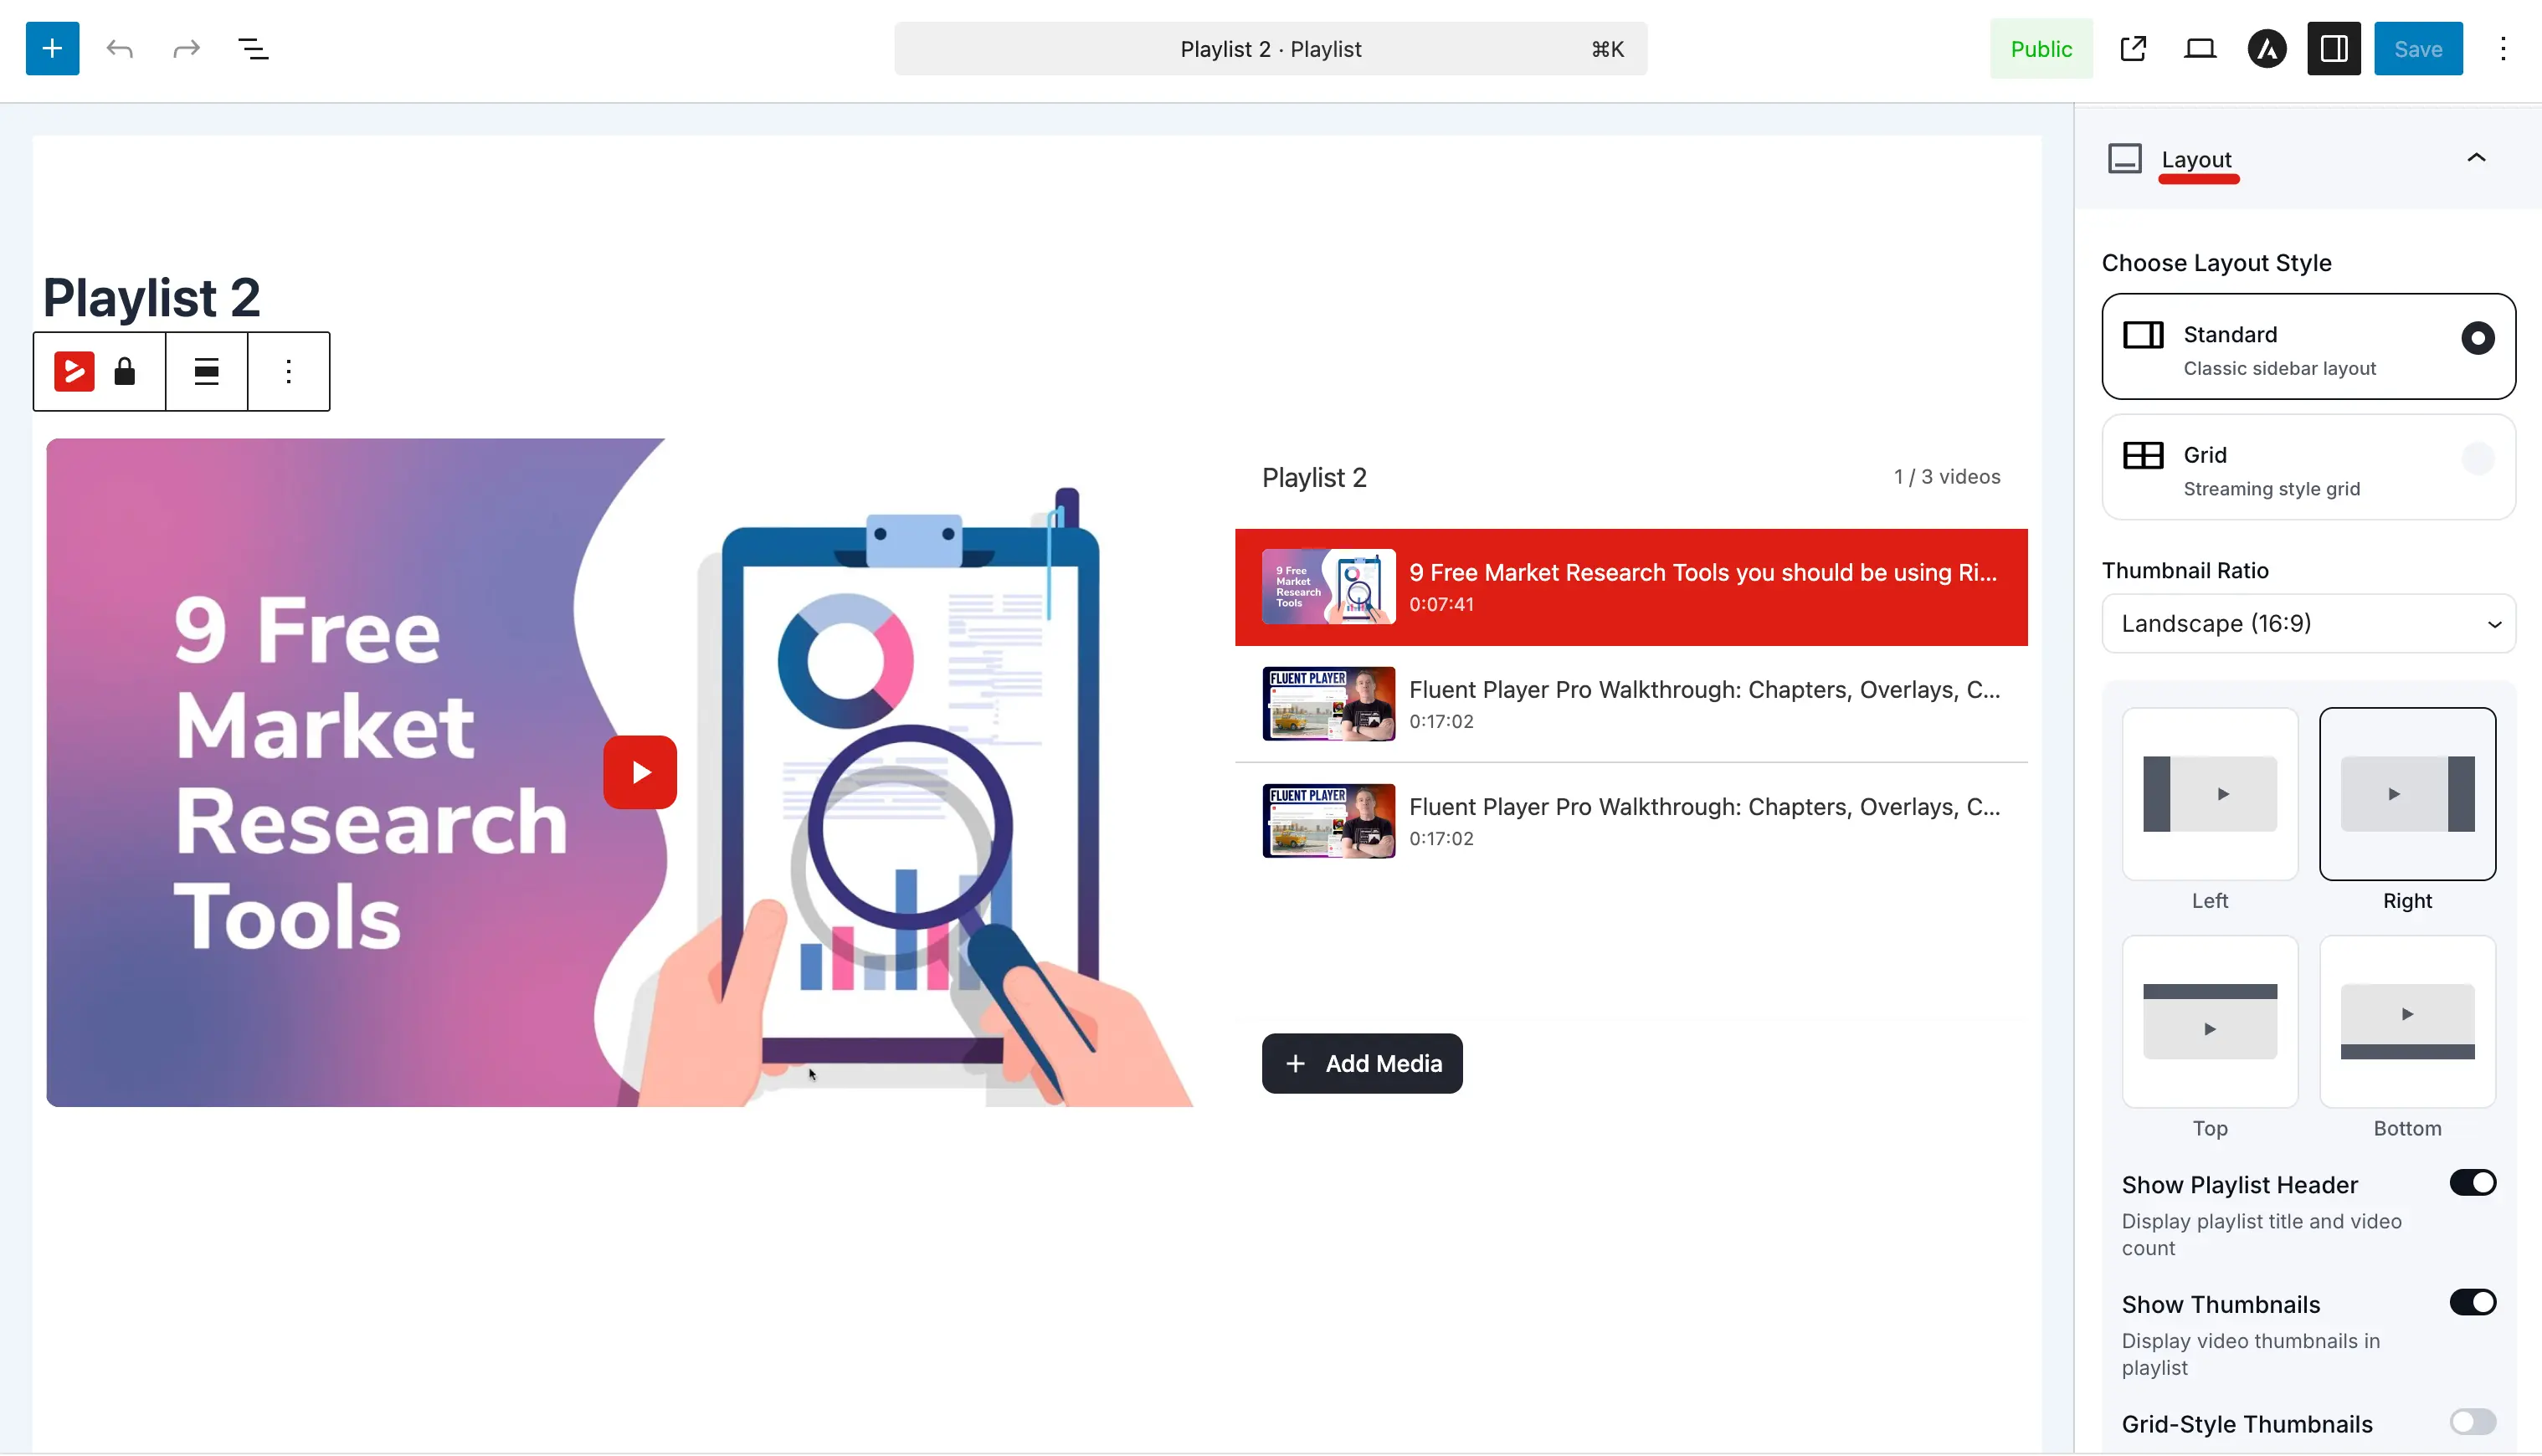
Expand the Layout panel to choose how the playlist appears on the front end:
- Standard: Sidebar list with video thumbnails. Best for series and sequential browsing.
- Grid: Multi-column catalog grid. Best for larger collections and browsing-oriented libraries.
See Playlist Layouts for all available options and settings.
Step 5: Save and Publish
Click Save (or Publish) to save your configurations. Once saved, your playlist will automatically generate a unique ID (e.g., #10) that you will use when embedding it.
Finding the playlist ID
You can locate your playlist ID under FluentPlayer → Playlists or by checking the browser URL when editing the playlist. You will need this ID when embedding via shortcode: [fluentplaylist id="10"].
Editing an Existing Playlist
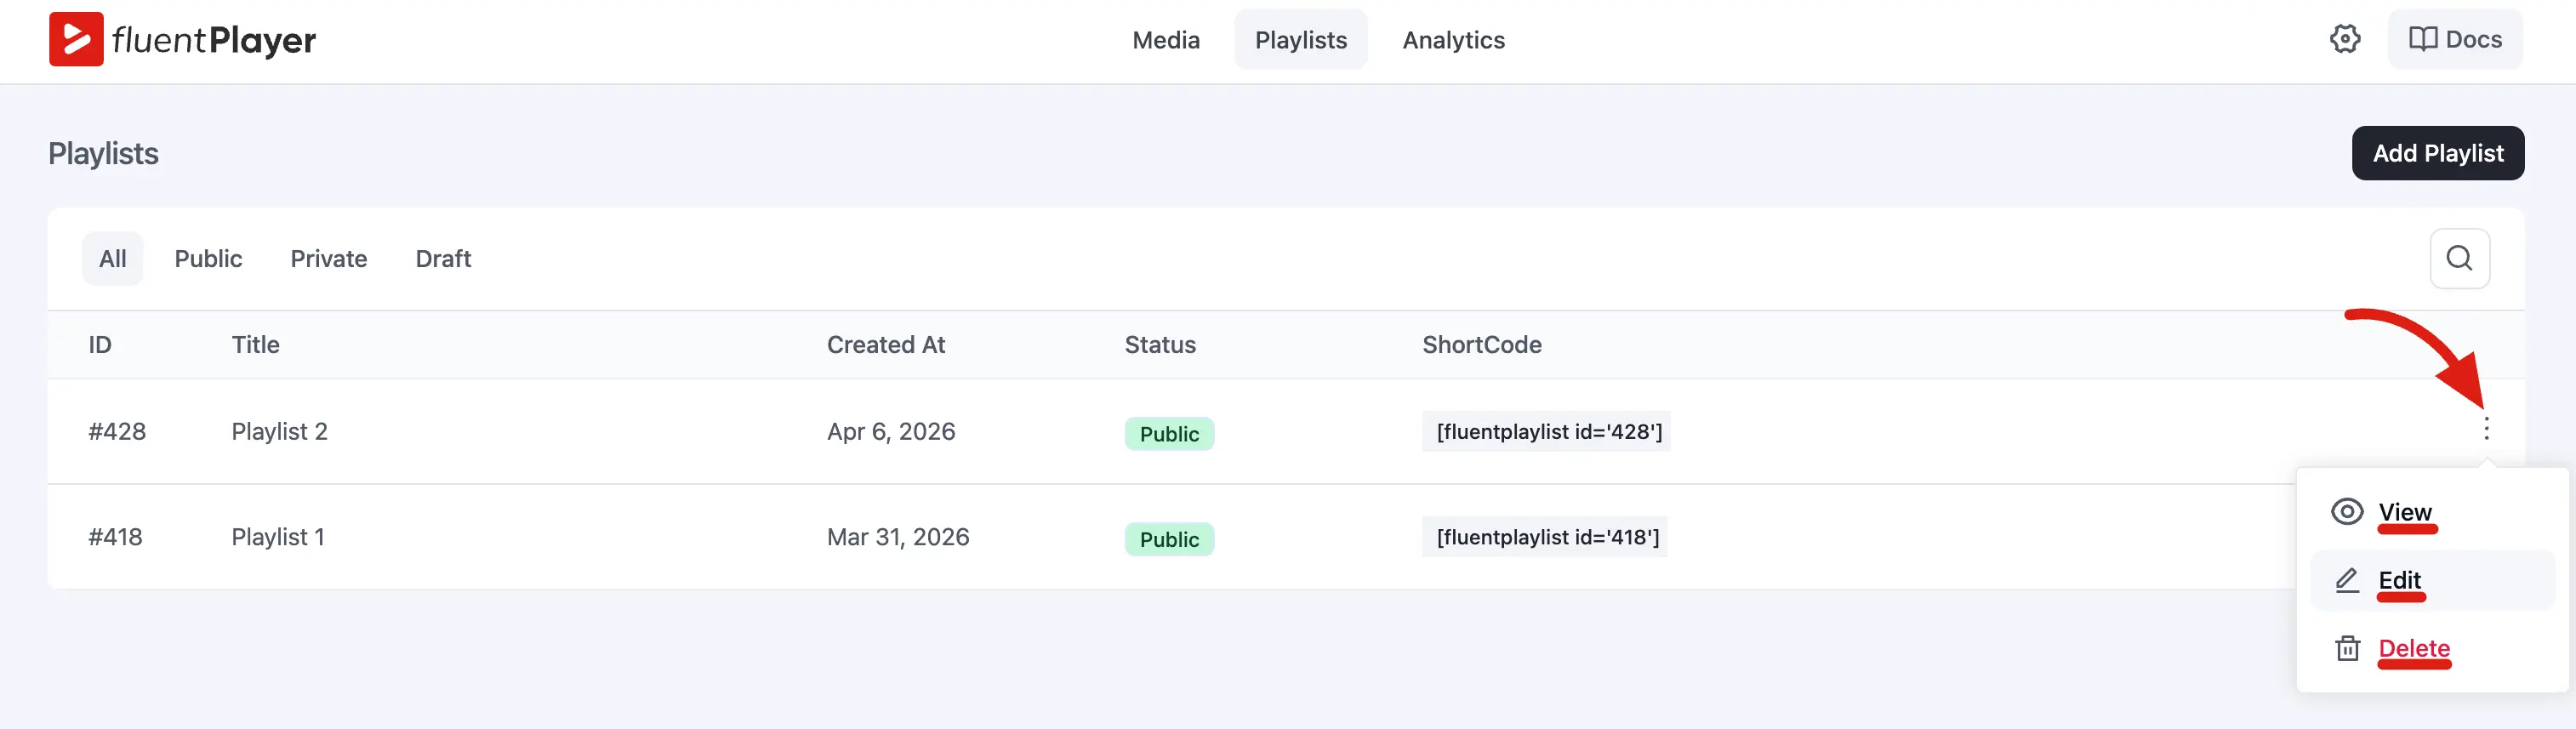
If you need to modify a playlist later, go to FluentPlayer → Playlists, click the playlist to open it, and make your changes. Any added, removed, or reordered videos update immediately on every live page where that playlist is embedded.