

Appearance
Video Sources
To display content in FluentPlayer, you must first define where your video file is hosted. FluentPlayer supports a wide range of hosting environments, from simple WordPress uploads to professional streaming services.
To configure your video source, navigate to FluentPlayer → Media in your WordPress dashboard and click Add Media.
Supported Video Sources
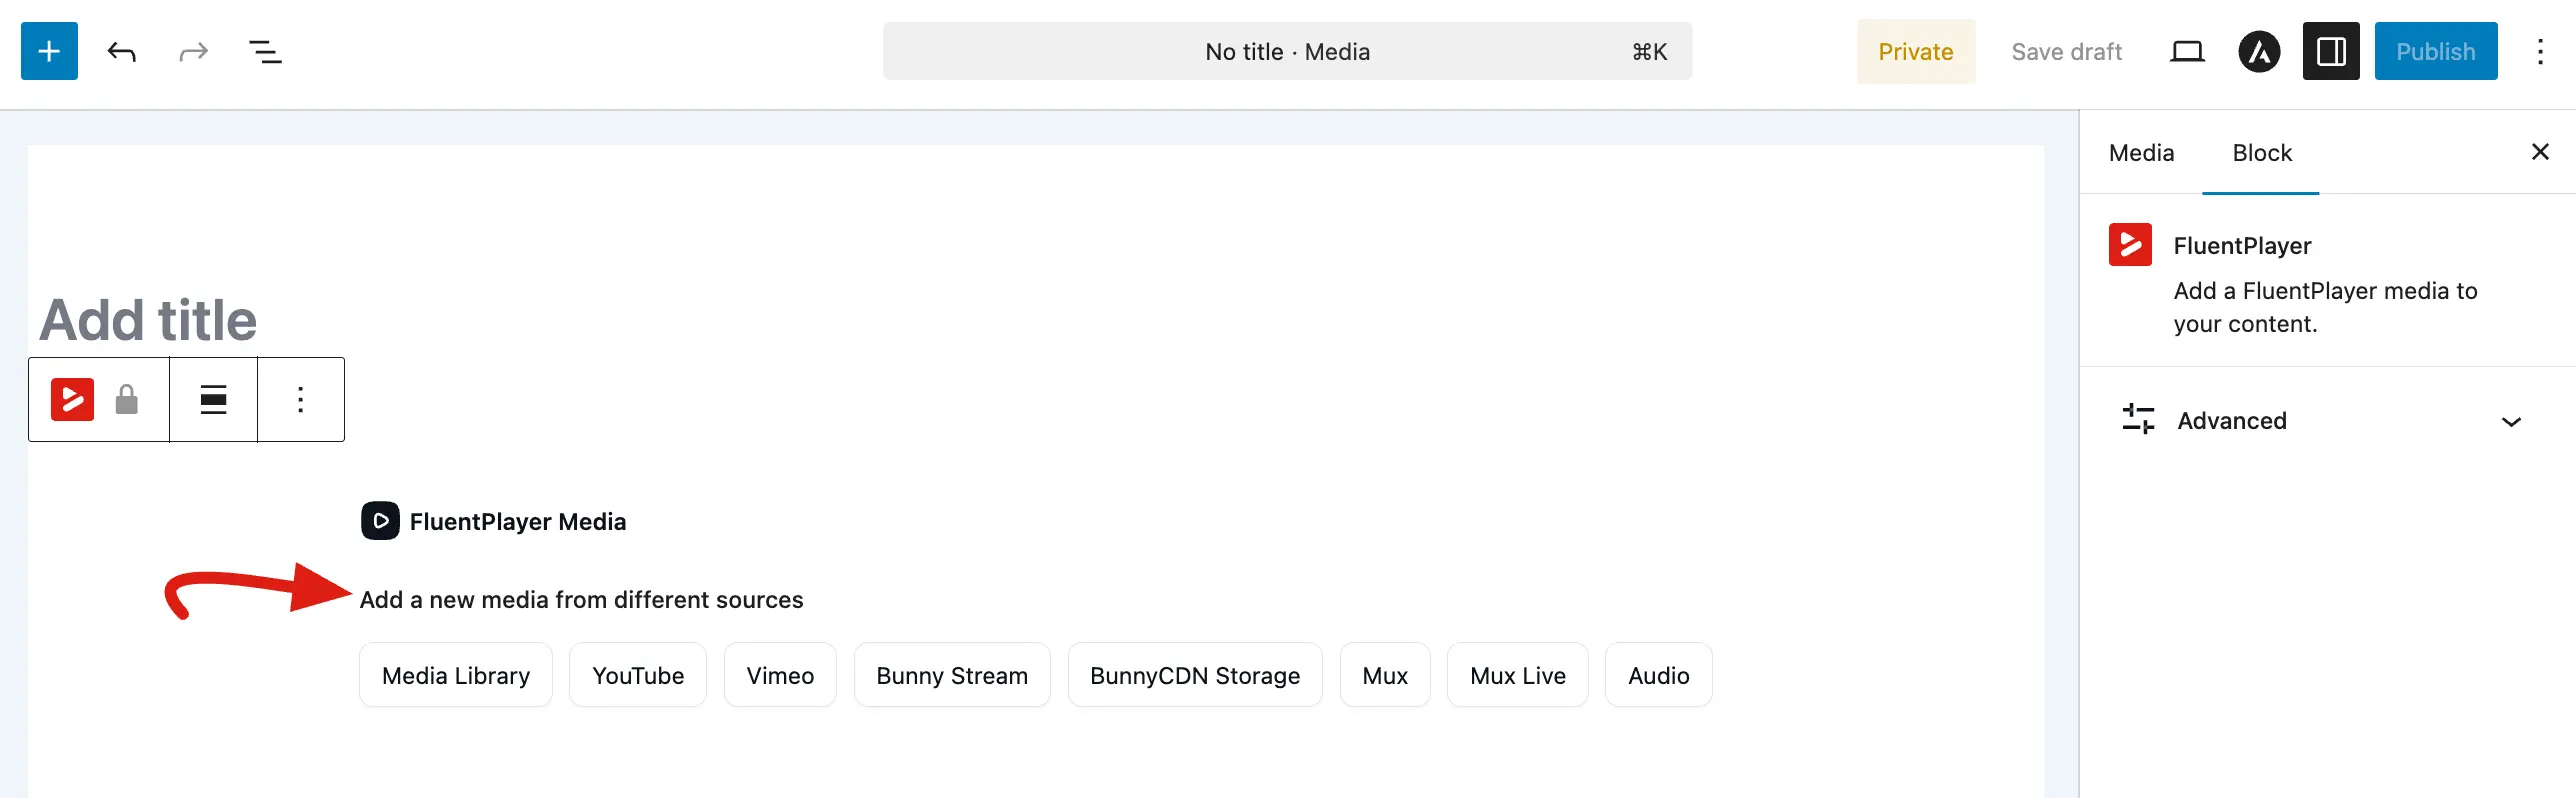
1. WordPress Media Library
Upload a video file (like an MP4) to your WordPress Media Library and select it as the source. This is the simplest option if you have smaller videos and your hosting can handle the bandwidth.
- Best for: Small videos, simple sites, or when you want everything stored on your own server.
- Setup: Select the "WordPress" option in the source section and pick a file from your library.
2. URL (Auto-detect)
Paste any supported video URL and FluentPlayer automatically identifies the provider YouTube, Vimeo, Mux, Bunny, Gumlet, Cloudflare, or a direct file link. If the URL points to a file already in your WordPress Media Library, FluentPlayer resolves it to that library attachment instead of treating it as an external link.
Best for: Quickly adding media without manually selecting a source type; migrating existing URLs in bulk; same-site WordPress uploads you want to reference by URL.
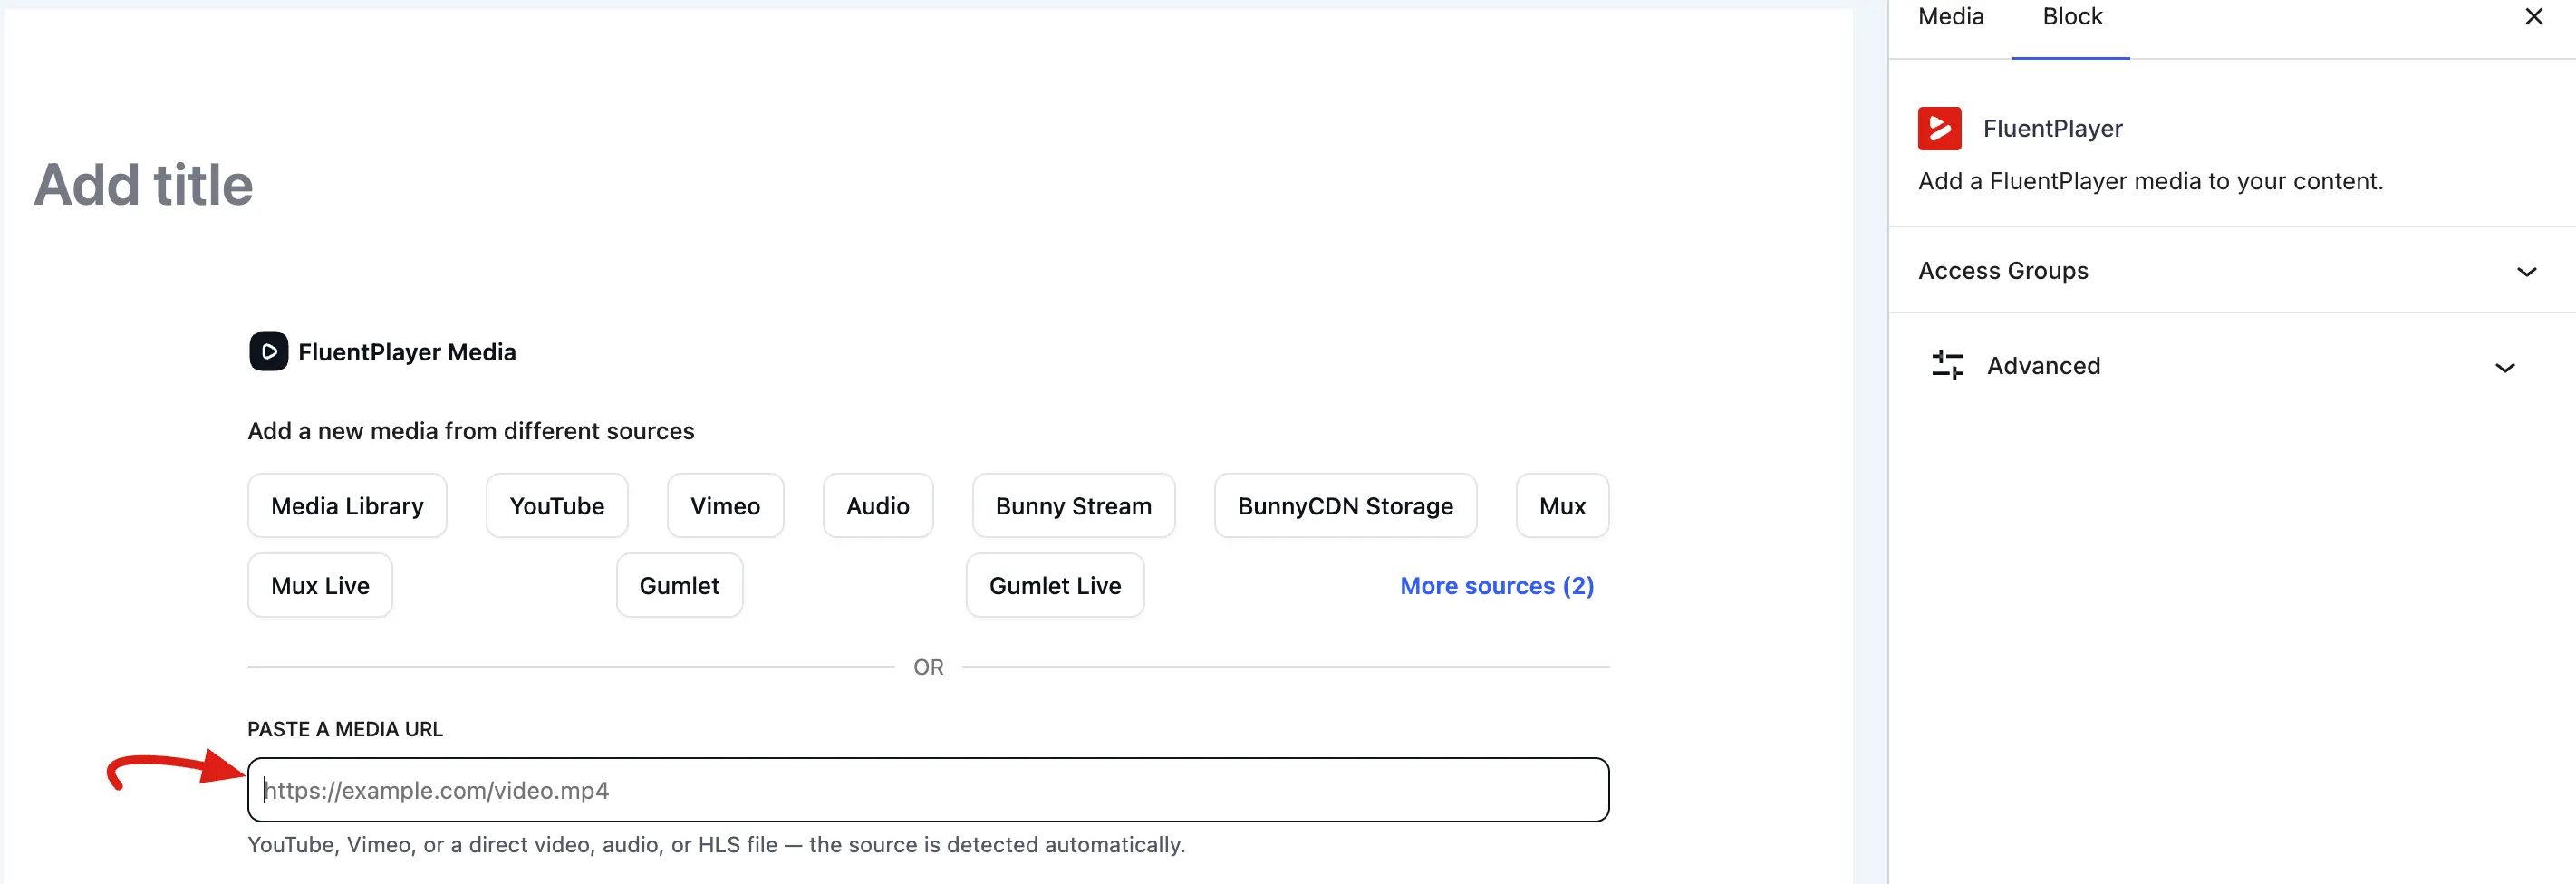
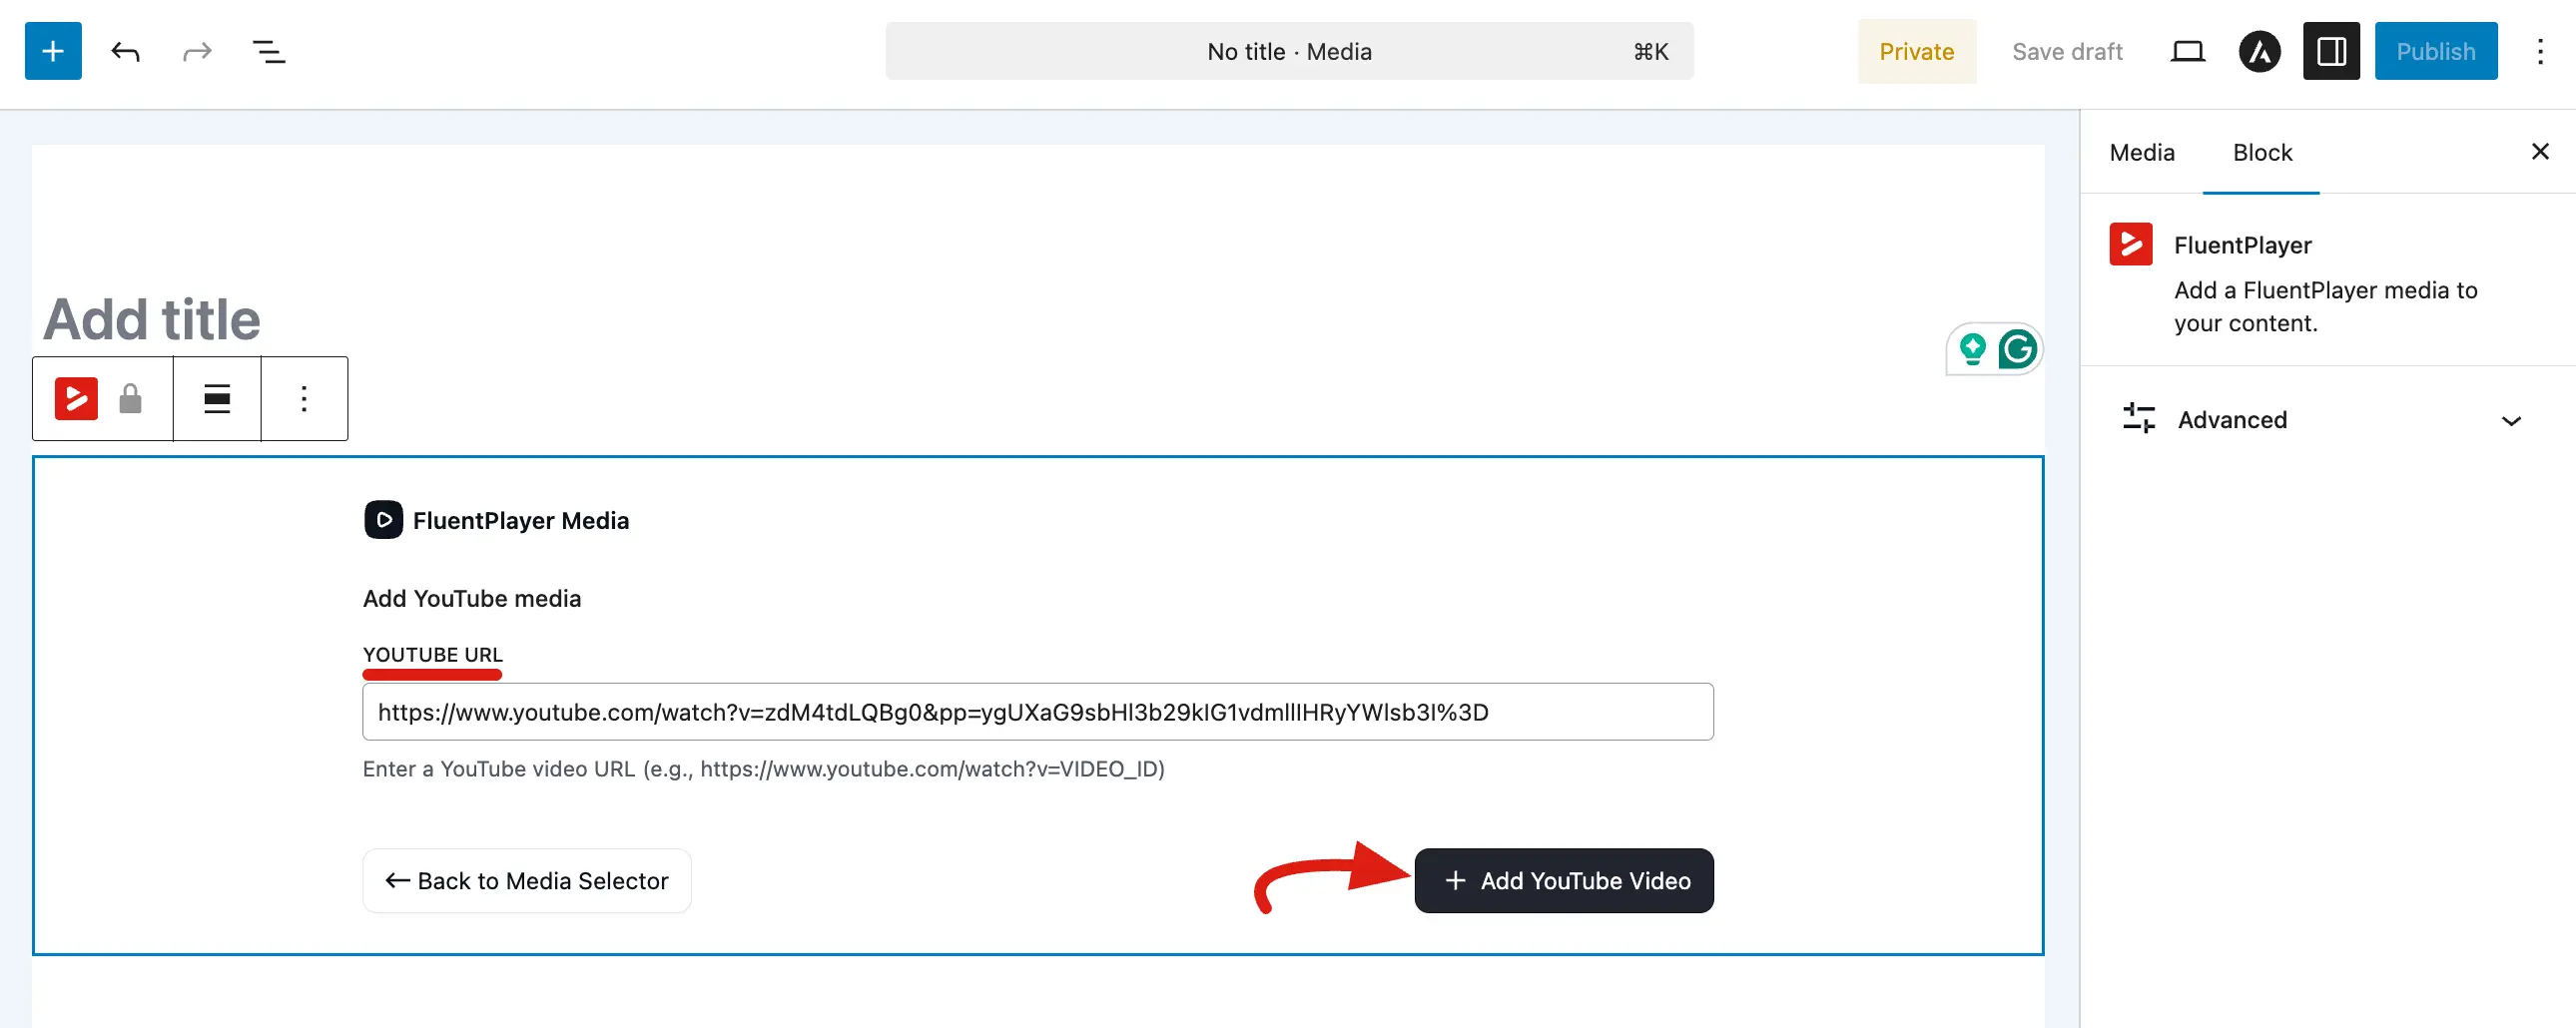
3. YouTube
Paste a YouTube video URL. FluentPlayer will use the YouTube embed player with your customized settings on top.
Example:
https://www.youtube.com/watch?v=Dc1hCvKk8WQ&tFluentPlayer offers YouTube-specific options in Settings:
- Privacy mode: Uses YouTube's privacy enhanced mode so cookies are not set until the viewer clicks play.
- Subscribe button: Optionally shows a YouTube subscribe button on the player.
Best for: Videos already hosted on YouTube, or when you want YouTube's free hosting.
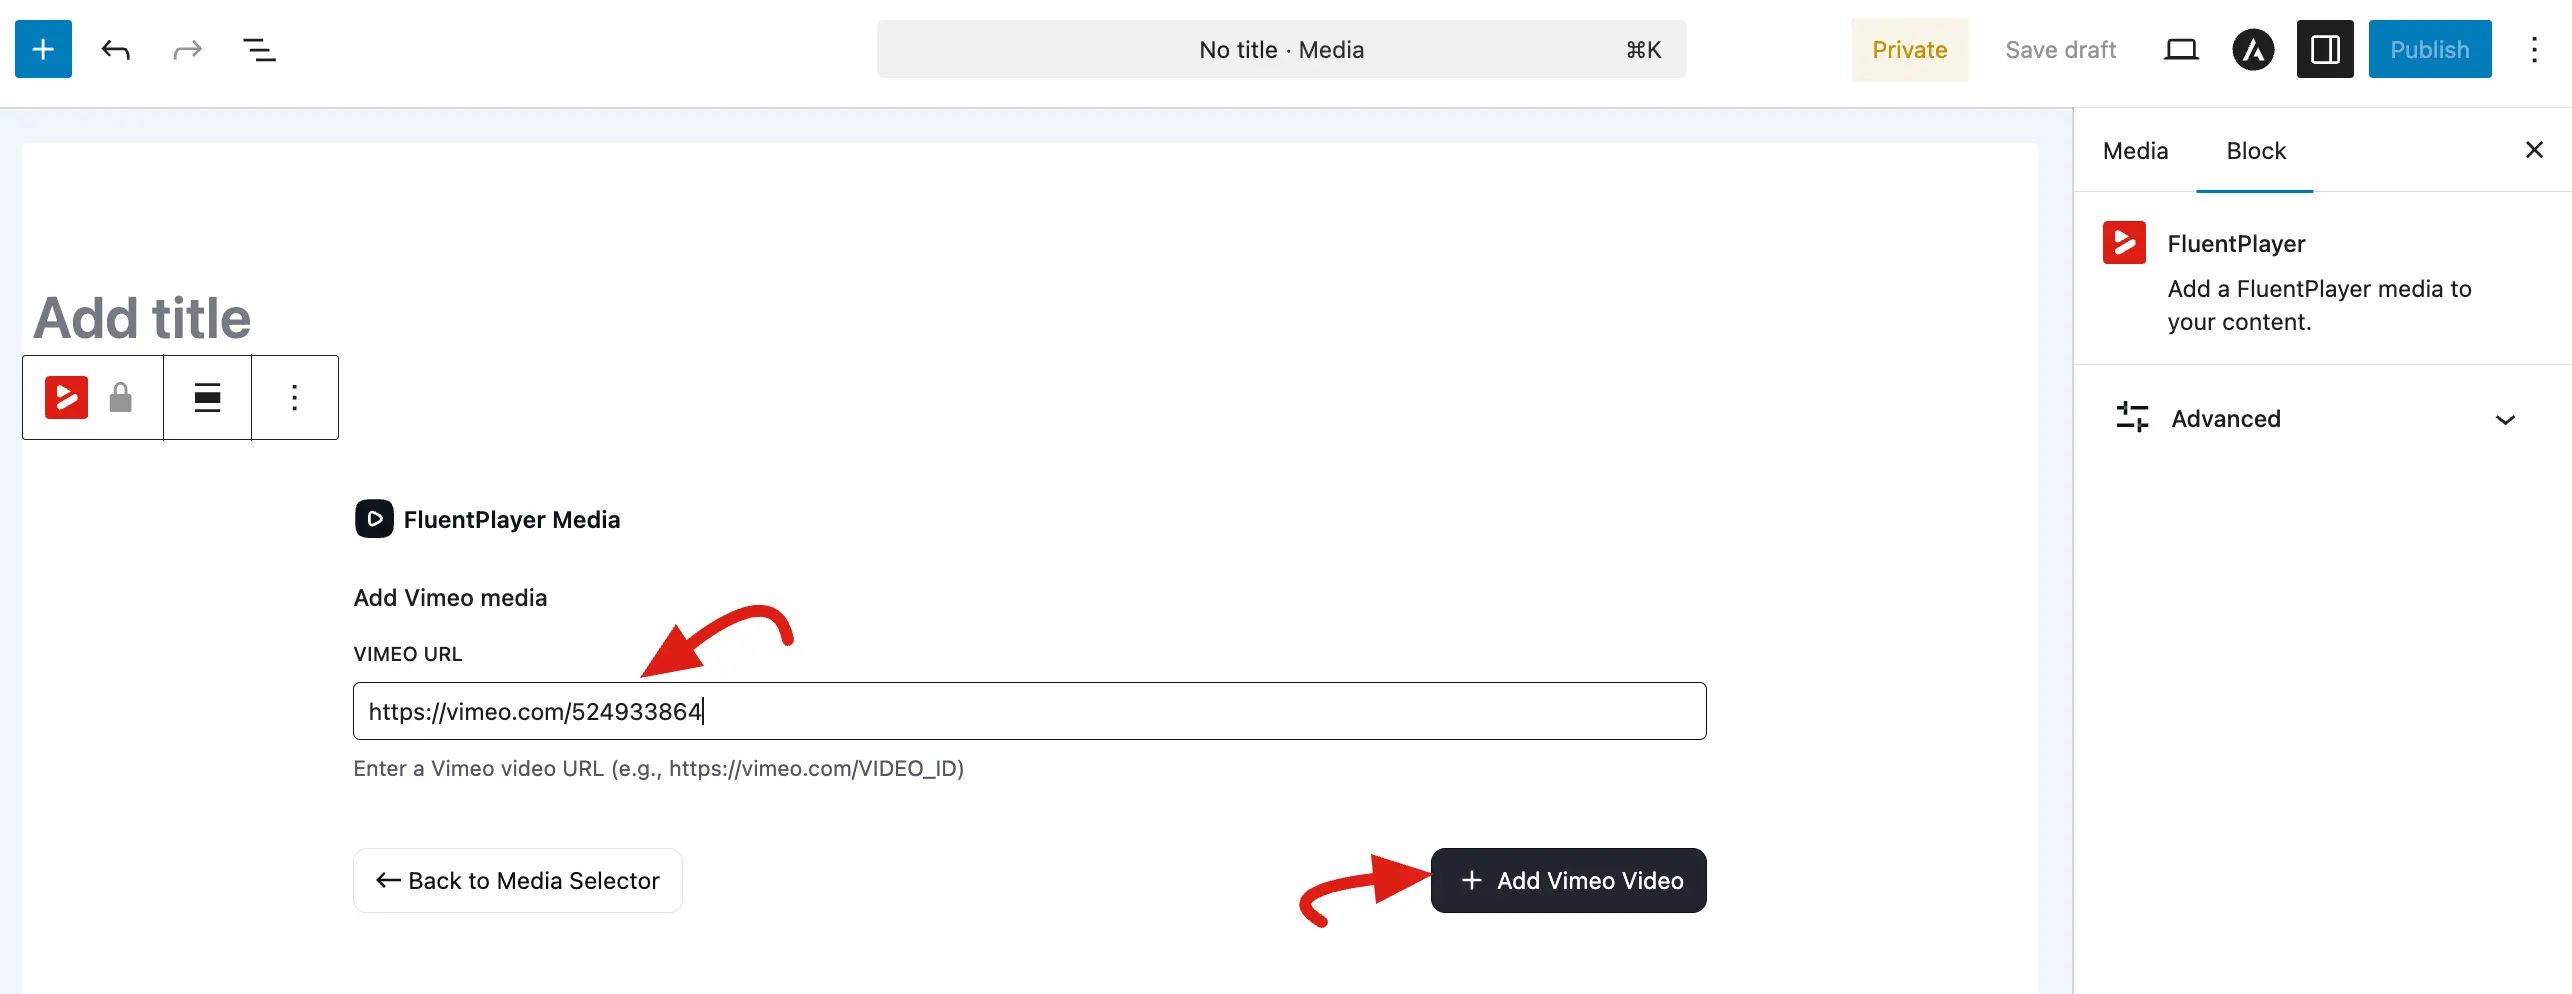
4. Vimeo
Paste a Vimeo video URL. FluentPlayer treats Vimeo as a first-class source type and loads it with your FluentPlayer styling and options.
Example:
https://vimeo.com/123456789Vimeo videos support the same features as the rest of your media:
- Privacy-Enhanced Mode: Vimeo sets no cookies and does no tracking until the viewer presses play. This is on by default, and is set at Settings → Vimeo — see Vimeo.
- Quality and playback speed: Both menus appear automatically when the video supports them, and are hidden when it doesn't.
- Chapters: Import chapters you already created on Vimeo with one click.
- Captions (Pro): Import the caption tracks already on the Vimeo video as FluentPlayer subtitles.
Best for: Professional hosting on Vimeo, portfolios, or when you already use Vimeo for delivery.
See the full guide: Vimeo.
5. Mux and Mux Live (Pro)
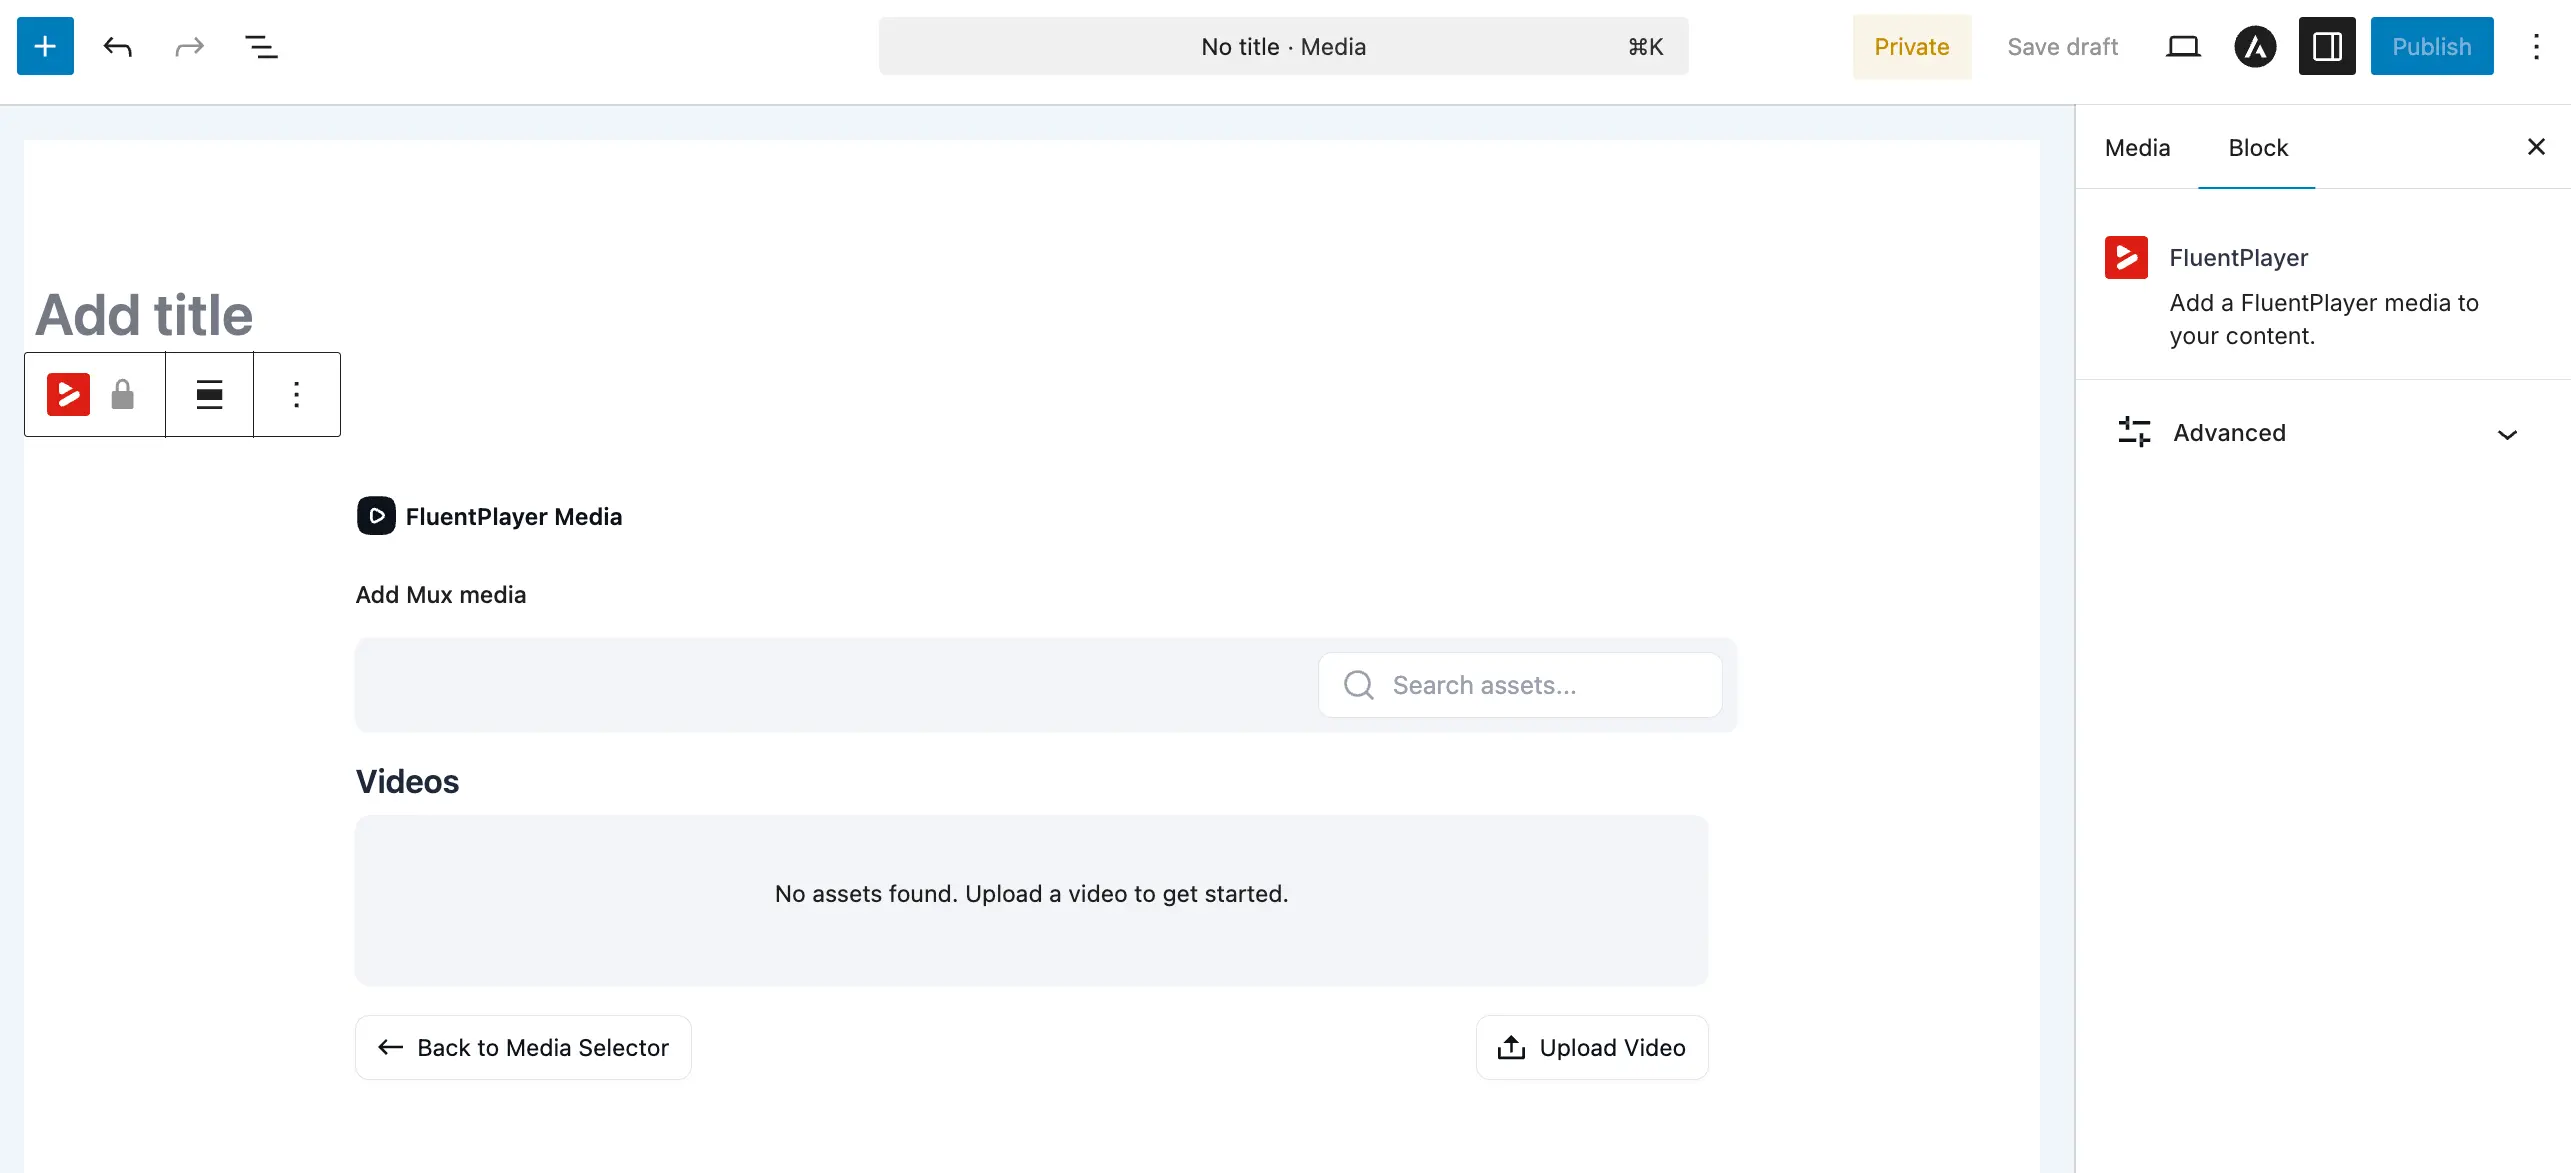
In the block editor, Mux and Mux Live appear as separate source buttons: Mux for standard on demand assets and Mux Live for live streams.
With FluentPlayer Pro, you connect your account under Settings → Storage (Bunny Stream, Bunny Storage, and Mux rows each have Configure). Features include HLS playback, uploads, optional Signed URLs, Webhooks, and optional AI-generated captions for on-demand content.
When a stream is configured as Live, the player shows a LIVE badge in the control bar (a pulsing indicator plus “LIVE” text) so viewers know they are watching a live broadcast.
Best for: Teams that want Mux Video API workflows, adaptive streaming, or live streaming from Mux.
See the full guide: Mux (Pro).
6. Audio
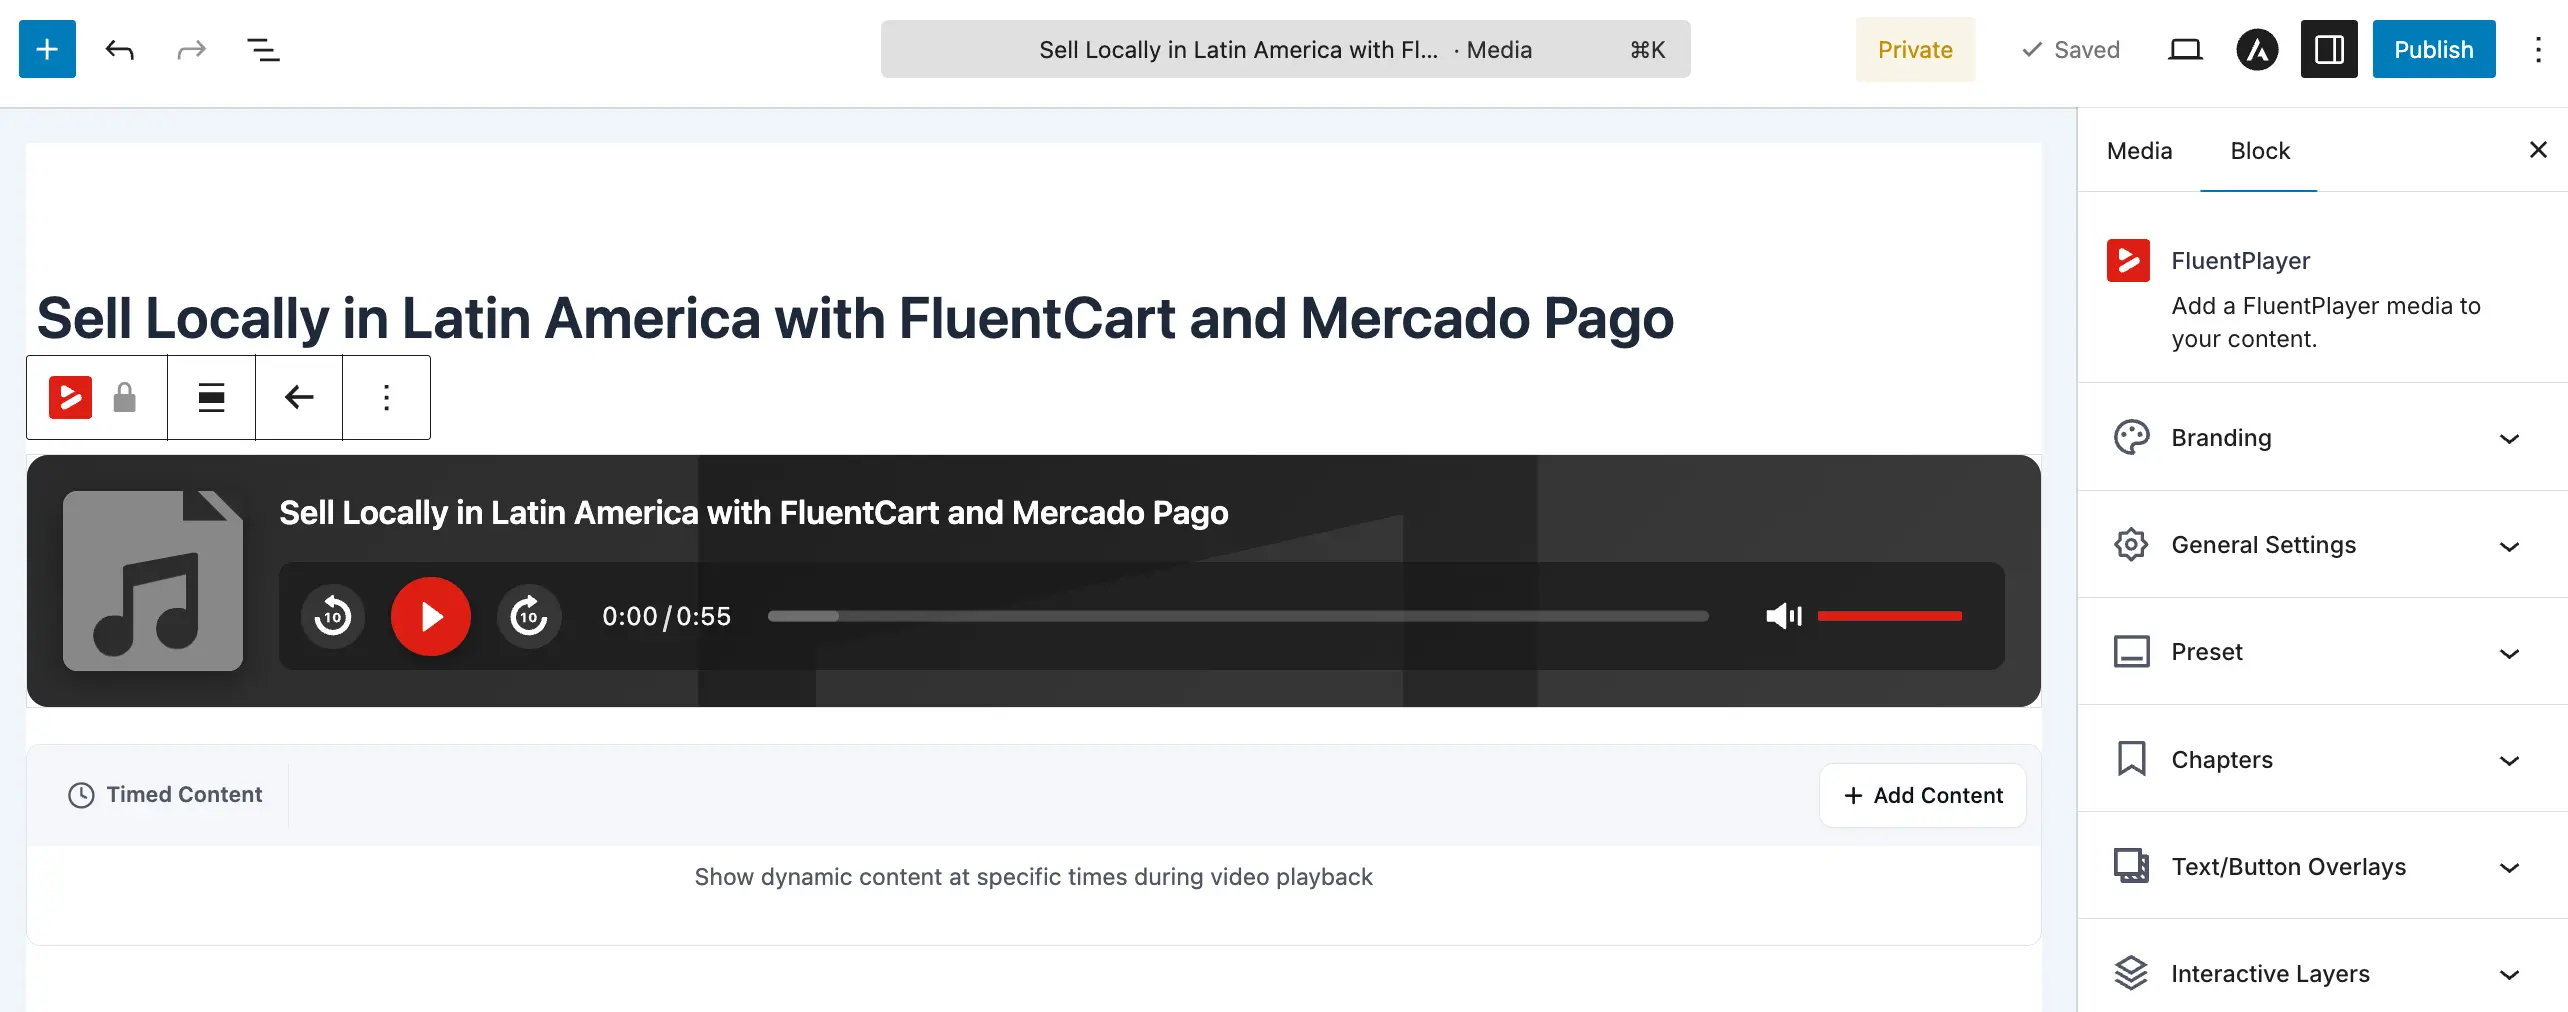
FluentPlayer supports audio playback for content such as podcasts, music, interviews, and voice recordings. Select Audio as the media type, and the player will automatically switch to an audio-optimized layout.
You can upload audio files, such as MP3 or M4A, use an external audio URL (Pro), or play audio hosted on supported CDN providers, including BunnyCDN, Cloudflare, Gumlet, and Mux.
Best for: Podcasts, music, interviews, audiobooks, and other voice-only content.
7. Bunny (Pro)
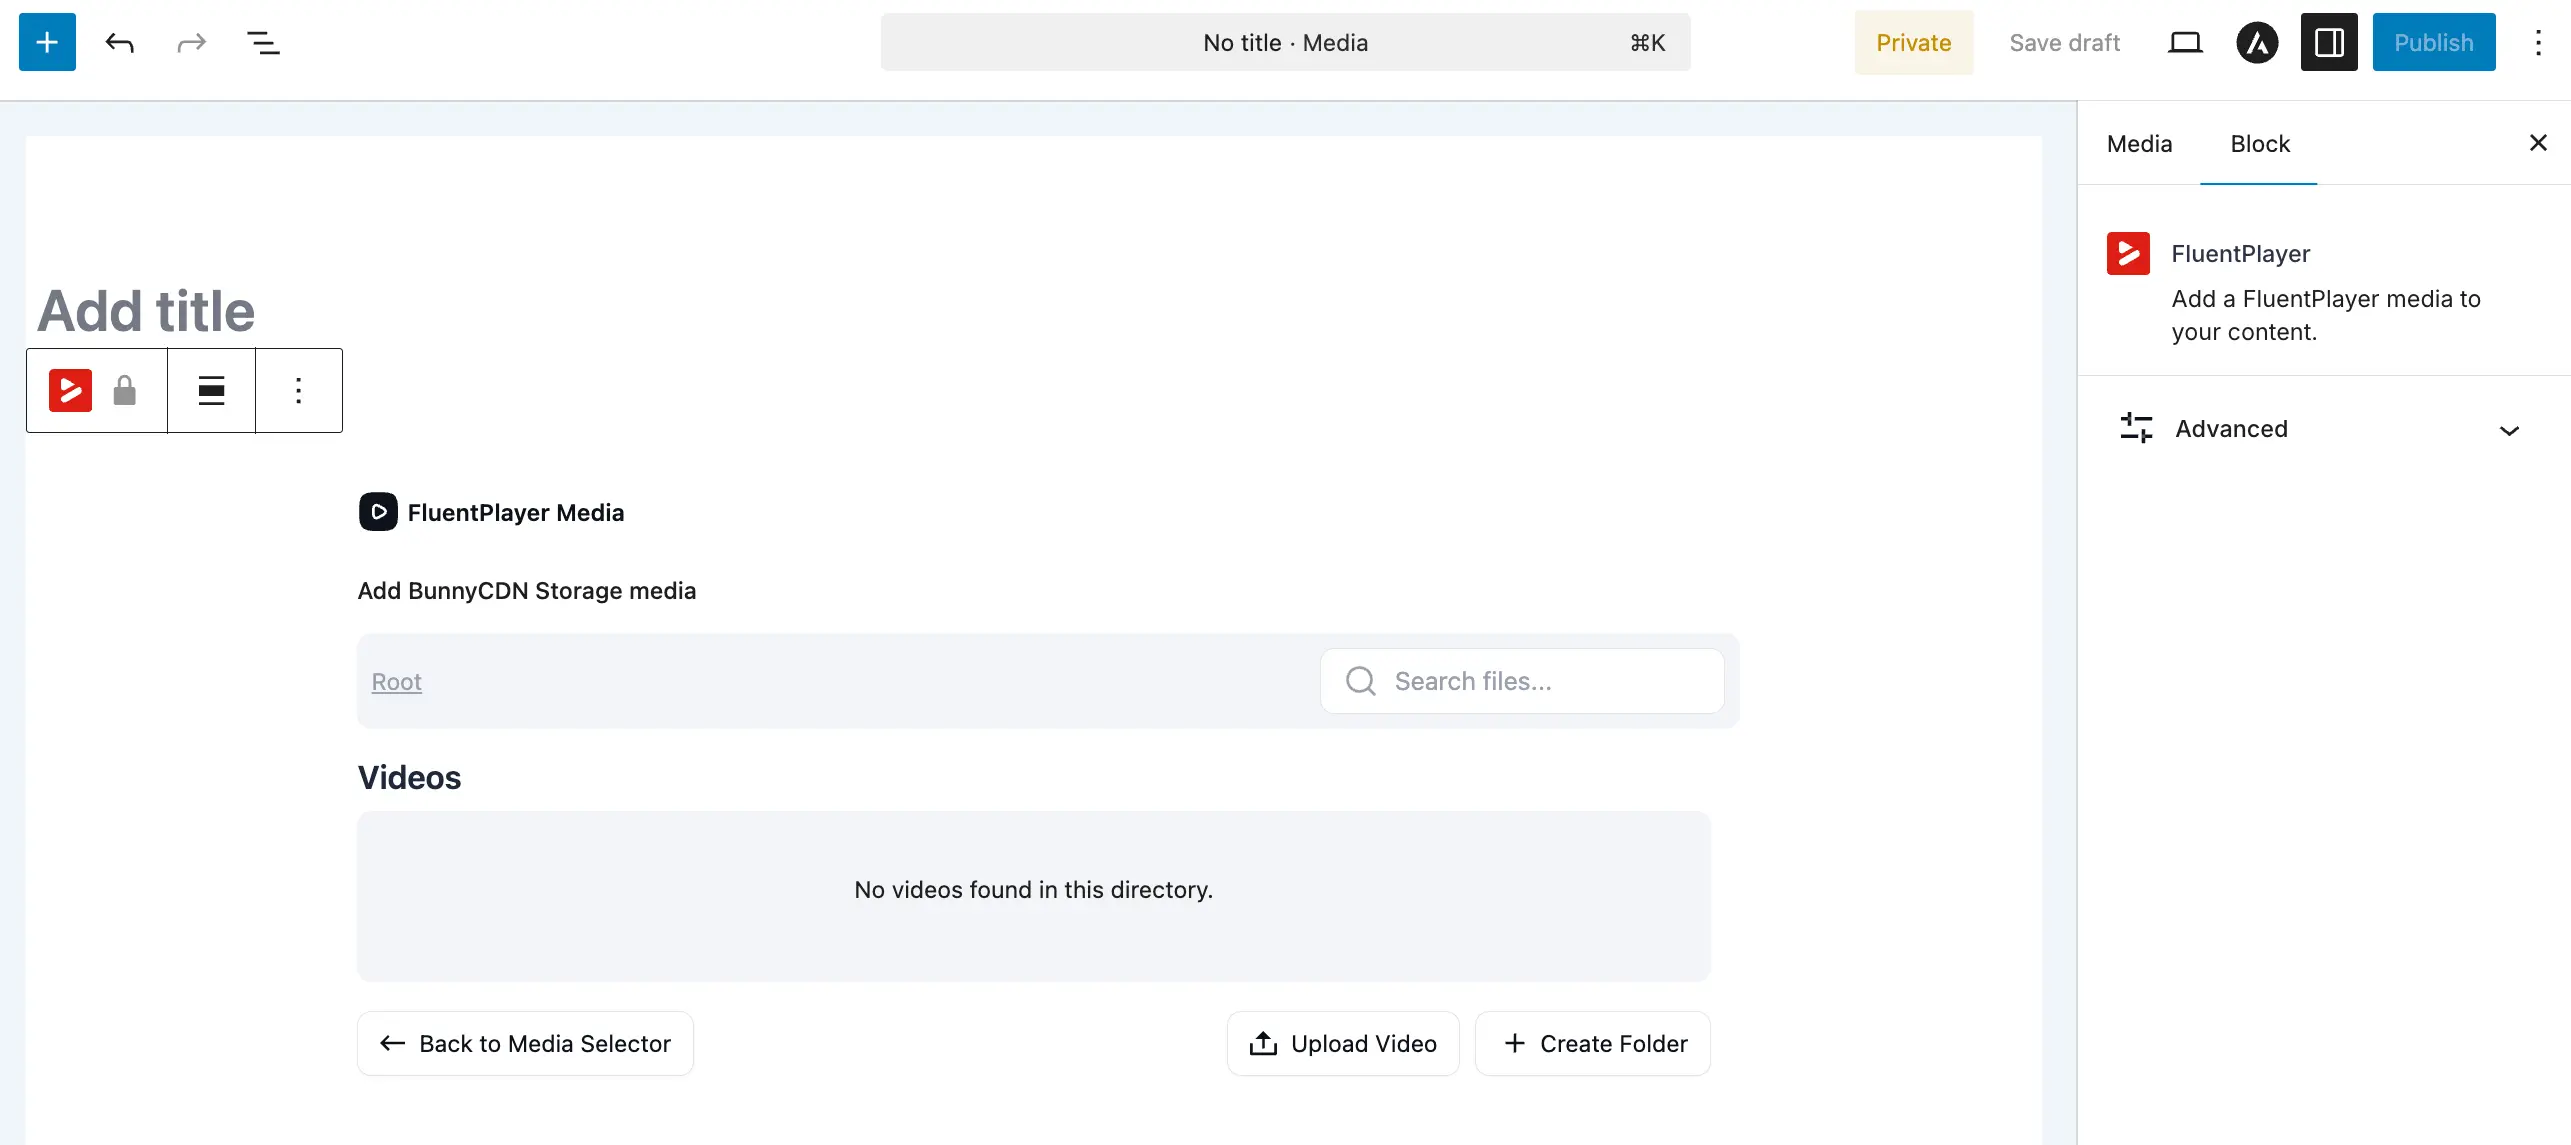
With FluentPlayer Pro, you can connect to Bunny for professional video hosting. There are two options:
- Bunny Stream: Use Bunny's video streaming platform. You manage libraries and videos on Bunny, then select them in FluentPlayer. See Bunny Stream.
- Bunny Storage: Use Bunny's storage zones to host video files. Upload and manage files directly from WordPress. See Bunny Storage.
Best for: Sites with lots of videos, high traffic sites, or when you need fast, reliable CDN delivery worldwide.
8. Cloudflare R2 and Stream (Pro)
With FluentPlayer Pro, you can host and deliver your videos on Cloudflare. There are two options:
- Cloudflare R2: S3-compatible object storage with zero egress fees. Upload ready-to-play files to a bucket and serve them through Cloudflare.
- Cloudflare Stream: Cloudflare's managed video platform with automatic encoding, adaptive HLS, and per-video signed playback.
Connect either one under Settings → Storage, then choose it as the source when adding media. See Cloudflare R2 & Stream (Pro).
Best for: Sites that already use Cloudflare, want zero egress costs (R2), or want hands-off encoding and adaptive streaming (Stream).
9. Gumlet (Pro)
With FluentPlayer Pro, you can host and deliver videos through Gumlet, a professional platform that automatically optimizes and encodes your uploads for adaptive HLS streaming. Connect your account under Settings → Storage, then browse your Gumlet collections and pick an asset when adding media. Enable signed URLs for secure, hotlink-protected playback of premium content.
Best for: Sites that want automatic video optimization, adaptive streaming, and secure signed-URL delivery from a managed platform.
See the full guide: Gumlet (Pro).
How to Set the Video Source
- Go to FluentPlayer → Media and create or edit a media item.
- In the media editor, look for the Source section.
- Choose the source type. Free sources — WordPress, YouTube, Vimeo, Audio — appear in the main list. Pro sources — URL (auto-detect), Mux, Gumlet, Bunny, and Cloudflare — appear here when connected. Unconnected Pro providers collapse behind a More sources toggle with a direct link to their setup page in Settings.
- Enter the URL or select the file.
- Save the media.
TIP
You can change the video source at any time without breaking existing embeds. The shortcode and block reference the media ID, not the video URL. So if you swap the source URL, every page that embeds this media will automatically show the new video.