Appearance
FluentPlayer block & media editor
The FluentPlayer Media block (fluent-player/media) is the core of your video experience. Whether you are creating a standalone video or adding one to a blog post, you will use the same sidebar panels to control how your player looks and acts.
Two Ways to Edit Your Video
You will see the FluentPlayer editor in two different parts of WordPress, but the settings remain the same:
1. The Dedicated Media Editor
When you go to FluentPlayer → Media → Add Media, you enter a focused, full-screen editor.
- Single Purpose: This screen is designed only for configuring your video.
- Locked Layout: You won't see options for paragraphs or columns here—just the FluentPlayer block and its settings.
- Organization: All your player options live in the Block and Media tabs in the right sidebar.
2. Standard Posts or Pages
You can also add the FluentPlayer Media block while writing a normal post or page.
- Mixed Content: You can place the video anywhere among your headings, text, and images.
- Same Controls: When you click on the video block, the same sidebar panels appear to help you customize the player.
Right Sidebar: Media vs. Block Tabs
The sidebar is split into two main tabs to keep things organized:
- Media Tab: This covers high level details like the video title, status (Public/Private), and media level actions.
- Block Tab: This is where the magic happens. You will find almost all your daily settings here, including branding, presets, and interactive layers.
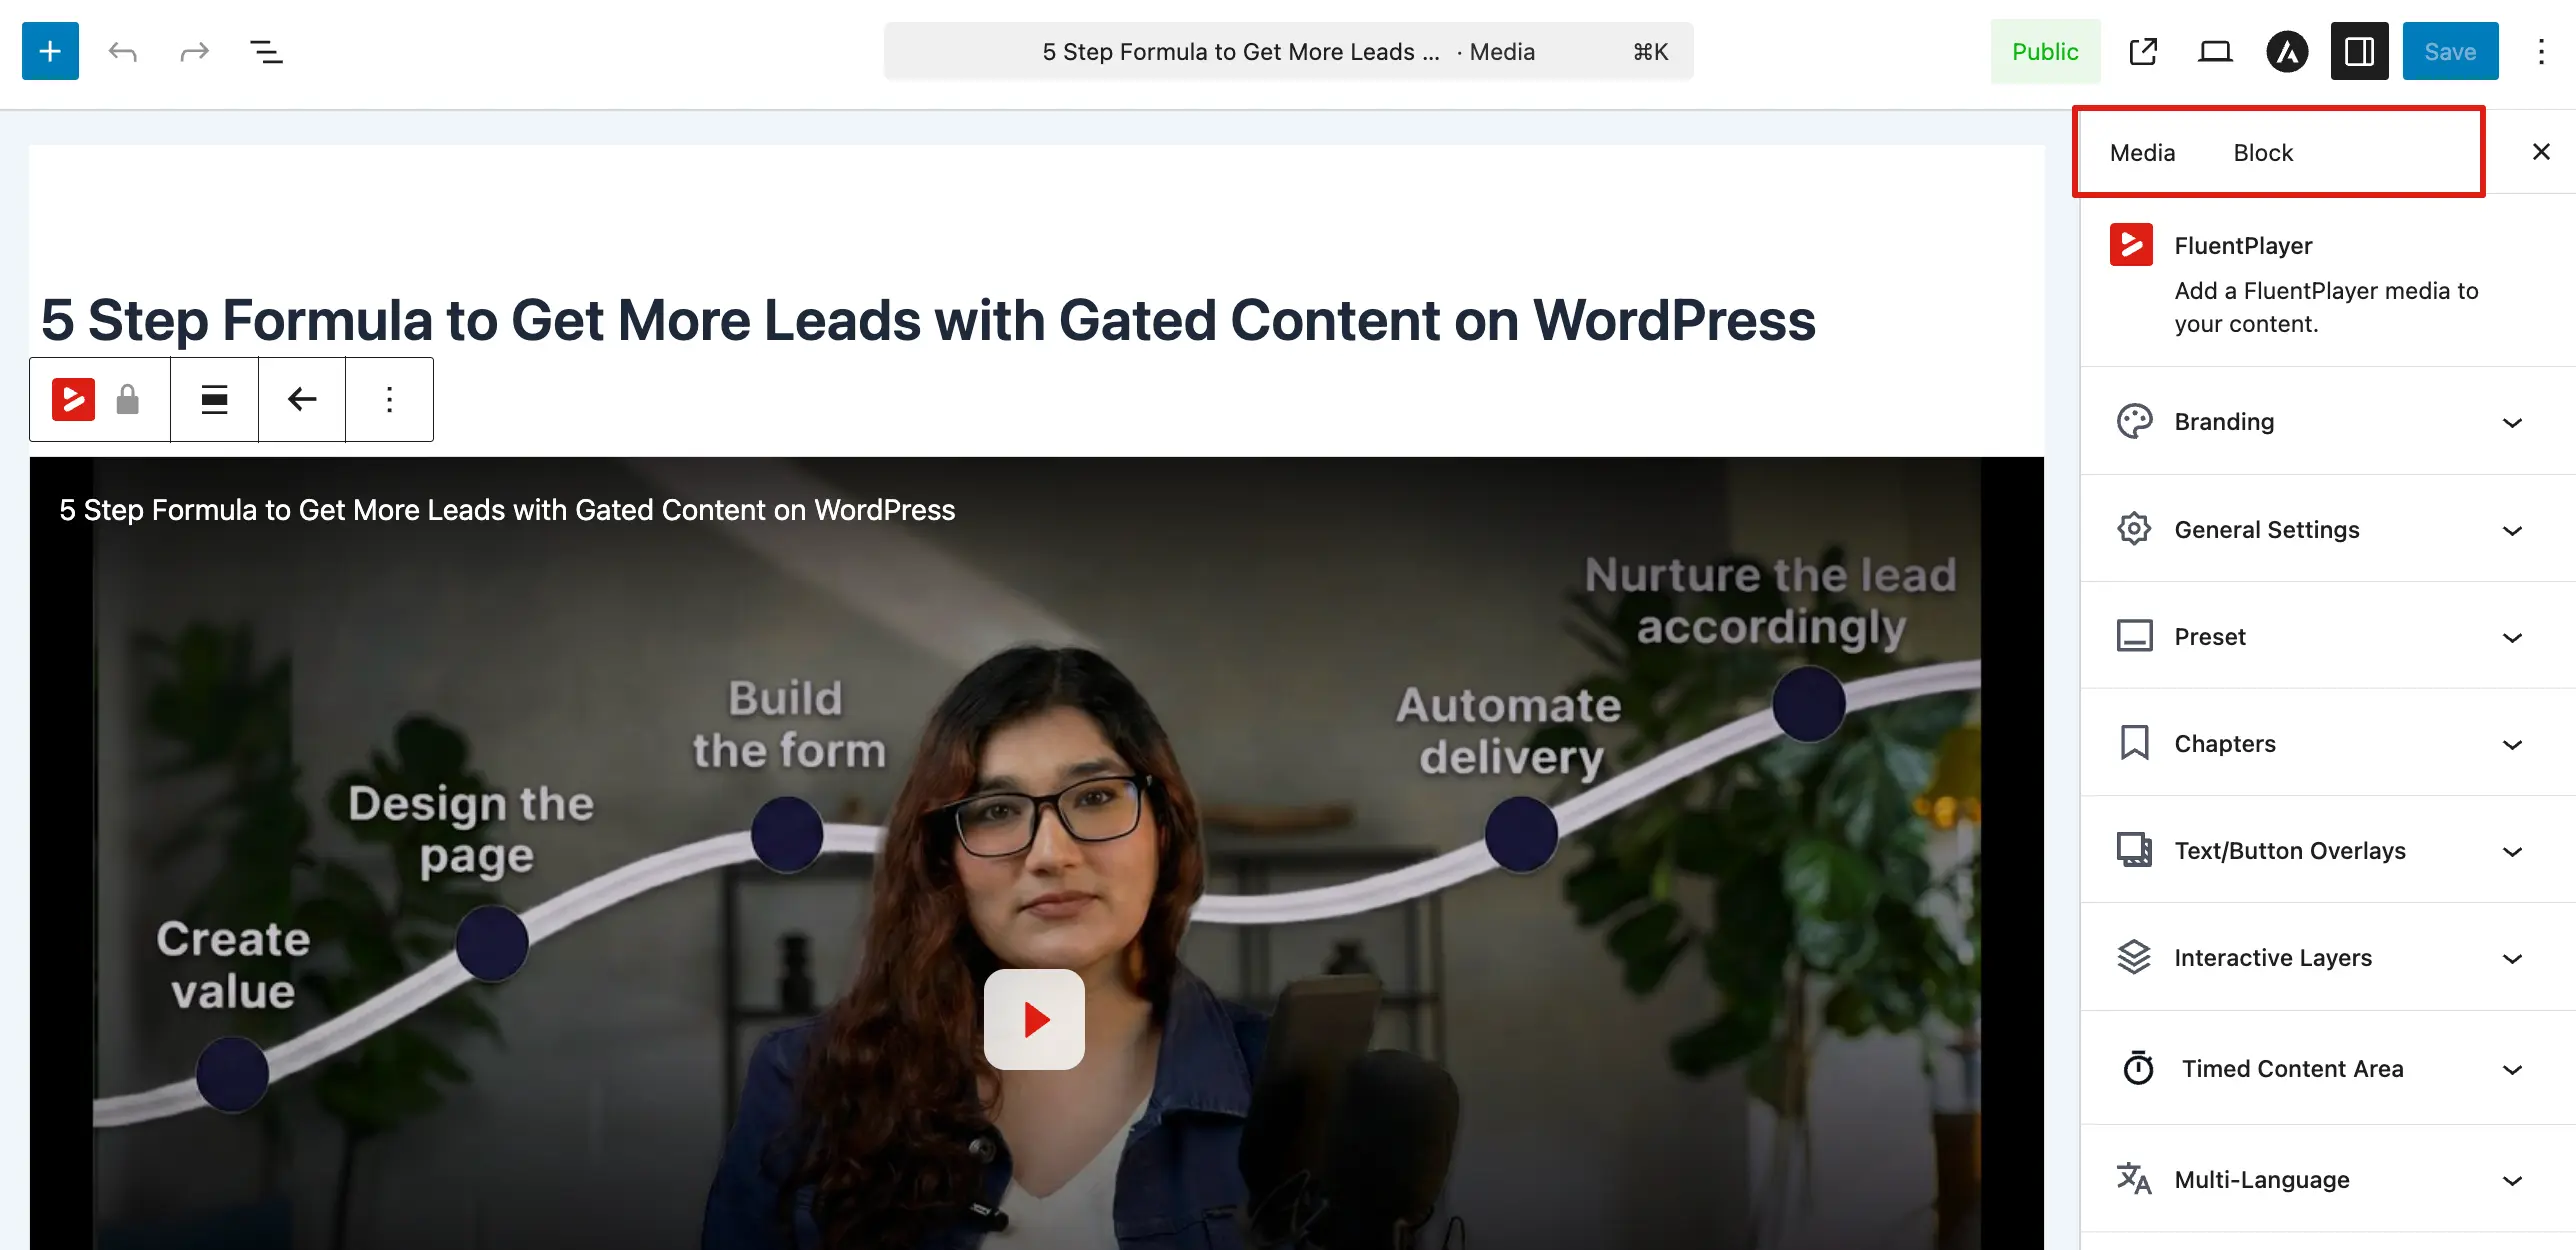
Exploring the Block Sidebar Panels
The settings in the editor are organized into collapsible sections to help you customize your video. Here is a point by point breakdown of what you can control in each panel:
- Branding: Add your own logo and choose custom colors to make the player match your brand identity.
- General Settings: Manage the video title, upload a poster image, and set behaviors like autoplay or aspect ratio.
- Preset: Select from built in or custom templates that control the overall skin and button layout of your player.
- Chapters: Create a list of markers that allow viewers to skip to specific sections of the video.
- Interactive Layers: Add powerful engagement tools like email capture forms, Call to Action (CTA) buttons, and hotspots directly over your video.
- Timed Content Area (Pro): Design a special area below the player where text, buttons, or lists appear at exact timestamps.
- Multi-Language: Set the primary language of your video and enable a selector so viewers can switch between different audio versions.
- Subtitles: Upload and manage caption tracks to make your content more accessible to everyone.
- Timestamp Links: Quickly copy shortcode snippets that allow you to create "Jump to" links within your page text.
Overrides vs Global Settings
Many options override global Settings or presets for this media or this embed only. Typical priority:
Per block / per media → preset → global Settings
Exact behavior can vary by option; each page notes global vs override where it matters.
INFO
If you change a color in the Block sidebar, it will ignore your Global Settings for that specific video only.