
Appearance
Fluent Forms
The Fluent Forms integration lets you embed a form directly over your video player at a precise timestamp during playback. Use it to run in-video quizzes, collect viewer feedback, or gate content behind a form submission all without any coding.
Before You Begin
Make sure the following are in place before adding a form layer:
- The Fluent Forms (free) plugin is installed and active on your WordPress site.
- You have already created the form you want to embed inside Fluent Forms.
- You have a video added to FluentPlayer that you want to attach the form to.
How It Works
When you add a Fluent Forms layer to a video, FluentPlayer pauses the video at a time you choose and displays the form over the player. The viewer fills out the form and submits it, then the video resumes. You can optionally allow viewers to skip the form using a Skip button, or remove the Skip button to require form completion before playback continues.
All submissions are stored in the standard Fluent Forms entry logs inside WordPress exactly the same as any other form on your site.
Step 1: Open the Interactive Layers Panel
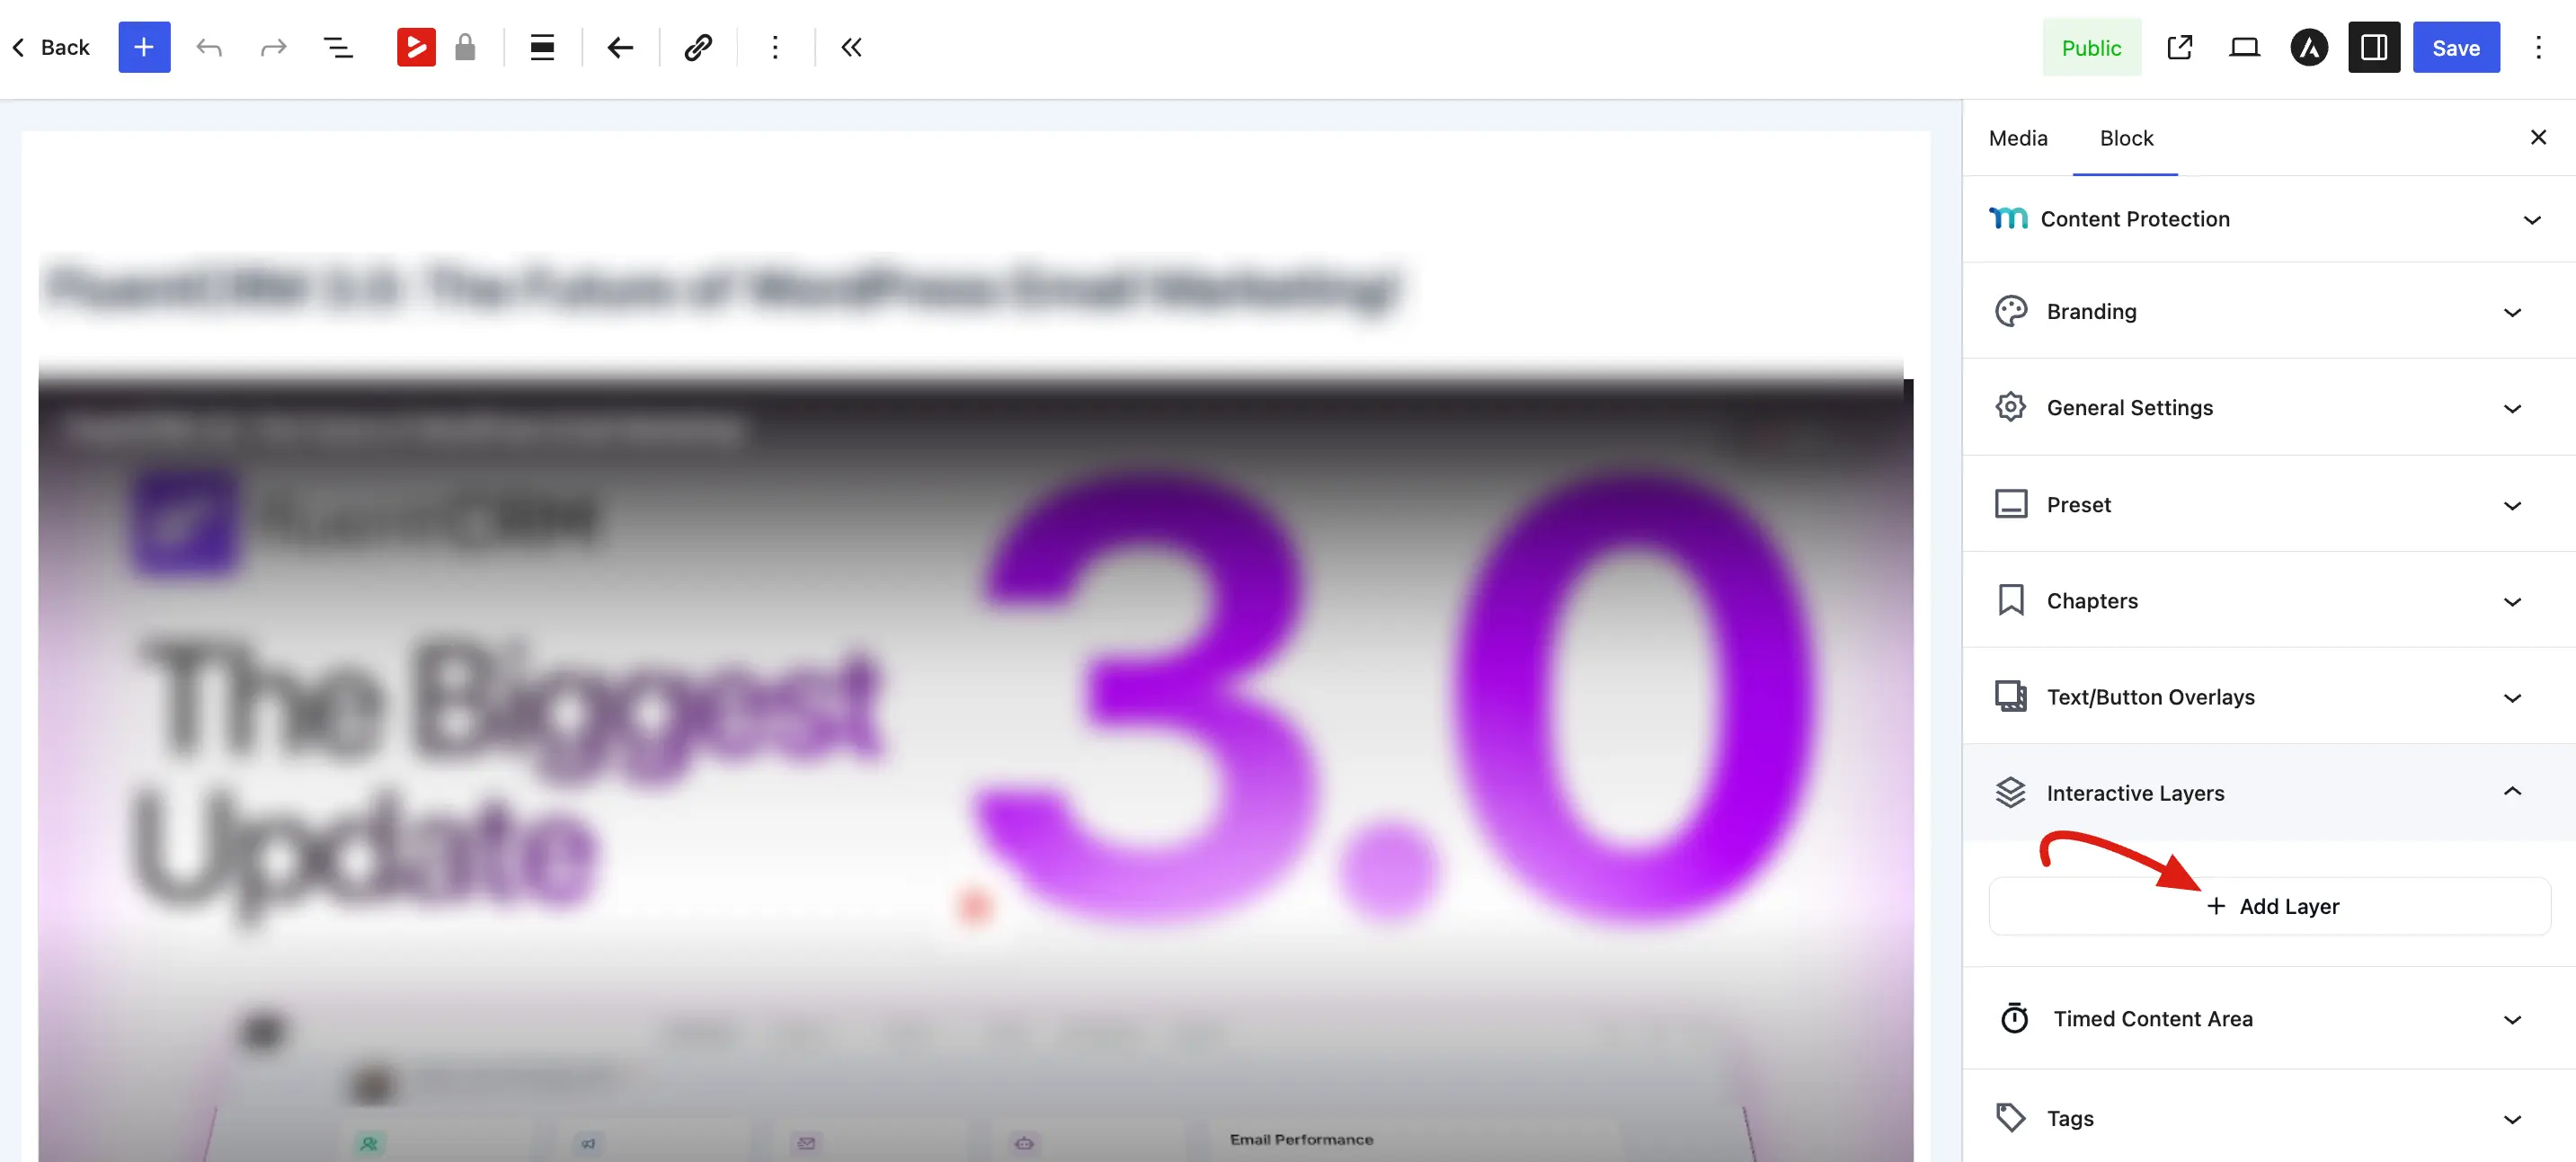
- Go to FluentPlayer → Media and open the video you want to edit, or add the FluentPlayer Media block to a post or page.
- In the right sidebar, make sure the Block tab is selected.
- Scroll down to the Interactive Layers panel and expand it.
- Click + Add Layer.
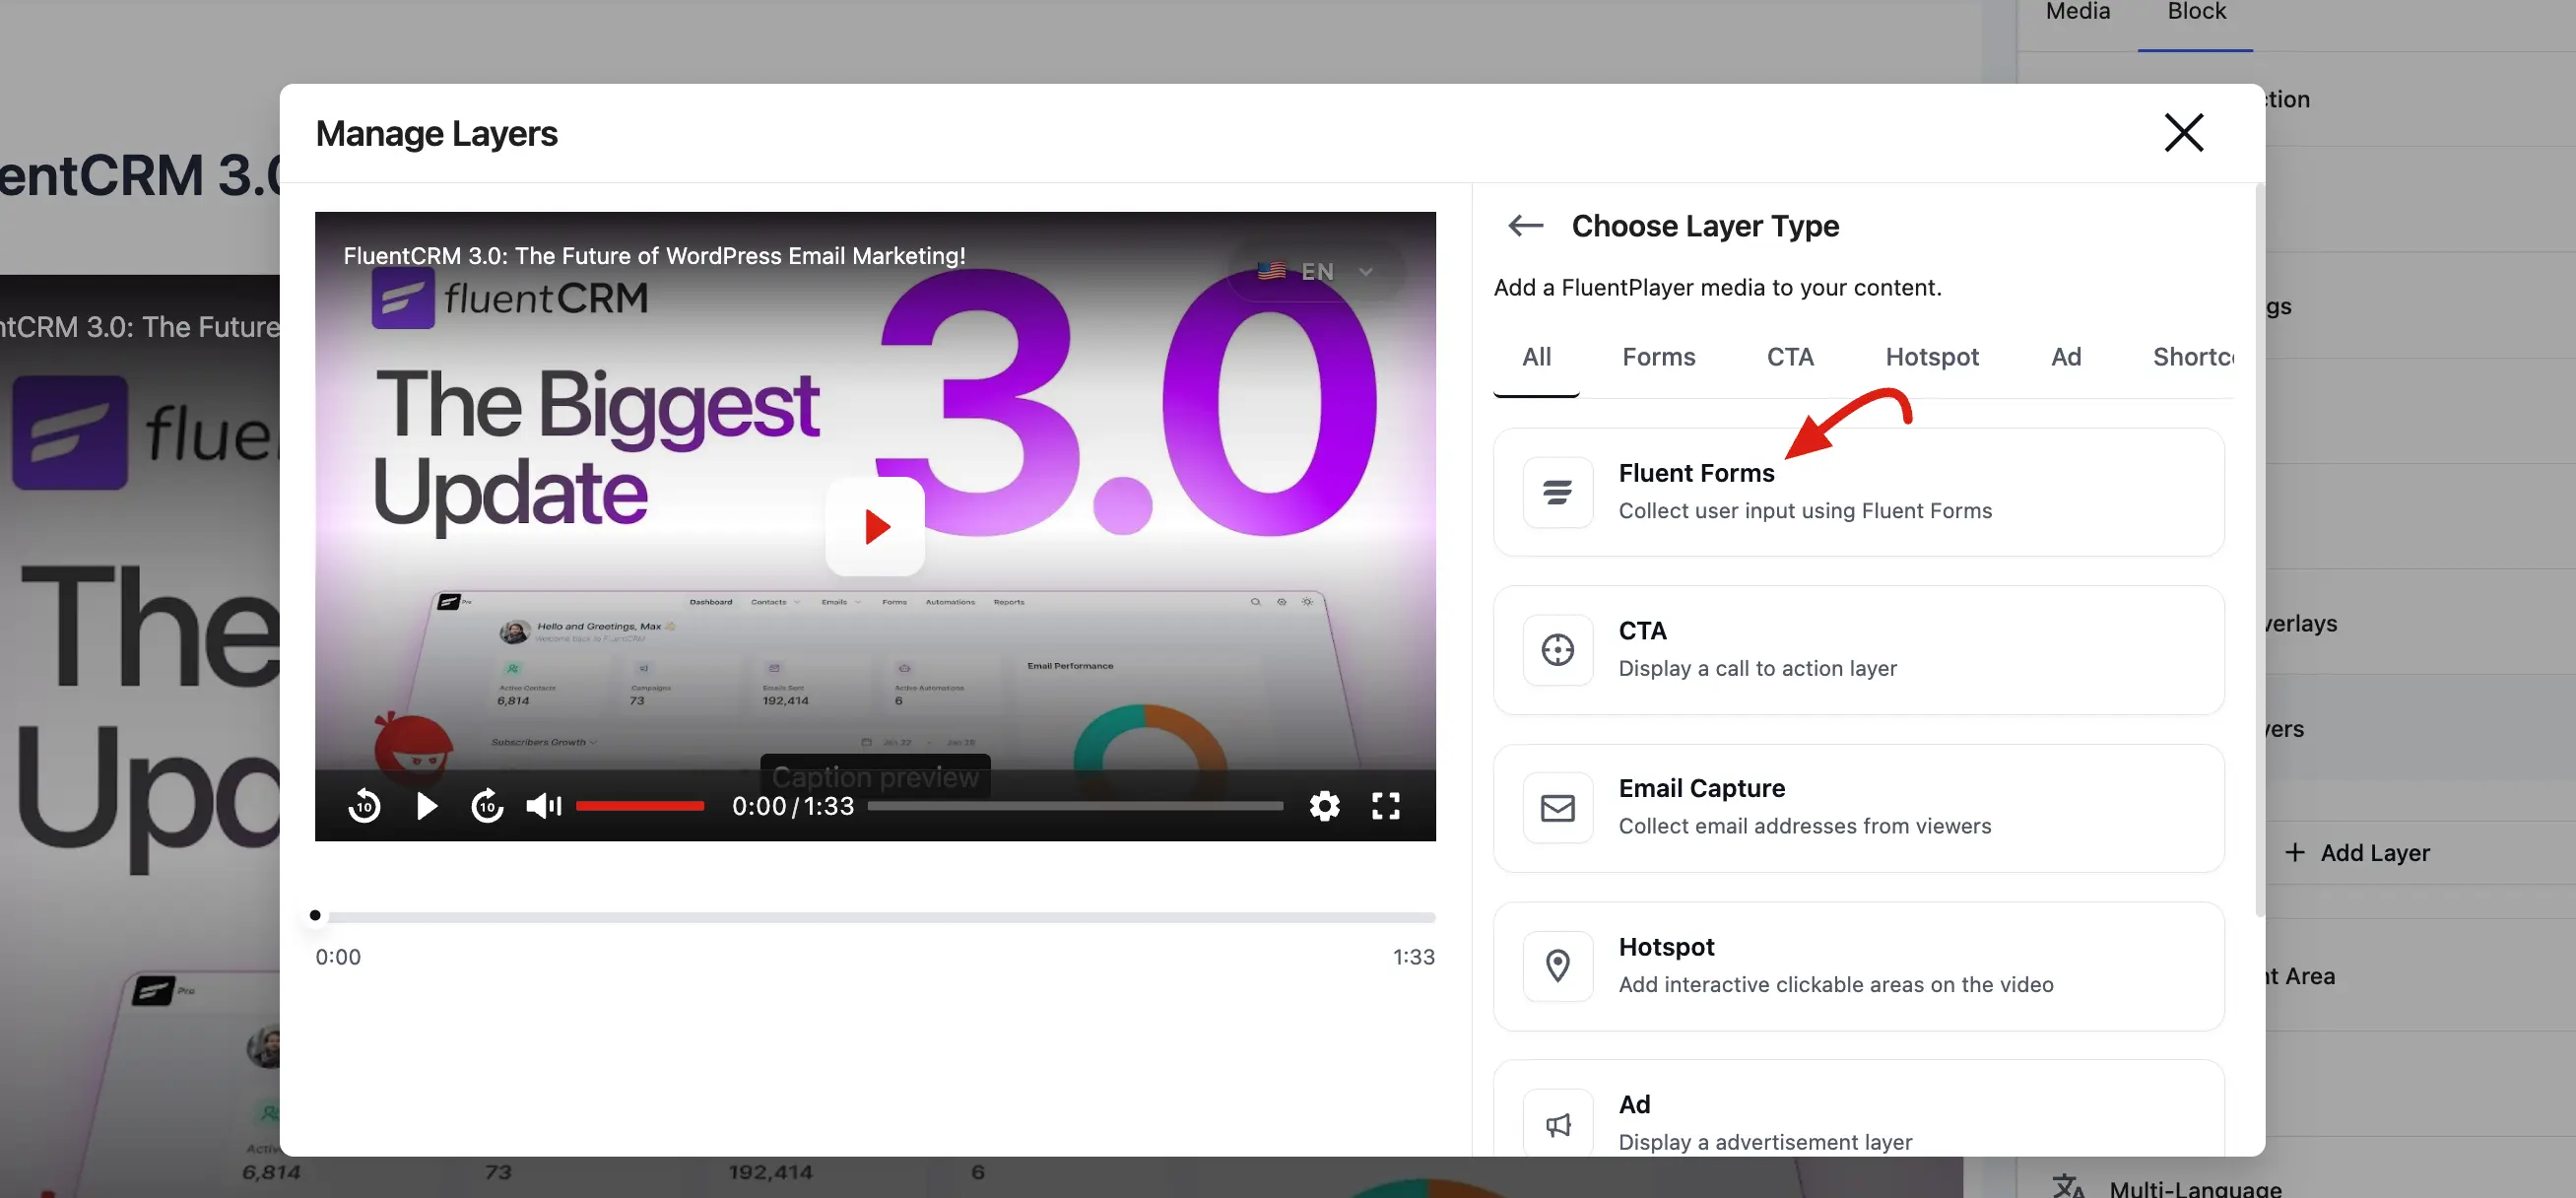
Step 2: Select the Fluent Forms Layer Type
A pop-up window will appear showing all available layer types. Click Fluent Forms to create a new form layer.
Step 3: Set the Display Time
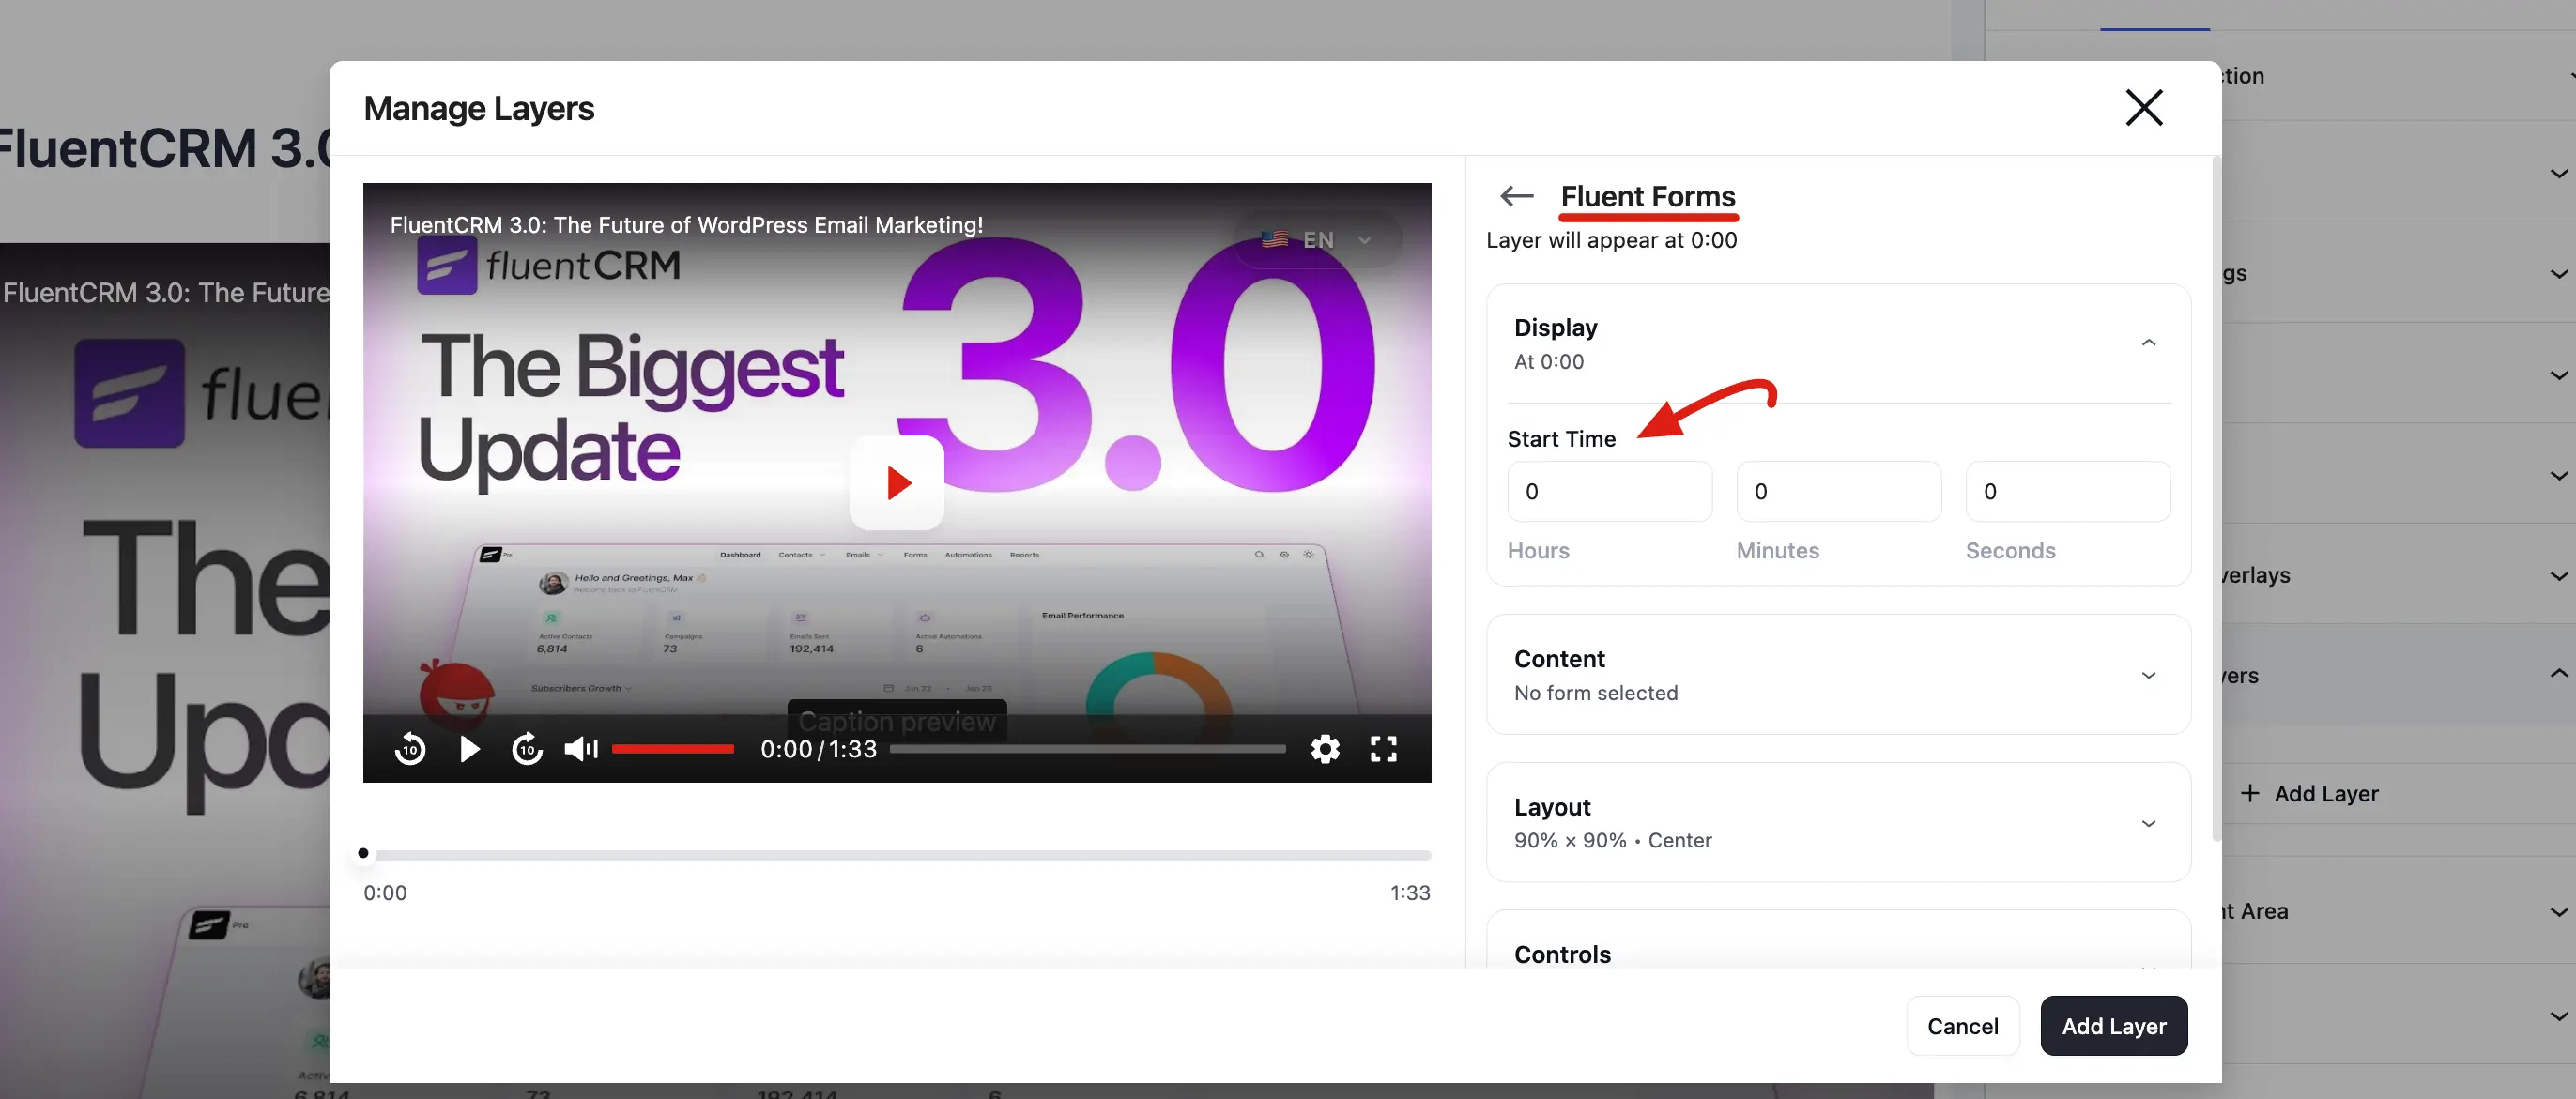
Expand the Display panel on the right side of the pop-up.
Enter the exact timestamp (hours, minutes, seconds) in the Start Time field. When the video reaches this point, it will pause and show the form to the viewer.
Step 4: Choose Your Form
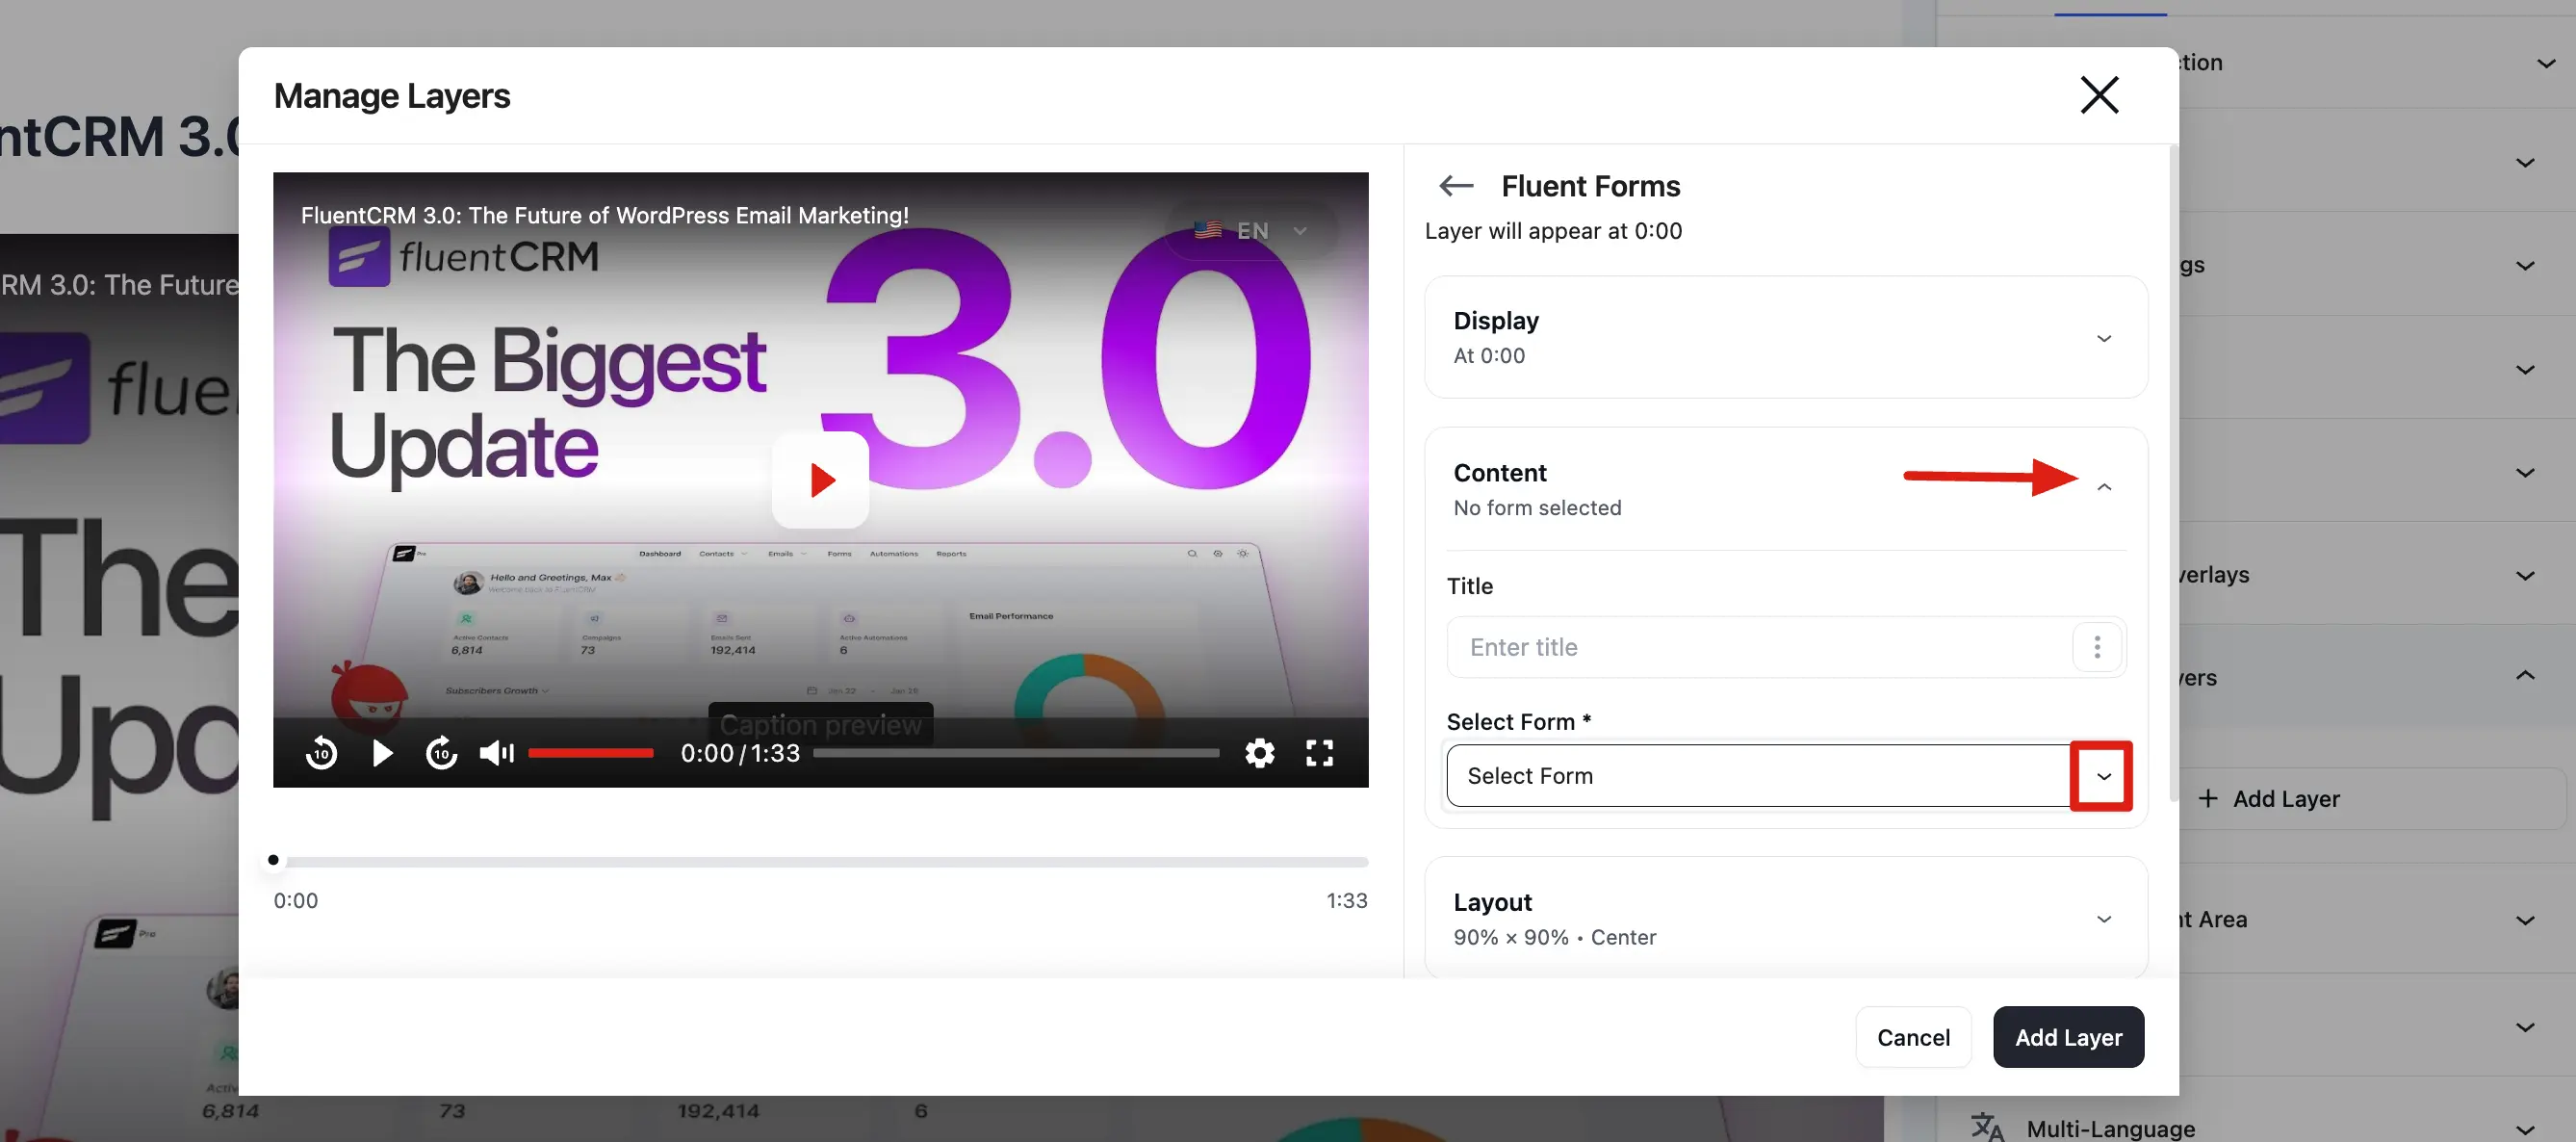
Now expand the Content panel. Then, click the Select Form dropdown and choose the form you created in Fluent Forms. You can also enter an optional internal Title for this layer this is for your reference only and is not shown to viewers.
Step 5: Adjust the Layout
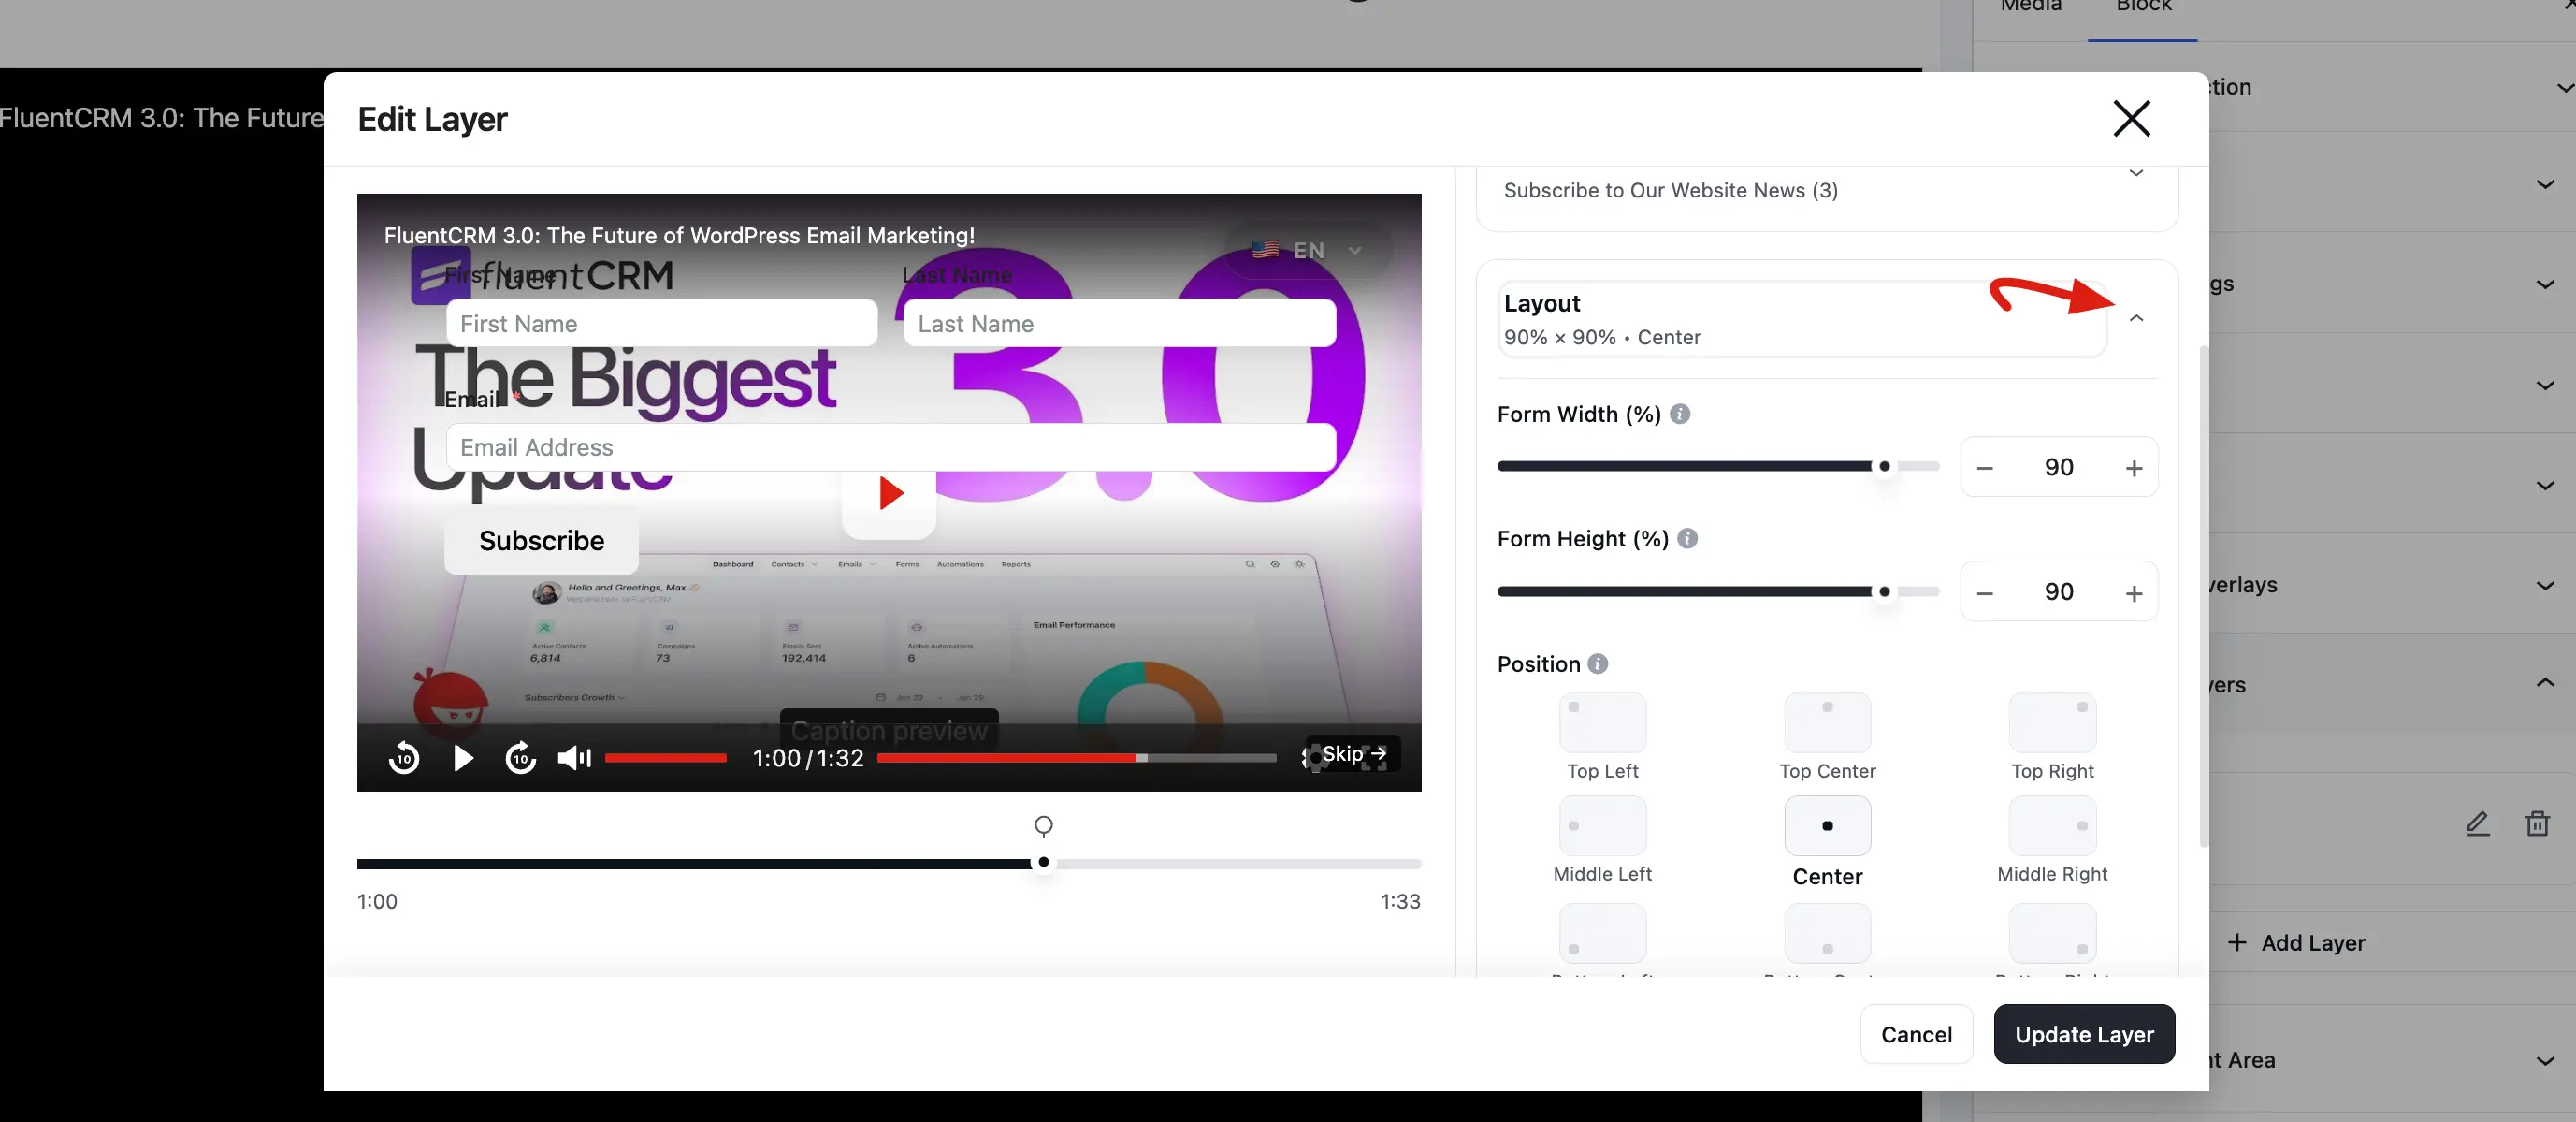
Click the Layout panel to control how the form fills the player.
By default, the form is centered and sized at 90% × 90% of the player area, which ensures it fits cleanly across desktop and mobile screens. Adjust the width and height values here if you need a different size.
Step 6: Configure Skip Controls
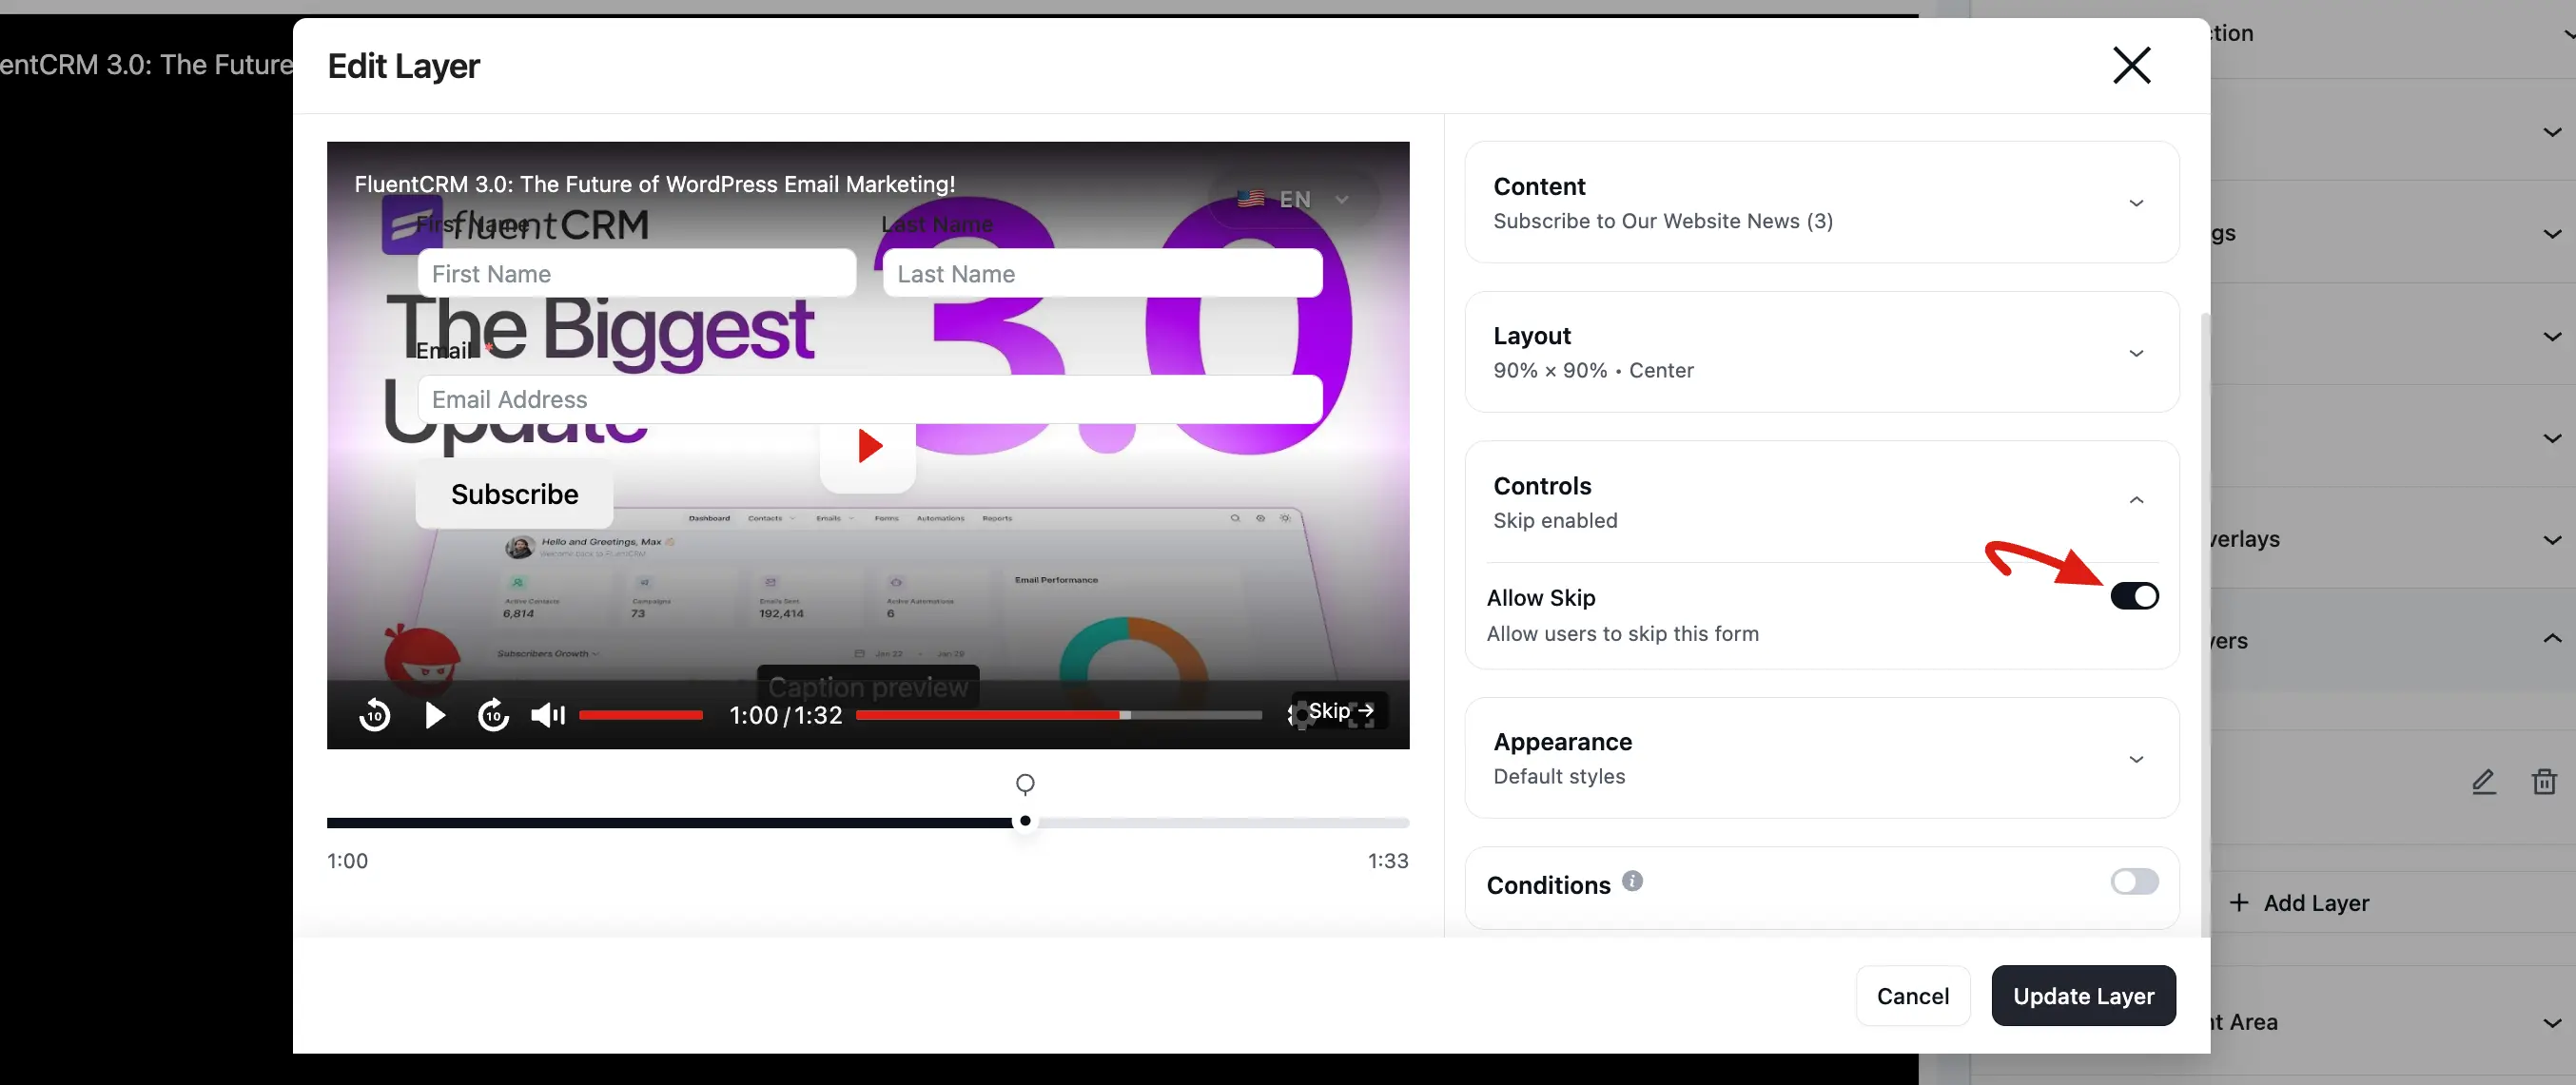
Expand the Controls panel to set the viewer's submission options.
- Skip button enabled: Viewers can click Skip to dismiss the form and continue watching without submitting.
- Skip button disabled: Viewers must complete and submit the form before the video resumes. This creates a hard content gate.
Click Add Layer at the bottom of the pop-up to apply the form layer.
WARNING
Disabling the Skip button means viewers must fill out and submit the form to continue watching. Use this only when the form is genuinely required to proceed.
Preview the Form
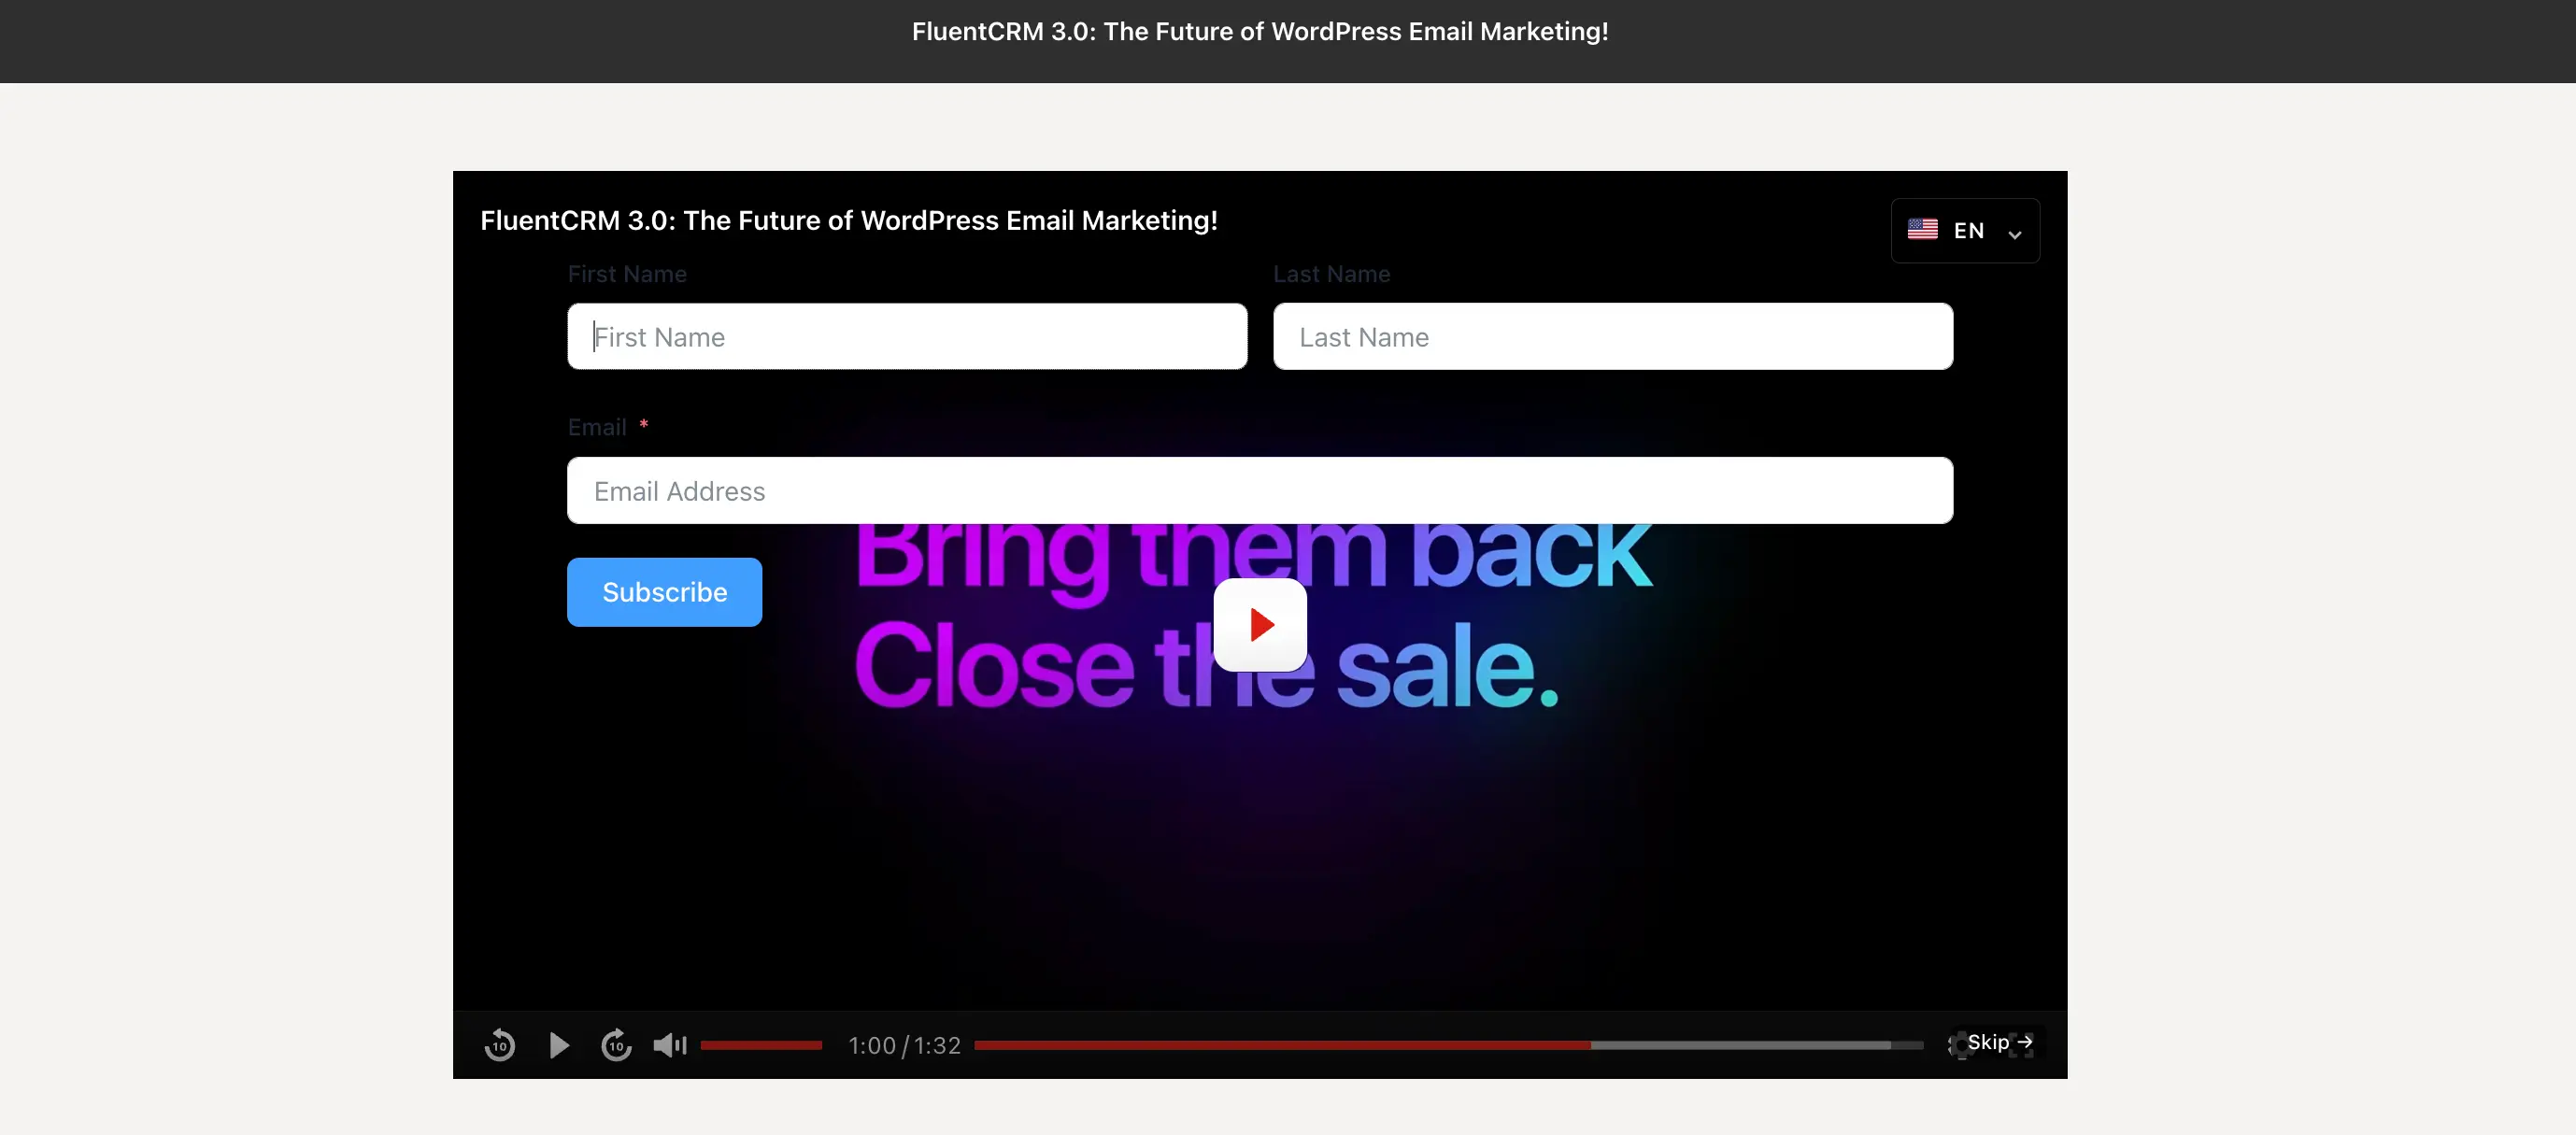
Once you have finished configuring the form, publish it and copy the page URL. Open the link in your browser to preview the form. If you have configured a display time in Fluent Forms, the video will appear according to the schedule you set.
Where Submissions Are Stored
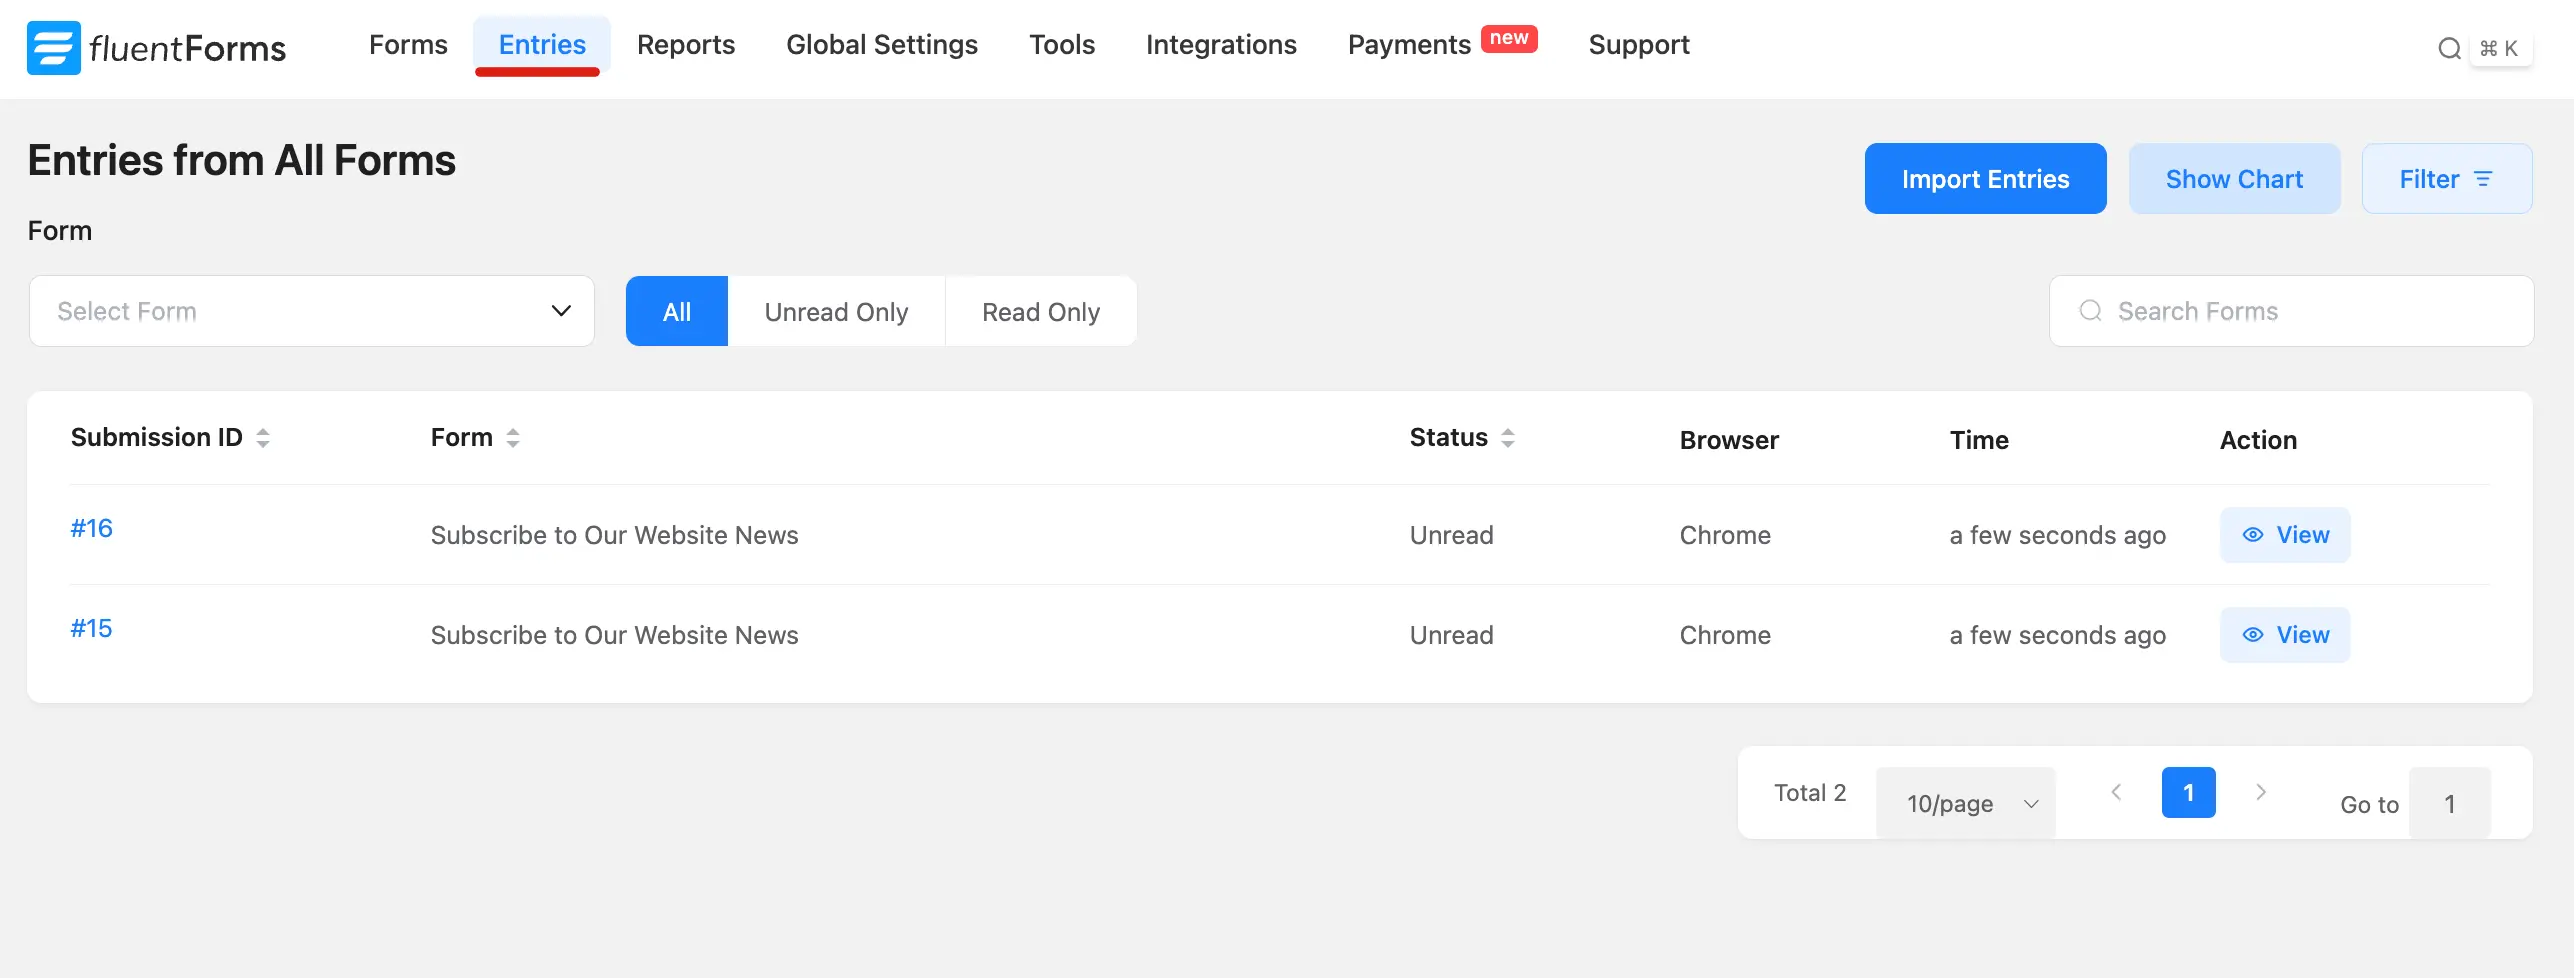
All data collected through the embedded form is stored inside Fluent Forms → Entries in your WordPress admin exactly the same place as submissions from any other Fluent Forms form on your site. No extra setup is needed to capture or export entries.